The Best Oven Baked Chicken Breast

April 14, 2021

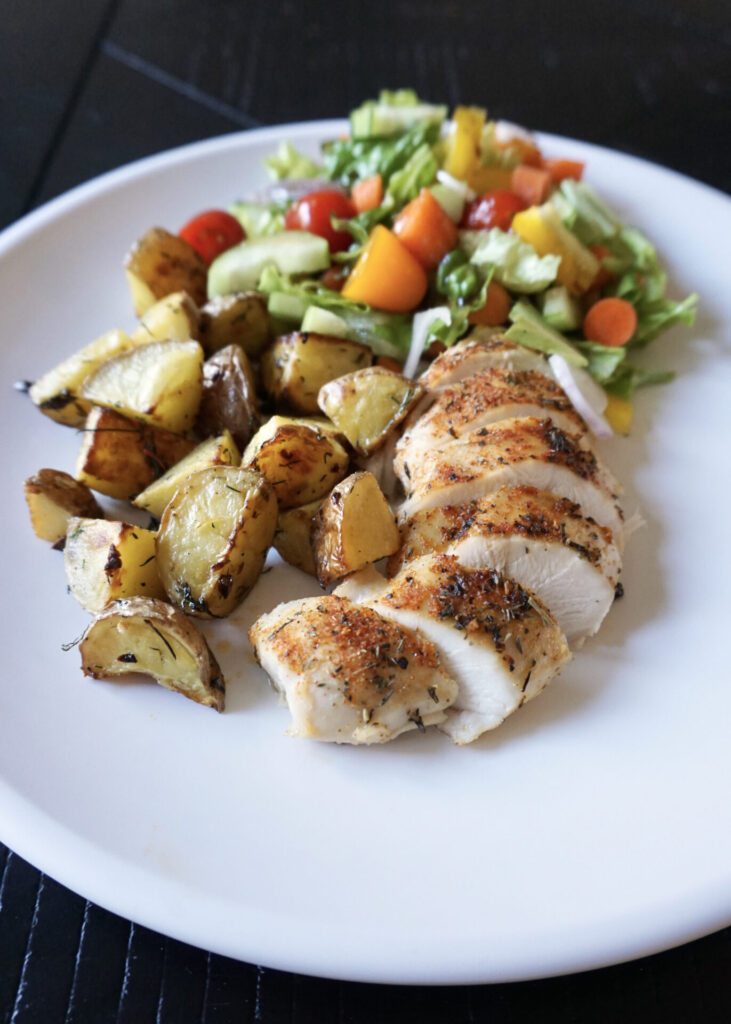
I’m still here! We’re back from a little spring break getaway to sunny AZ and during our trip I accidentally discovered this delicious new recipe I’m sharing today. We spent Easter Sunday in an Airbnb in Scottsdale and while I usually don’t cook on vacation, I made an exception for Easter. I was planning to keep it simple and ordered a ham for grocery pickup when we arrived the night before. But when I went to pick up my order they had run out of ham and gave me a massive pack of chicken breast instead. My in-laws came to the rescue and found a ham at another store but I still had all this chicken breast and didn’t want to throw it away. So I found a simple recipe that promised moist, tender baked chicken and I found *almost* everything I needed to make it in the rental kitchen cupboards. So I went for it. And guess what? It was some of THE BEST chicken breast we’ve ever had!
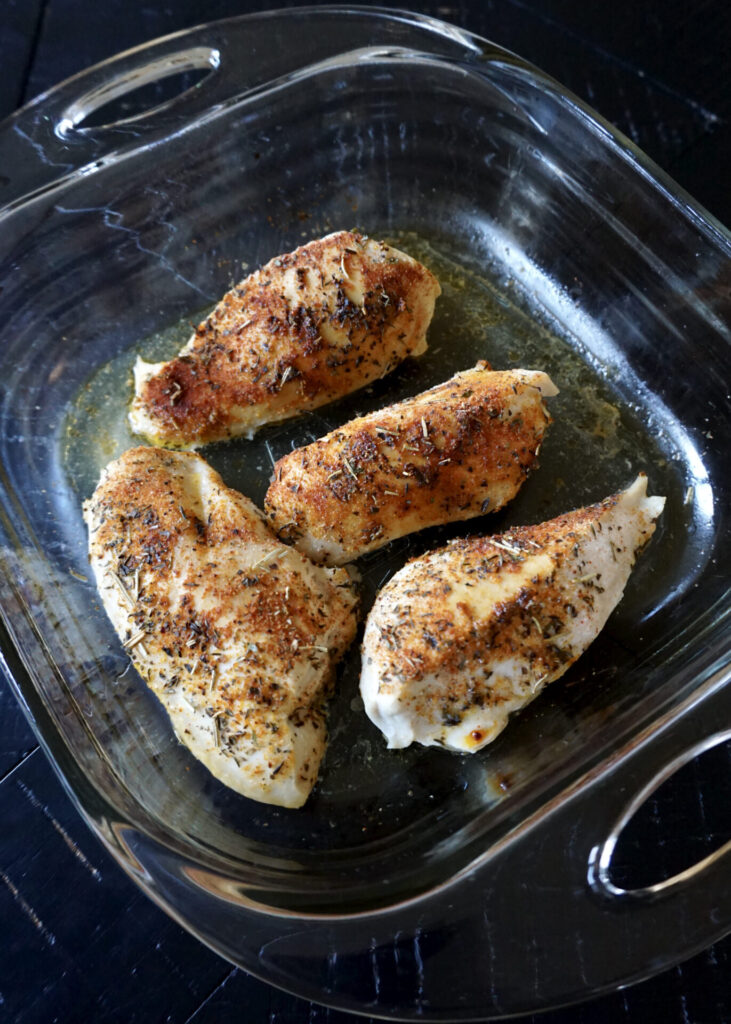
What makes this chicken special is the brine. Don’t skip it. It’s simple (unlike brining a whole turkey- I tried that for Thanksgiving last year and it was a mess!) and quick and makes the meat so much more tender, juicy, and flavorful. I’ve made this recipe twice now (the second time in my own kitchen so I could take some pics) and learned that it works fine with a short 30 min or longer 2 hr brine. Also, the spice rub is adaptable. My Airbnb didn’t have any dried herbs besides parsley. So I used some extra parsley and it was still great. The second time I used smoked paprika instead of sweet and all of the different herbs and that was delicious too.

The Best Oven Baked Chicken Breast

INGREDIENTS

4 (about 2 lbs.) boneless skinless chicken breasts (I like to slice mine in half for a bit smaller pieces)
4 cups lukewarm water
1/4 cup sea salt
1 Tbsp. olive oil

Spice Rub:
1/4 tsp. salt (optional- chicken will have absorbed some of the salt from the salted water)
1/4 tsp. freshly ground black pepper
1/2 tsp. paprika (sweet or smoked)
1/2 tsp. garlic powder
1/2 tsp. onion powder
1/2 tsp. dried thyme
1/2 tsp. dried basil
1/2 tsp. dried rosemary
1/4 tsp. dried parsley
pinch cayenne pepper

DIRECTIONS

  1. In a large bowl combine lukewarm water and salt; stir to dissolve and add chicken breasts. Set aside for 20 to 30 minutes. You can also also cover the bowl and refrigerate for 2 hours.
  2. In the meantime, prepare the spice rub: In a small bowl stir to combine salt, fresh ground pepper, paprika, garlic powder, onion powder, dried thyme, dried basil, dried rosemary, and dried parsley, and cayenne.
  3. Preheat oven to 425 F.
  4. Pour out the salt water and rinse each chicken breast under cold water; pat dry with paper towels.
  5. Place the chicken breasts in a baking dish and rub the olive oil all over each chicken breast. Sprinkle spice rub evenly over the chicken breasts on all sides. You don’t have to use the entire seasoning blend; use as much as you like.
  6. Transfer to the oven and cook for 22 to 25 minutes, or until internal temperature reaches 165F. Thinner breasts will need less time, thicker breasts might need a little more time in the oven. Start checking for doneness at the 20 minute mark.
  7. For a browned, crispy top, set your oven to broil on high for the final 4 minutes and broil the chicken until golden on top. (I skipped this step.)
  8. Remove from oven and let chicken rest for 5 minutes before cutting.

Serves 4-6.

(Adapted from Diethood)

No-Knead Dutch Oven Bread

March 25, 2021

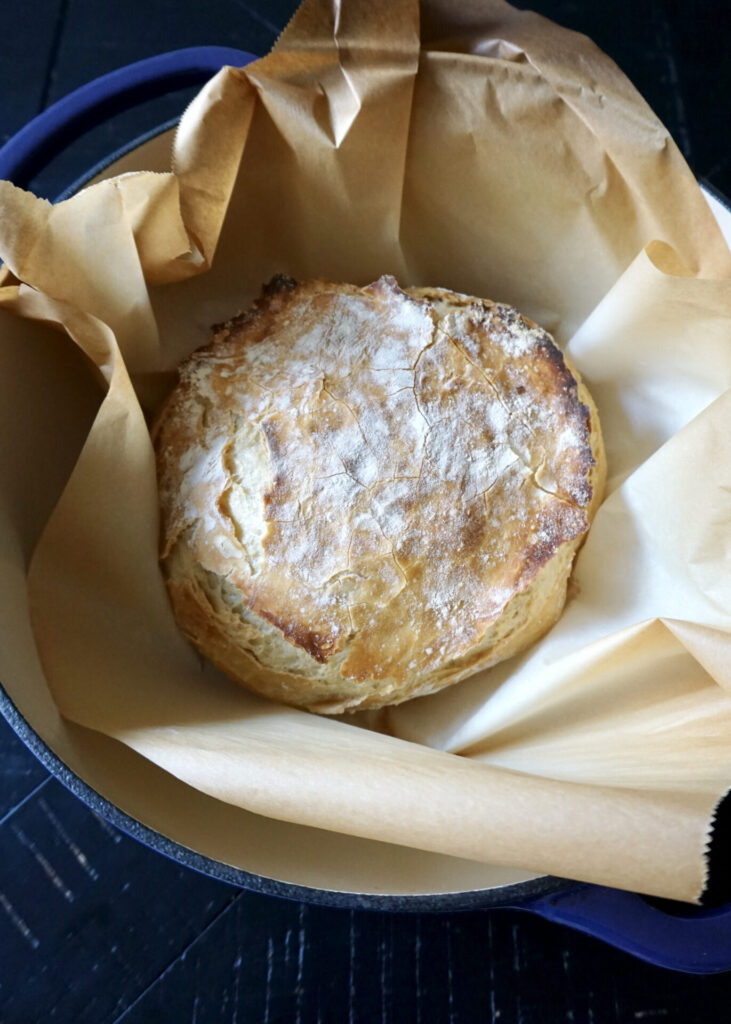
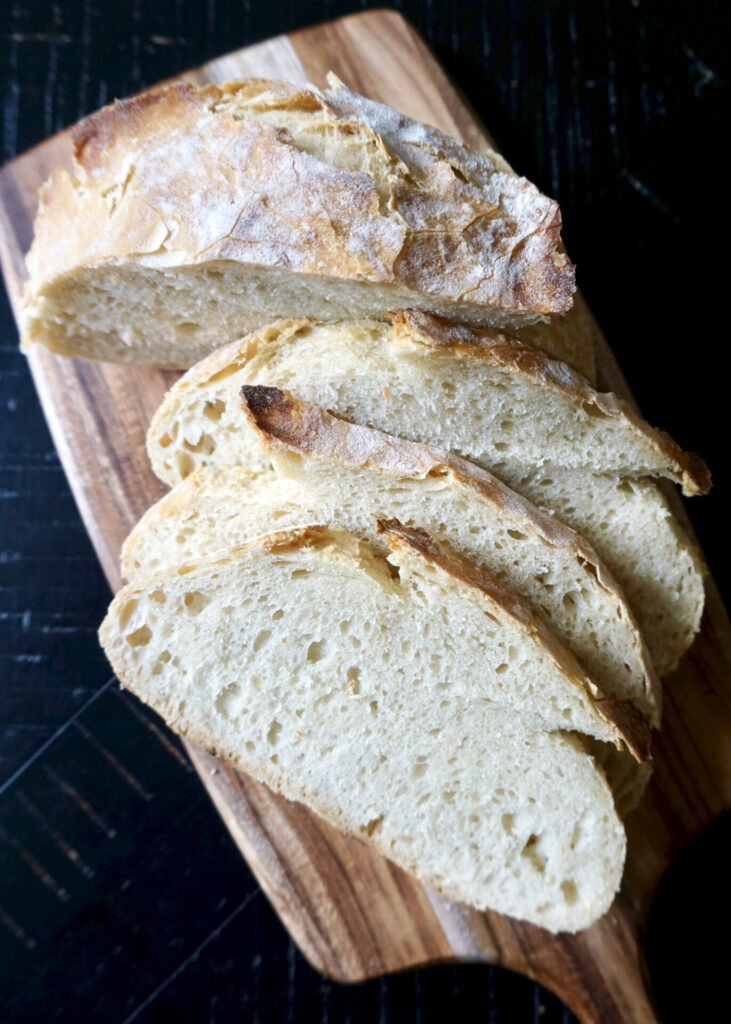
I’ve made this knead-free bread a few times now and every time am surprised by how very little effort can yield such good results! You toss a few ingredients together in a bowl the night before (for best flavor) and let it sit. The next day you form it into a round and bake it in the oven inside a hot dutch oven pot with a lid on top. The trapped steam turns the crust extra crisp and the inside is soft and chewy. Perfect alongside salad or cup of soup.

As you can see, I use parchment paper for easy transfer of the dough to the pot. (I also bake all of my pizzas on parchment in a very hot oven and have never had trouble with the parchment burning.) My family devoured this loaf in one sitting, but should you have leftovers they can be frozen in a freezer bag and defrosted as needed.

No-Knead Dutch Oven Bread

INGREDIENTS

3 cups all-purpose flour + more for shaping
2 tsp. sea salt
1 tsp. active dry yeast OR 3/4 tsp. instant yeast
1 1/2 cups warm water (about 110-115 degrees F)

DIRECTIONS

  1. In a large bowl, whisk flour, salt and yeast until well mixed. Pour in warm water and use a wooden spoon to stir until a shaggy dough forms. The mixture will be wet and very sticky to the touch.
  2. Cover bowl tightly with plastic wrap and set aside in a warm place 8 to 18 hours until dough rises, bubbles and flattens on top.
  3. Heat oven to 450 degrees F. Once oven is preheated, place a 6-quart Dutch oven (with cover) in oven 30 minutes before baking. (I preheated my dutch oven with the oven and it was plenty hot.)
  4. Punch down dough. Generously flour a sheet of parchment paper; transfer dough to parchment and, with floured hands, quickly shape into a ball. Place dough on parchment paper and sprinkle top lightly with flour. Top with a sheet of plastic wrap and let rest 30 minutes. (I let my dough ball rest uncovered while the oven preheated, about 20 minutes.)
  5. Remove Dutch oven from oven. Uncover dough and carefully transfer to Dutch oven, with or without parchment paper beneath (if bottom of Dutch oven is not coated with enamel, keep parchment paper beneath dough). Cover Dutch oven and return to oven.
  6. Bake bread 30 minutes covered, then another 10 to 15 minutes uncovered until dough is baked through and golden brown on top. Cool slightly before slicing. (My oven runs hot and it was done after 35-40 minutes total- the bread will sound hollow when tapped.)

Makes 1 loaf.

(Adapted from Girl vs Dough)

Egg Salad Sandwich

March 5, 2021

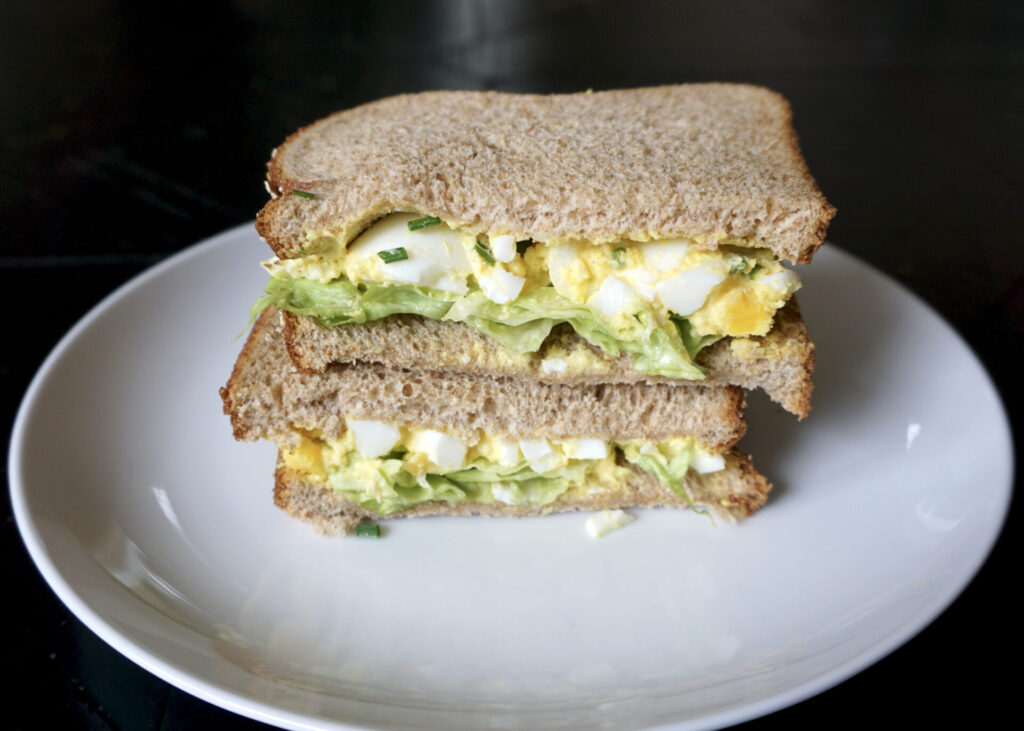
This recipe for our favorite classic egg salad sandwich was originally published way back in 2010 (yes I’ve been posting for over a decade!). I’ve refreshed it with a photo and a few slight modifications (most notably a link to my new method of hard-boiling eggs by steaming them). My husband loves egg salad- especially with a dusting of paprika- and every one of my kids will eat this without a fuss which is always a victory!

Because egg salad is all about the eggs, I think you should keep it simple. This is how egg salad should be done: gently chunked eggs, light on the mayonnaise (notice I’ve included a lighter alternative), chives for kick, and a splash of lemon to freshen it up.  Serve it piled high on toasted whole wheat over a slice of smooth butter lettuce.

Egg Salad Sandwich

INGREDIENTS

8 large eggs
1/4 cup mayonnaise (or part mayo and part plain Greek yogurt)
fresh chives, chopped
squeeze of fresh lemon juice (about 1/2 tsp.)
salt and pepper, to taste
paprika, to garnish (optional)
white or whole wheat bread, lightly toasted
butter lettuce leaves

DIRECTIONS

1. Place the eggs in a large pot and cover with cold water. Place over high heat and bring to a boil. Immediately remove from the heat, cover, and let sit 10 minutes undisturbed. Remove the eggs from the water and rinse in cold water or set in a bowl full of ice water until cooled. Crack and peel each egg and place in a medium sized bowl. *OR try this steaming method which has become new my favorite!

2. Add the mayonnaise and a splash of lemon juice. Mash with a fork into bite-size chunks. Stir in the chives. Season to taste with salt and pepper. Refrigerate until ready to serve.

3. To assemble the sandwich, place lettuce on one slice of the toasted bread. Top with some of the egg salad mixture, sprinkle with paprika (optional), then the second slice of bread. Repeat with the remaining sandwiches. Slice and serve. 

Makes 4 sandwiches.

(Adapted from 101 Cookbooks)

The Best Homemade Red Enchilada Sauce

March 3, 2021

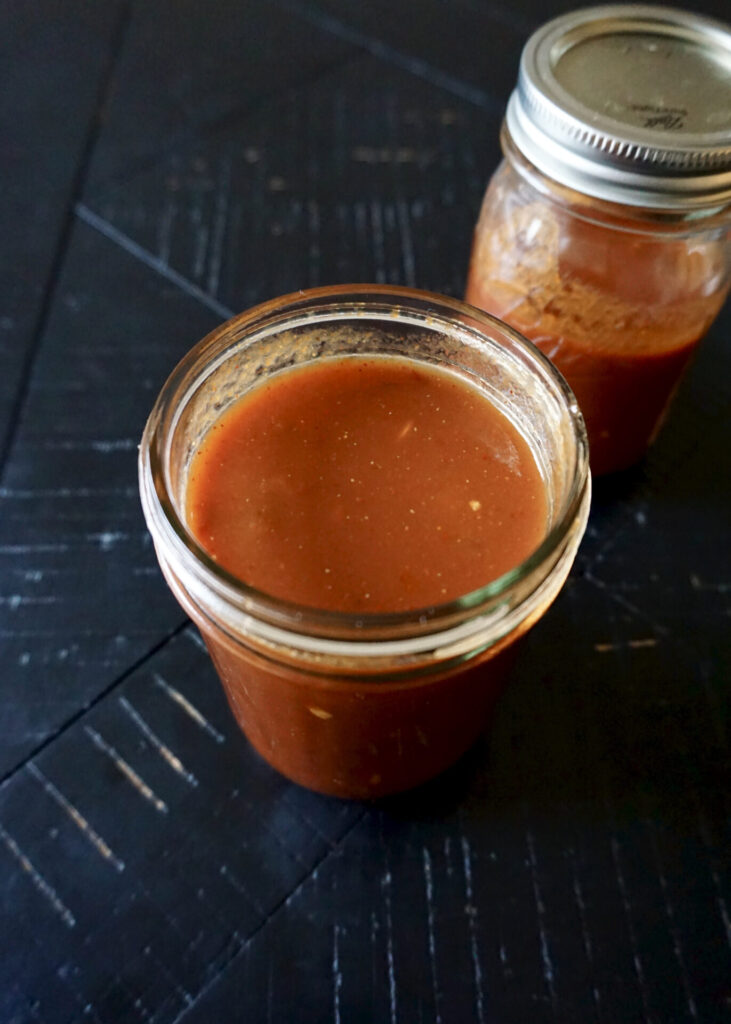
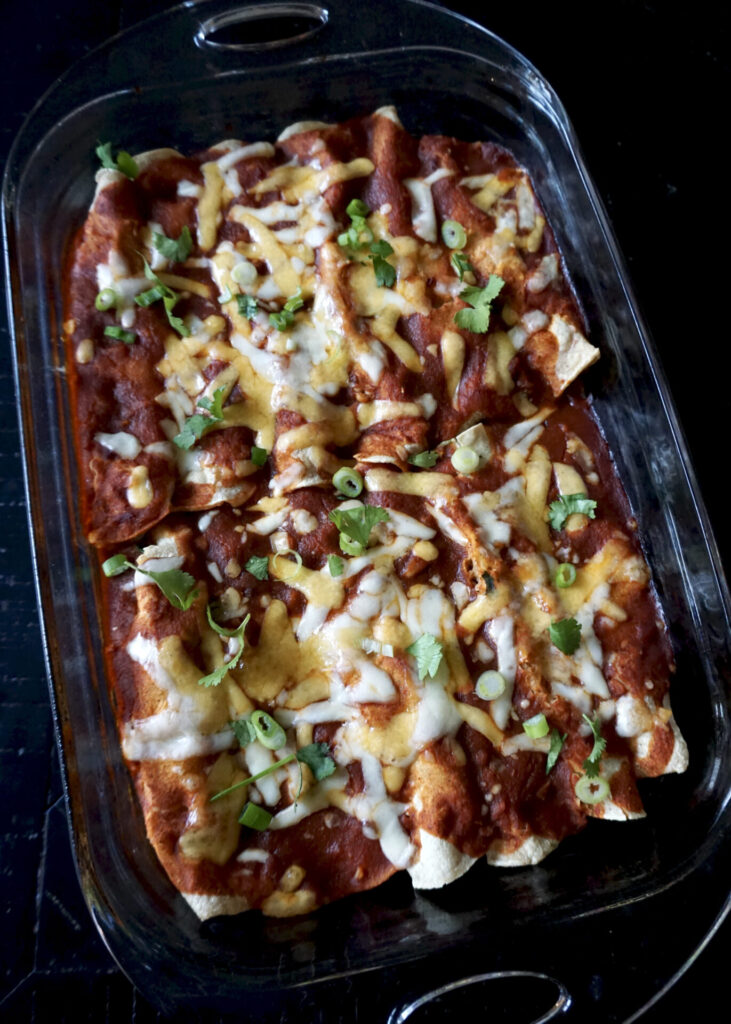
I LOVE enchiladas but I’m not a big fan of canned enchiladas sauces so I usually opt for a jar of our favorite Trader Joe’s salsa verde instead. But every so often you (and I) want a yummy red sauce and this is the (easy!) solution.

This homemade red enchilada sauce is flavored with chipotle in adobo for a mild smokey kick. You can add hot chili powder if you want to really taste the heat. This recipe makes almost 4 cups of sauce so enough for 2-3 pans of enchiladas. Leftover sauce can be refrigerated for several days or frozen for months. The filling I used in the enchiladas above was from this recipe, and it was good but not something we’re dying to make again. This sauce on the other hand, we loved and will be using regularly! Try it to replace the salsa in this skillet enchilada recipe or here or here.

The Best Homemade Red Enchilada Sauce

INGREDIENTS

1/2 Tbsp. olive oil
4 cloves garlic, minced
1 1/2 cups reduced sodium chicken or vegetable broth (I used homemade chicken broth and added an extra pinch of salt)
3 cups canned tomato sauce
2 Tbsp. chipotle chilis in adobo sauce, chopped (can add more to taste)
1 tsp. chili powder (or Mexican hot chili powder for more heat)
1 tsp. ground cumin
1/2 tsp. kosher salt
fresh black pepper, to taste

DIRECTIONS

  1. Heat a saucepan over medium heat, add the oil and garlic; sauté until golden, about 1 minute. Add the chicken broth, tomato sauce, chipotle chiles, chili powder, cumin and salt and pepper, to taste. Bring to a boil then reduce the heat to low and simmer, uncovered for 7-10 minutes. Adjust seasoning to taste.

Makes about 4 cups enchilada sauce.

(Adapted from Skinnytaste)

Pesto Spaghetti Carbonara

February 26, 2021

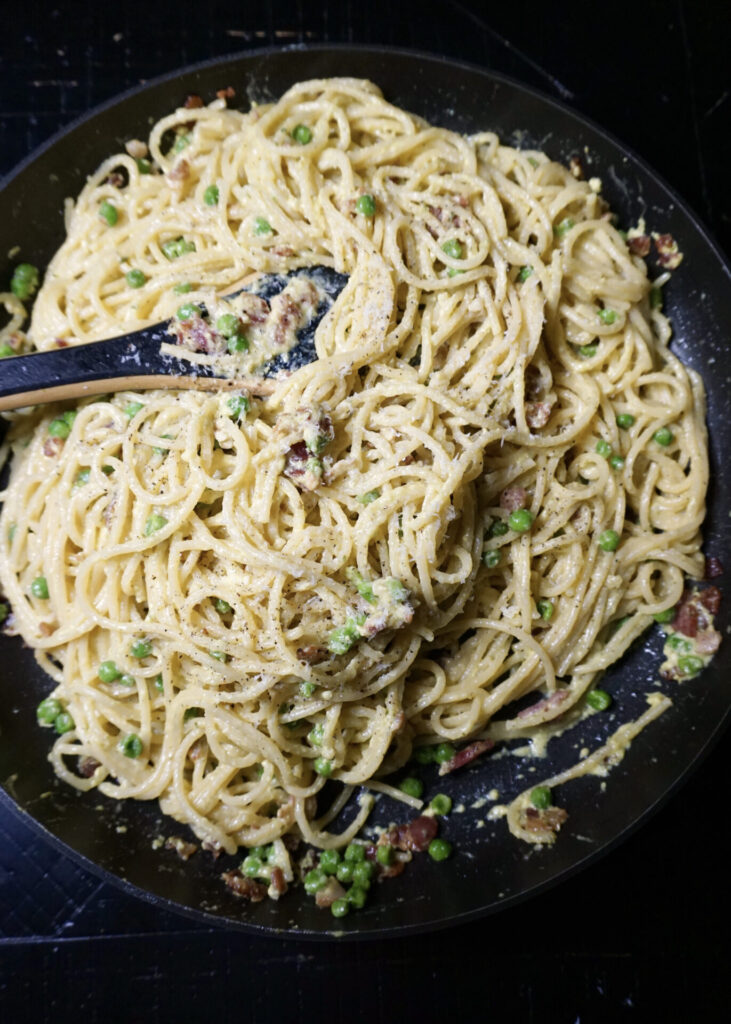
This spaghetti carbonara (with pesto!) isn’t exactly a health food but it’s so delicious and makes a perfect special occasional meal. Since we were snowed in and our Valentine’s Day plans for dinner out (or more likely takeout in the car or outside in the cold) were cancelled I decided to bring the Italian restaurant to our home. I made this carbonara alongside tomato bruschetta and roasted asparagus. We even broke out the wine glasses (for the adults) to share a tiny bottle (haha see picture) of sparkling apple cider.

Gwen, who is our most fervent pasta-lover, took a few bites of this carbonara and declared, “this is so good, I could stuff my head in it”! They all ate and ate and licked the pan clean. Dustin loved it too. I thought the addition of pesto (it replaces what is traditionally only garlic) was a fun twist and we’ll definitely be making this one again!

I found Tyler Florence’s instructions on tossing the hot pasta with the bacon (and in this case, peas) and then adding the egg and cheese mixture in off of the heat helpful. I made the mistake of returning my pan to the heat for a few minutes afterwards and my sauce started to clump. So be careful not to overcook yours or the eggs will start to scramble! And don’t forget to reserve some of the water you cooked the pasta in to help thin the sauce. Make sure everything is ready to go (see steps 2 & 3) before the pasta is done boiling so that you can work quickly and your carbonara will be a success!

Pesto Spaghetti Carbonara

INGREDIENTS

1 lb. spaghetti noodles (or another pasta)
6 oz. bacon (6-8 strips) or pancetta, diced
3 large eggs
1 cup freshly grated Parmigiano Reggiano and/or Pecorino Romano + ~1/2 cup extra for serving
3 Tbsp. basil pesto
3/4 cup frozen peas (we like petite peas best)
salt and freshly ground black pepper, to taste

DIRECTIONS

  1. Cook noodles in salted water according to package instructions.
  2. While the pasta is cooking, place the eggs, 1 cup of parmesan, and pesto in a large bowl and whisk until well combined.
  3. Also while the pasta is cooking, render the bacon in a skillet over medium heat until crisp. Add the frozen peas (carefully, so they don’t splatter), and cook until heated through about 2-3 minutes.
  4. Drain the pasta and reserve 3/4 cup of the liquid (this is important to remember as the pasta water will be added to thin the sauce!).
  5. Add the hot, drained spaghetti to the pan and toss for 2 minutes to coat the strands in the bacon fat. Remove the pan from the heat and pour the egg/cheese/pesto mixture into the pasta, whisking quickly until the eggs thicken, but do not scramble (this is done off the heat to ensure this does not happen.) Thin out the sauce with a bit of the reserved pasta water, until it reaches desired consistency. Season the carbonara with several turns of freshly ground black pepper and salt, to taste. Serve immediately with extra grated cheese.

Serves 4.

(Adapted from I Wash You Dry and Food Network)