Category Archives: Asian

Teriyaki Salmon (with Easy Teriyaki Sauce)

December 18, 2020

There’s a teriyaki place around every corner here and we’ve become fans of chicken or salmon teriyaki as a quick take-out option. I’ve attempted making it at home before and tried a few bottled teriyaki sauces but never been super impressed (Trader Joe’s Island Soyaki- with pineapple!- is the best I’ve found). But after trying this recipe I won’t be going back to bottled! This quick and easy homemade teriyaki sauce is just so good- and paired with salmon (chicken would work as well), steamed rice, and veggies, it’s a win.

Have I shared my secret to keeping fresh ginger on hand? Freeze it! Whenever I buy ginger root I throw it in a ziplock bag (I don’t even bother peeling it first) and keep it in the freezer until needed. I just chop/grate off the amount I need for a recipe and then it goes back into the freezer until next time. It should stay good frozen for up to about 6 months!

Teriyaki Salmon

INGREDIENTS

1 Tbsp. vegetable oil
~1 lb. salmon filets (skinless)
1 clove garlic, minced
1/2 tsp. fresh ginger, grated or minced
1/4 cup low-sodium soy sauce
2 Tbsp. water
2-3 Tbsp. brown sugar (3 Tbsp. for a sweeter Teriyaki sauce)
1 Tbsp. unseasoned rice vinegar
1 tsp. sesame oil
1 tsp. cornstarch
1 Tbsp. water
sliced green onions, for garnish
toasted sesame seeds, for garnish
steamed rice, for serving

DIRECTIONS

  1. Add garlic, ginger, soy sauce, water, brown sugar, rice vinegar and sesame oil to a medium bowl. Add half of the marinade to a ziplock bag and the other half to a small saucepan and set aside. Place salmon filets in the ziplock bag and marinate for 30 minutes.
  2. Heat oil in a large skillet. Add salmon filets making sure not to overcrowd pan. Cook 3-4 minutes on each side until desired doneness. (OR salmon can be grilled over medium-high heat OR baked in the oven at 400 F for approx. 10-15 min until just cooked through/flakes easily with a fork.)
  3. Meanwhile, heat the reserved marinade in the saucepan over medium heat and bring to a simmer. Add cornstarch and water to a small bowl and whisk to combine.
    Slowly whisk in the cornstarch mixture to the marinade and simmer until thickened.
  4. Serve immediately over steamed rice with the teriyaki sauce drizzled on top and garnish with green onions and sesame seeds.

(Adapted from Chef Savvy)

Honey Cashew Chicken with Vegetables and Rice

December 10, 2020

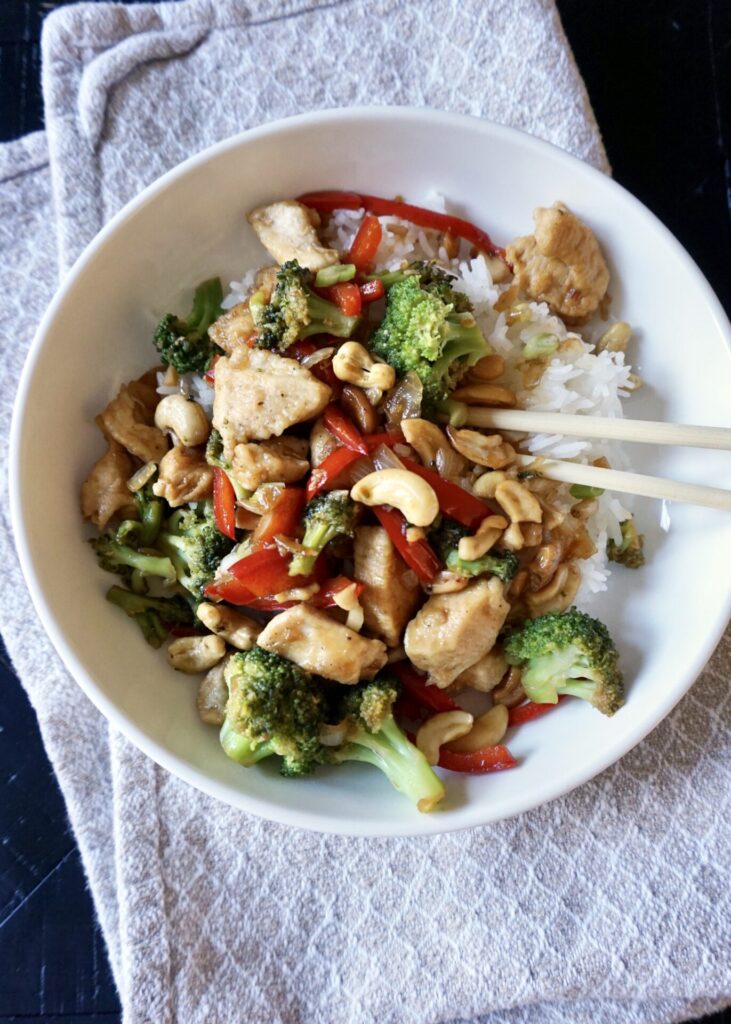
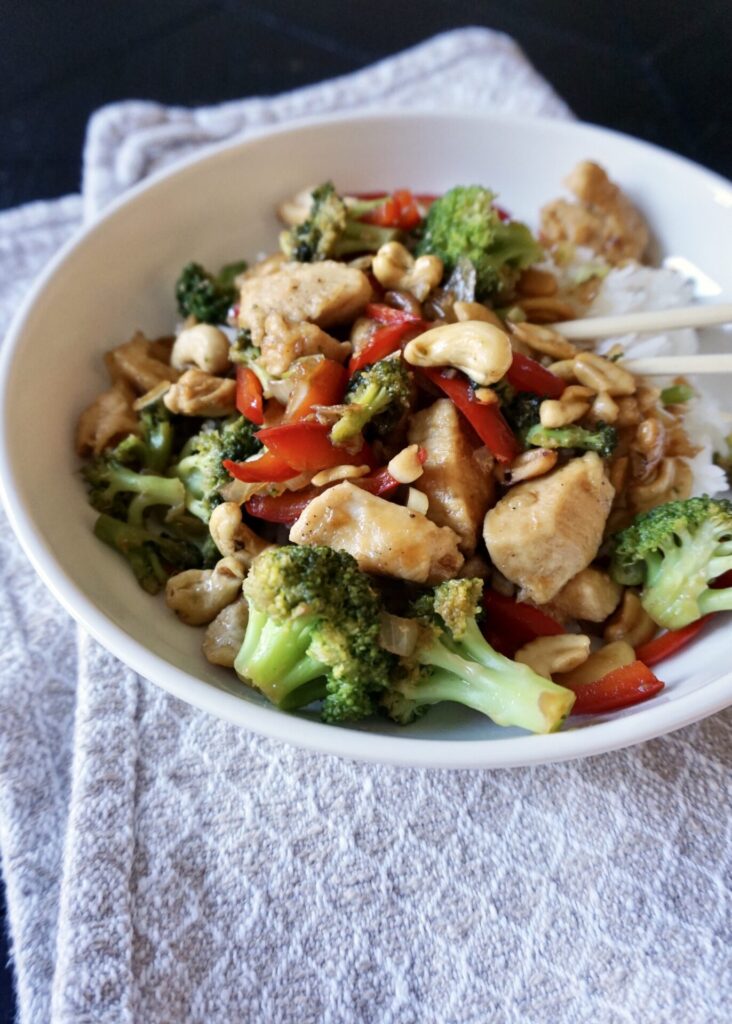
I love this easy honey cashew chicken stir fry! It’s packed with veggies and has a tangy sweet sauce that you’ll want to scrape every last bit of from the pan to pour over rice. As for the kids- one really liked the chicken, one devoured her broccoli first, and the smallest one preferred the cashews and rice. But there’s something here for everyone!

Honey Cashew Chicken with Vegetables and Rice

INGREDIENTS

1 lb. boneless skinless chicken breast, cut into 1-inch cubes
2 Tbsp. cornstarch
1/2 tsp. salt
1/2 tsp. freshly ground black pepper
1 Tbsp. canola oil
1 Tbsp. sesame oil
2 cups broccoli florets (I lightly steam mine first so it’s not too crisp)
1 cup frozen shelled edamame (I used another cup of broccoli instead)
2 cloves garlic, minced
1/2 yellow onion, finely chopped
1 red bell pepper, sliced
1/2 cup dry-roasted cashews, unsalted (or use salted and decrease the salt in the recipe slightly)
1 Tbsp. rice vinegar
2 1/2 Tbsp. honey
2 Tbsp. low-sodium soy sauce
up to 1 Tbsp. Sriracha or another hot chile pasta (I used 1 tsp. Sambal Oelek for a medium kick, use 1/2 tsp. for mild)

steamed jasmine rice, for serving
green onions, sliced for serving (optional)

DIRECTIONS

  1. Combine chicken, cornstarch, and salt and pepper in a bowl; toss to coat.
  2. Heat a large skillet over medium-high heat. Add canola and sesame oils. Add chicken mixture, and sauté until just cooked through. Remove chicken from the skillet to a plate. Increase heat to high, and add broccoli and the next 4 ingredients (through red bell pepper). Cook 5 minutes or until vegetables are crisp-tender, stirring frequently. Stir in cashews and cooked chicken.
  3. Combine vinegar and remaining ingredients in a small bowl; stir with a whisk. Add vinegar mixture to chicken mixture; toss to coat. Bring to simmer and cook several minutes until sauce thickens. Sprinkle with green onions (optional) and serve with rice.

Serves 3 – 4.

(Adapted from Cooking Light)

Korean Ground Beef Bibimbap Bowls

August 6, 2020

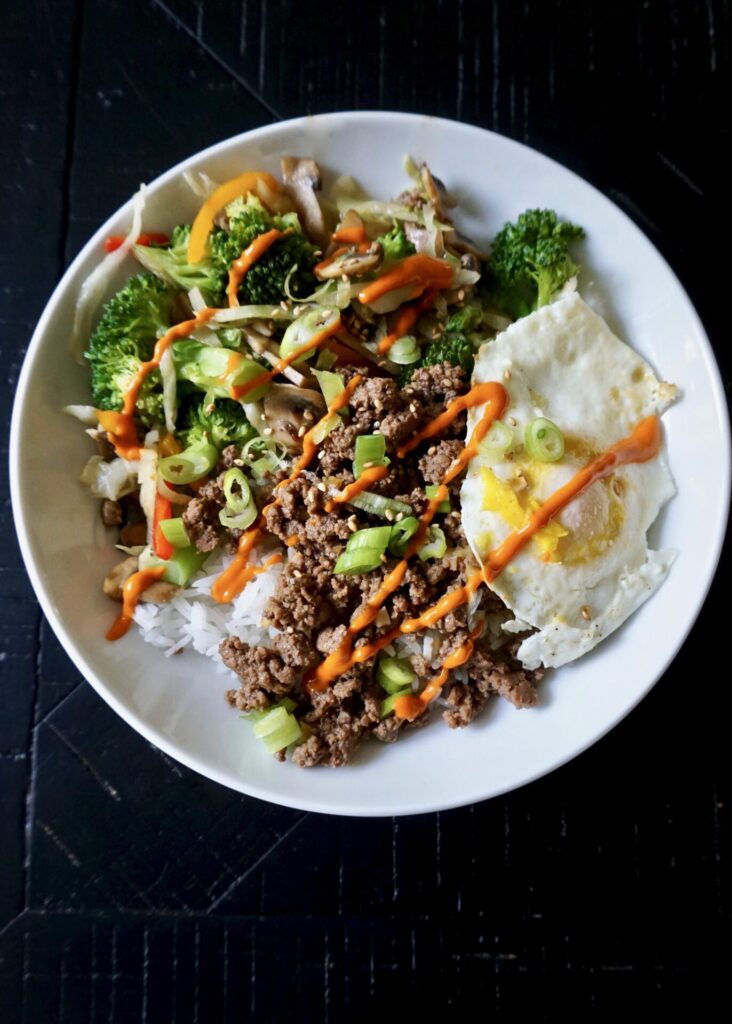
I told you about my newfound love of Korean cuisine when I shared these Korean Beef Tacos. Today I have a more traditional Korean recipe for you… bibimbap bowls! Korean beef (also known as bulgogi) is usually made with ribeye steak, but for the sake of cost and ease we’re using ground meat. The sweet-spicy sauce is the same so you still get that amazing flavor. The beef is served over steamed jasmine rice with lots of veggies, a fried egg (or two, if you’re my kids and that’s your favorite part) and Gochujang sauce if you can find it (sriracha will work in a pinch but doesn’t have quite the same flavor). And if you love it, add some kimchi!

Korean Ground Beef Bibimbap Bowls

INGREDIENTS

Sauce:
1/4 cup low-sodium soy sauce
4 cloves garlic, minced
1 Tbsp. sesame oil
2 Tbsp. brown sugar
1 Tbsp. rice vinegar
1 Tbsp. fresh grated ginger
1 tsp. chili garlic sauce (I used 1/2 tsp. sambal oelek)

Korean Beef Bowls:
1 – 1/12 lbs. ground beef
3 green onions sliced, green and white parts separated
4 eggs
4 tsp. butter
steamed jasmine rice
stir-fried or steamed veggies (mushroom, bell pepper, broccoli, zucchini, cabbage, carrot, onion, etc.)
Gochujang sauce
sesame seeds, for garnish

DIRECTIONS

  1. Whisk together the sauce ingredients, set aside
  2. Place a large pan over medium high heat on the stove. Add the ground beef and brown, breaking the meat up as it cooks until done, approximately 4-6 minutes.
    Pour the sauce over the meat and bring to a simmer. Stir in the white parts of the green onions, cook for 3-4 minutes.
  3. Meanwhile fry the eggs: Heat a frying pan over medium heat. When the pan is hot add the butter. Once butter is melted, crack the eggs into the pan, being careful not to break the yolk. Reduce heat to low. Fry until whites are set and yolks are cooked to desired doneness, 4-5 minutes.
  4. To assemble the bowl: Add rice to a bowl, top with korean ground beef, vegetables, then a fried egg. Drizzle with sauce and garnish with remainder of green onions and sesame seeds.

Serves 4.

(Adapted from Fox and Briar)

Panang Curry

June 19, 2020

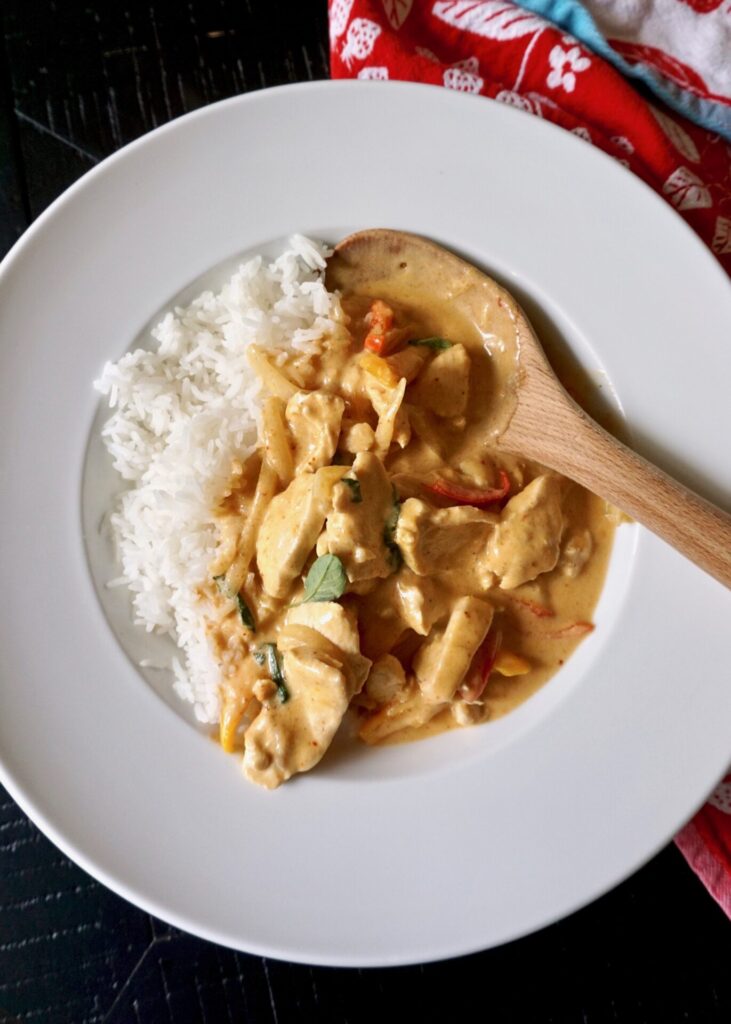
Thai curry isn’t something I thought I’d ever make myself, but since we left our favorite Thai restaurant behind and miss their Panang curry most of all, I found myself wondering if I could make it at home…! I found this recipe from Tastes Better than Scratch and figured it was worth a try. I ordered the curry paste from Amazon (it’s essential for the authentic flavor), found the Thai basil at my local grocery store, and everything else I had on hand. As you might guess since I’m sharing it here, this recipe was a success! It’s a truly delicious Panang curry.

I used thinly sliced chicken breast but you could try it with shrimp (or another meat like pork or beef). Full-fat coconut milk is best for the richest flavor, but I’m guessing it would still be great with one can of light coconut milk (though I wouldn’t go for two). The full amount of curry paste listed make a medium spicy dish. It was just right for my husband and I, but almost too hot for my kids. Reduce the curry paste if you want it mild. And this curry could be made a day or two ahead and refrigerated until ready to heat and serve. I would cook the rice just before eating though because reheated rice is never as good.

Panang Curry

INGREDIENTS

1 Tbsp. oil
2 Tbsp. Panang curry paste
1 Tbsp. peanut butter
2 lbs. chicken breast, cut into thin slices
1 small onion, sliced
2 bell peppers, thinly sliced (I used red and yellow)
2 tsp. freshly grated ginger
4 garlic cloves , minced
2 14-oz. cans full-fat coconut milk
2 tsp. cornstarch
1/4 cup light brown sugar, packed
1 Tbsp. fish sauce
1 Tbsp. lime juice + pinch lime zest
salt and freshly ground black pepper, to taste
handful Thai basil leaves, roughly chopped
hot cooked jasmine rice

DIRECTIONS

  1. Heat oil over medium-high heat in a (very) large non-stick skillet. Saute onions for 2 minutes, then add bell peppers, garlic and ginger and saute for 2 minutes more.
  2. Add curry paste and peanut butter and saute for 1 minute. Add 1 ½ cans of coconut milk. Whisk cornstarch into remaining 1/2 can coconut milk then add to the pan. Stir well.
  3. Add chicken, stirring to coat. Simmer for 10-15 minutes or just until chicken is no longer pink and sauce begins to thicken.
  4. Stir in sugar, fish sauce, lime juice/zest, and basil. Simmer for 5 minutes. Season with salt and pepper, to taste.
  5. Serve over hot cooked rice.

Adapted from Tastes Better from Scratch

Sushi Rice Bowls

April 4, 2020

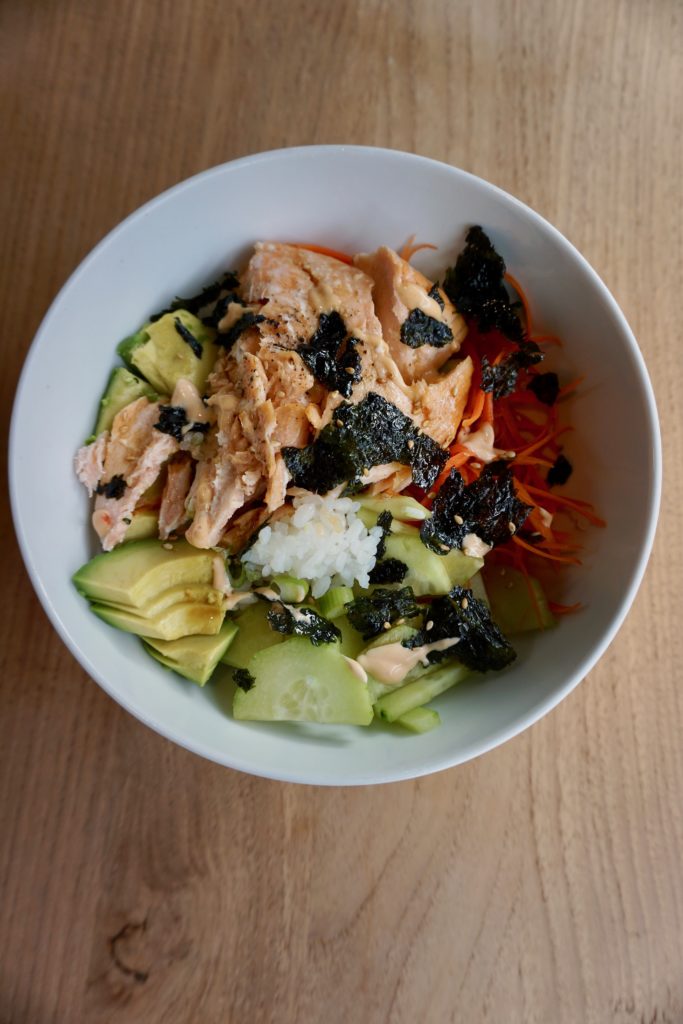
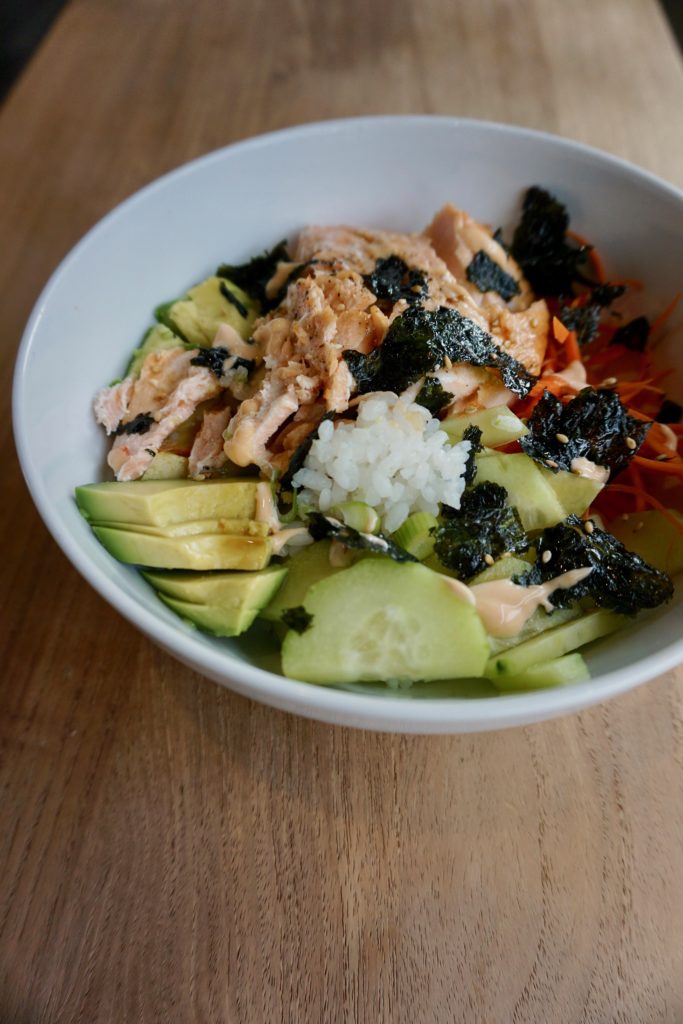
My kids LOVE sushi. At first we were proud of their adventurous taste buds but soon realized how expensive their sushi habit was going to be. We can’t go to a Japanese restaurant and trick them into eating teriyaki while we feast on maki anymore. They want the good stuff and they can eat A LOT of it. Luckily, they’re pretty easy to please with California or shrimp rolls. I’ve yet to try making my own sushi rolls at home, but these bowls are a simpler solution that satisfy us all!

Since we don’t feed them raw fish and we all love salmon, we make salmon sushi bowls. You could substitute shrimp or crab meat or make yours a veggie bowl. So many options! There are a few different things to prep but much (or all) of it can be done ahead of time and each step is pretty simple. The two things that make these sushi bowls extra special: roasted nori (for that essential umami flavor) and spicy mayo! My kids can handle a little kick and they can’t get enough of that stuff.

Sushi Rice Bowls

INGREDIENTS

Salmon:
~1 lb. salmon
drizzle of olive oil
salt and freshly ground black pepper
1/2 lemon, sliced (optional)

Sushi Rice:
1 1/2 cups sushi rice, cooked according to package directions
3 Tbsp. unseasoned rice vinegar
1 Tbsp. sugar
1 tsp. salt

Spicy Mayo:
1/4 cup mayonnaise
2 tsp. sambal oelek (or sriracha)*
1 tsp. unseasoned rice vinegar
1 tsp. lemon juice

Sweet Soy Sauce:
3 tbsp. soy sauce (I use low-sodium)
1 1/2 Tbsp. unseasoned rice vinegar
1 tsp. toasted sesame oil
1 tsp. honey

green onion, sliced
carrot, grated or sliced
cucumber, peeled and sliced
avocado, pitted and sliced
nori roasted seaweed snack, crumbled
toasted sesame seeds, for sprinkling

DIRECTIONS

  1. Preheat oven to 400 F. Line a baking sheet with aluminum foil and coat with cooking spray. Place the salmon on the sheet and drizzle with olive oil, season with salt and pepper, and top with lemon slices (if using). Bake in preheated oven for 12-15 minutes until the fish flakes easily with a fork. 
  2. Prepare the sushi rice according to package directions. In a small microwave-safe bowl, combine the rice vinegar, sugar, and salt. Microwave for 20-30 seconds and stir until the sugar/salt dissolves. Once the rice has finished cooking, remove the rice from the heat and stir in the vinegar mixture until the rice is evenly coated. 
  3. To make the spicy mayo, combine the mayo, sambal oelek, rice vinegar, and lemon juice in a small bowl. Adjust heat to taste.
  4. To make the sweet soy sauce, in a small bowl whisk to combine the soy sauce, rice vinegar, sesame oil, and honey. (You can heat it a bit in the microwave if you’re having trouble getting the honey to combine.) 
  5. While the salmon and rice finish cooking, prep the remaining ingredients so they are ready to go into your bowls. 
  6. Place prepared rice in individual serving bowls, top with salmon, onion, carrot, cucumber, avocado, nori, and toasted sesame seeds, Drizzle with spicy mayo and sweet soy sauce and serve.

*The amount of chili paste/sriracha can be adjusted to taste. This is mildly spicy so that my kids can handle it!

Inspired by Budget Bytes