Category Archives: Bread

No-Knead Buttermilk Dinner Rolls

April 29, 2020

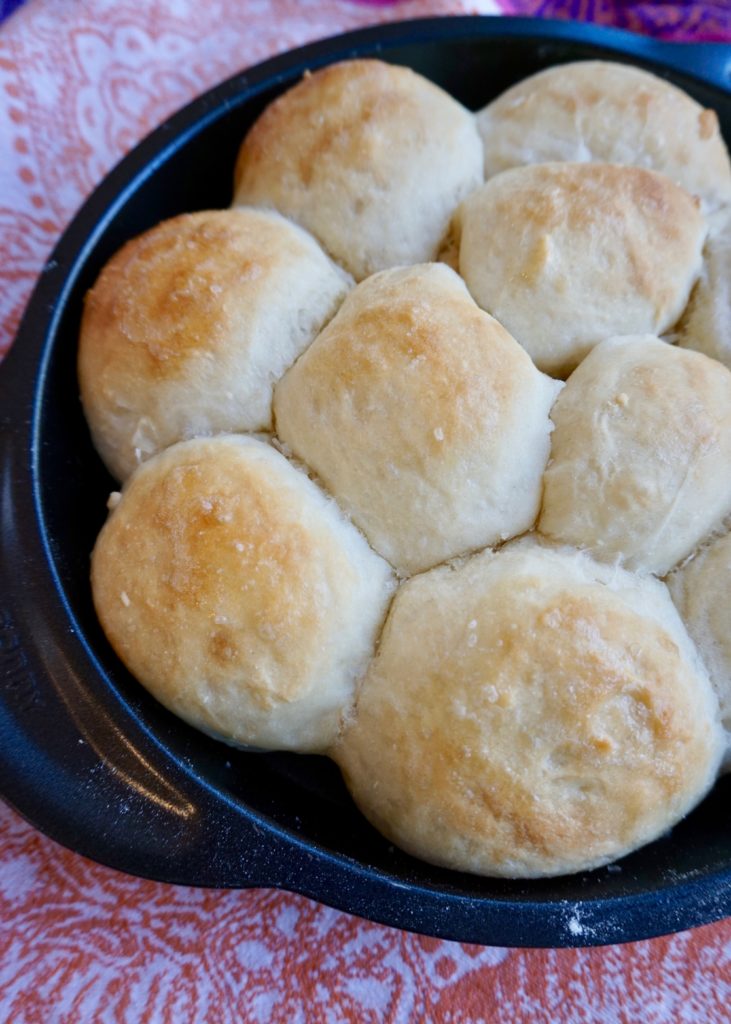
I decided last minute that I wanted to rolls to serve with our Easter dinner. And since I had a pile of potatoes to julienne and pork and carrots to roast I wanted something easy. After a quick search I found this recipe and went for it. I didn’t expect too much because I’ve never made rolls with a no-knead method before (I figured no-knead doughs needed a long rise to develop properly). But the fact that I’m sharing this recipe today means I was pleasantly surprised… these rolls were soft and fluffy, especially delicious with a pat of butter and drizzle of honey, and my little family fought over them!

The original recipe below notes that it’s best to use buttermilk (not a substitute). I’ve learned to just keep buttermilk on hand because it’s inexpensive and I use it often in baking and breakfast foods (pancakes, waffles, even french toast). If I’ve had a jug of buttermilk open a few days and haven’t used it up I put the rest in the freezer and thaw it out as needed. Budget Bytes recommends freezing it in ice cube trays, but I usually just measure it by cup-fulls and freeze in ziplock freezer bags.

No Knead Buttermilk Dinner Rolls

INGREDIENTS

2 cups all-purpose flour
1 tsp. kosher salt (use less for table/sea salt)
1 Tbsp. sugar
1 1/8 tsp. instant yeast
1/2 cup boiling water
1/2 cup buttermilk
3 Tbsp. melted butter, divided
pinch of flakey salt (optional)

DIRECTIONS

  1. In a large bowl, whisk together the flour salt, sugar, and instant yeast.
  2. In a small bowl or liquid measuring cup, pour the boiling water over the buttermilk, stir to combine, and let cool for 10 minutes. The buttermilk may look curdled, but this is okay.
  3. Pour the buttermilk mixture and 2 Tbsp. of the melted butter over the flour mixture. Stir until a sticky ball of dough forms. Cover the dough in the bowl with a damp tea towel or plastic wrap and set aside in a warm place for 1.5 to 2 hours, or until doubled in bulk.
  4. Grease an 8-inch circle or square baking dish. Using two forks, deflate the dough by releasing it from the sides of the bowl and pulling it toward the center. Rotate the bowl quarter turns as you deflate, turning the mass into a rough ball.
  5. Liberally flour a work surface. Use the two forks to lift the sticky ball of dough out of the bowl and onto the floured surface. Using a bench scraper or sharp knife, cut the dough into 10-12 pieces. Using well floured hands, shape each piece roughly into a circle. It’s okay if each piece is a little misshapen. Place the dough balls into the prepared pan, spacing them evenly apart.
  6. Begin preheating the oven to 375ºF. Let the dough rise, uncovered, for 20-25 minutes, or until the dough pieces have puffed to almost fill the pan.
  7. Transfer the pan to the oven and bake for 20-25 minutes, or until golden brown. Remove them from the oven and immediately brush the surfaces with the remaining 1 Tbsp melted butter. Sprinkle a pinch of flakey salt over top. Let the rolls cool in the pan for 5 minutes, then turn it out onto cooling racks and invert onto a plate. Let the bread rest for 5 minutes before serving.

NOTE: I highly suggest using real buttermilk for this recipe instead of a milk and vinegar substitute. If you’re concerned about having leftover buttermilk, follow these instructions for freezing your buttermilk for later use.

Makes approx. 10-12 rolls (and can be easily doubled to make more).

Recipe from Budget Bytes

Almond Sweet Rolls

April 24, 2020

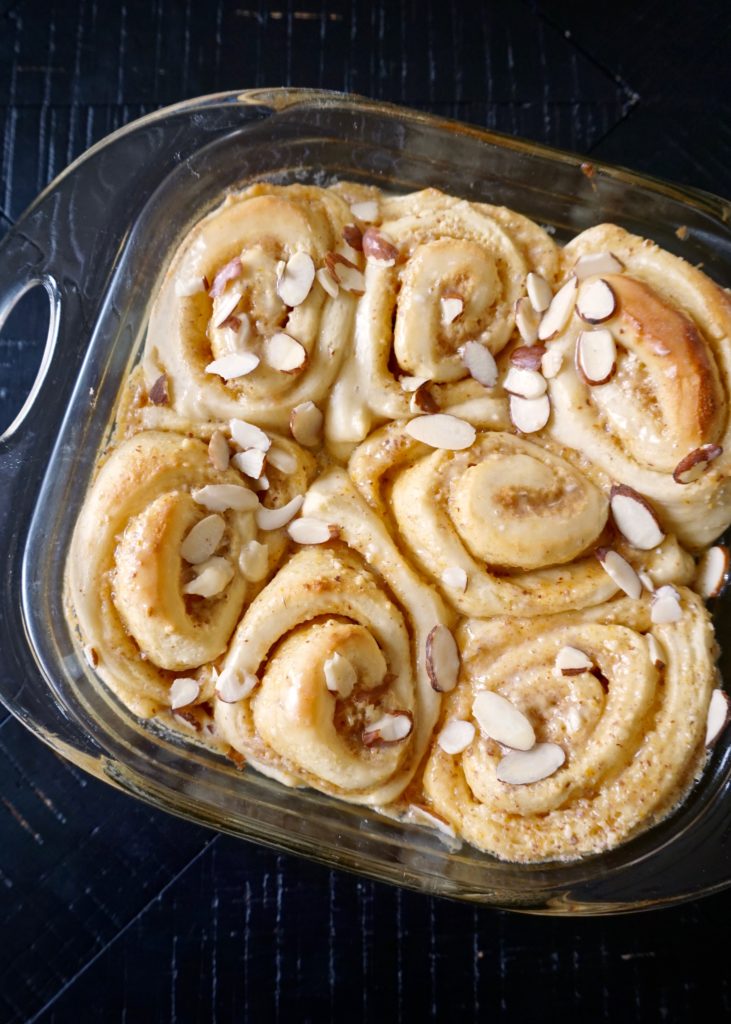
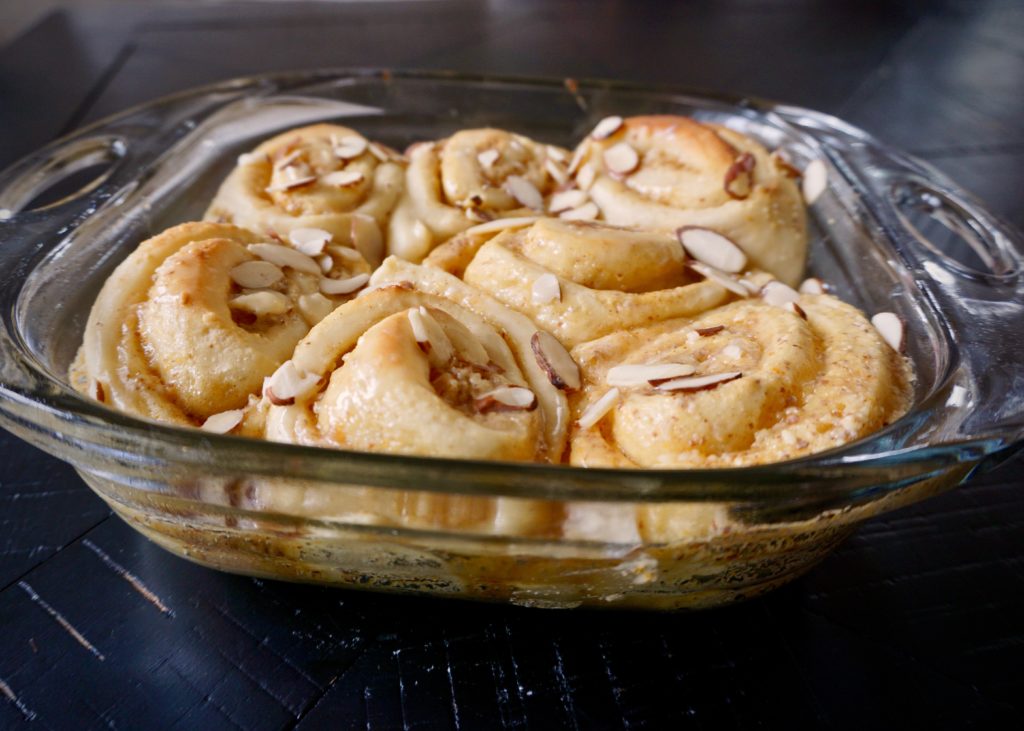
Cinnamon rolls might be my absolute favorite food (contending with really good pizza or focaccia)… can you tell I LOVE bread?! And when it comes to dessert, I’ve always loved anything with almond. Almond + dark chocolate = amazing. Marzipan (almond paste) = heavenly. Almond paired with cherries or any berries = divine! Because of this obsession, I decided I wanted to make a version of my mom’s famous (to us, anyway) cinnamon roll recipe that features almond. This recipe I found uses sliced almonds ground (with some sugar, butter, orange zest, cinnamon, vanilla, etc.) into a paste to make the filling. And an orange glaze gets drizzled on top. And it was insanely good! I did feel like the orange flavor was a bit stronger than the almond, so next time around I plan to use a classic glaze, omitting the orange juice and replacing the vanilla with almond extract. I’ve provided both glaze options in the recipe below!

Like I mentioned, I used my mom’s dough recipe. In addition to classic cinnamon rolls (and orange rolls & lemon rolls which I’ve already shared), it makes killer dinner rolls. You can follow the links to those recipes if you want more details on the dough process.

Almond Sweet Rolls

INGREDIENTS

for the dough:
3-4 cups all-purpose flour
1 Tbsp. instant yeast
1 tsp. salt
1/4 cup sugar
1/4 cup butter, melted
1 egg, whisked
1 cup + 2 Tbsp. warm milk

for the filling:
1/2 cup sliced almonds
1/4 cup sugar
1 egg
1/4 cup unsalted butter
zest of one orange
1/4 tsp. cinnamon
1 tsp. pure vanilla extract (you could use a combo of almond and vanilla extracts if you want extra almond flavor- I would try 1/2 tsp. vanilla + 1/4 tsp. almond)

for the orange glaze:
juice of one orange
1 1/2- 2 cups powdered sugar
pinch of salt

OR for the almond glaze:
2 Tbsp. butter, melted
2 cups powdered sugar
1/2 tsp. almond extract
2 Tbsp. milk (+ more to thin the glaze if necessary)
pinch salt

for topping:
handful sliced almonds

DIRECTIONS

1. In a large bowl, combine 1 1/2 cups flour, yeast, salt, and sugar. Whisk to combine. Pour in wet ingredients (butter, eggs, and milk). Stir until it is a thick paste. Add the remaining flour, 1/2 cup at a time, until it comes together into a ball.

2. Lightly flour a flat surface, and knead the dough, adding more flour to prevent sticking, 8-10 minutes, until smooth. Spray the inside of a bowl with cooking spray, place the dough inside, cover, and let rise in a warm place until doubled, about 1 hour.

3. While the dough is rising, prepare the almond cream. In a food processor combine the almonds, sugar, egg, butter, cinnamon, orange zest, and vanilla, and pulse until well combined and it has a smooth, pasty, buttery texture. Place in the refrigerator until ready to use.

4. Roll out the dough on a clean, well-floured surface into a large rectangle about 1/4 inch thick. Spread the almond cream evenly over the surface of the dough. Roll up the dough, keeping it pretty tight, and cut into rolls. Almond cream might seep out the sides and makes things a bit messy – that’s okay. Let rise in a loosely covered, well-greased 9 x 13 pan for another hour, or until doubled in size. You could also let them rise overnight in the refrigerator at this step and then bake them in the morning.

5. Sprinkle sliced almonds on top of the rolls & bake in a preheated oven at 350 degrees for about 15-20 minutes, or until slightly golden brown and cooked through.

6. To make the glaze, in a small bowl, whisk together the powdered sugar, fresh orange juice, and pinch of salt (or butter, powdered sugar, almond extract, milk and salt)-adjusting the powdered sugar and milk as necessary to achieve a pourable glaze- and then drizzle all over the rolls.

Makes a 9×13 pan, about 12 rolls.

Adapted from The Food Wright

Cornmeal Dinner Rolls

April 2, 2020

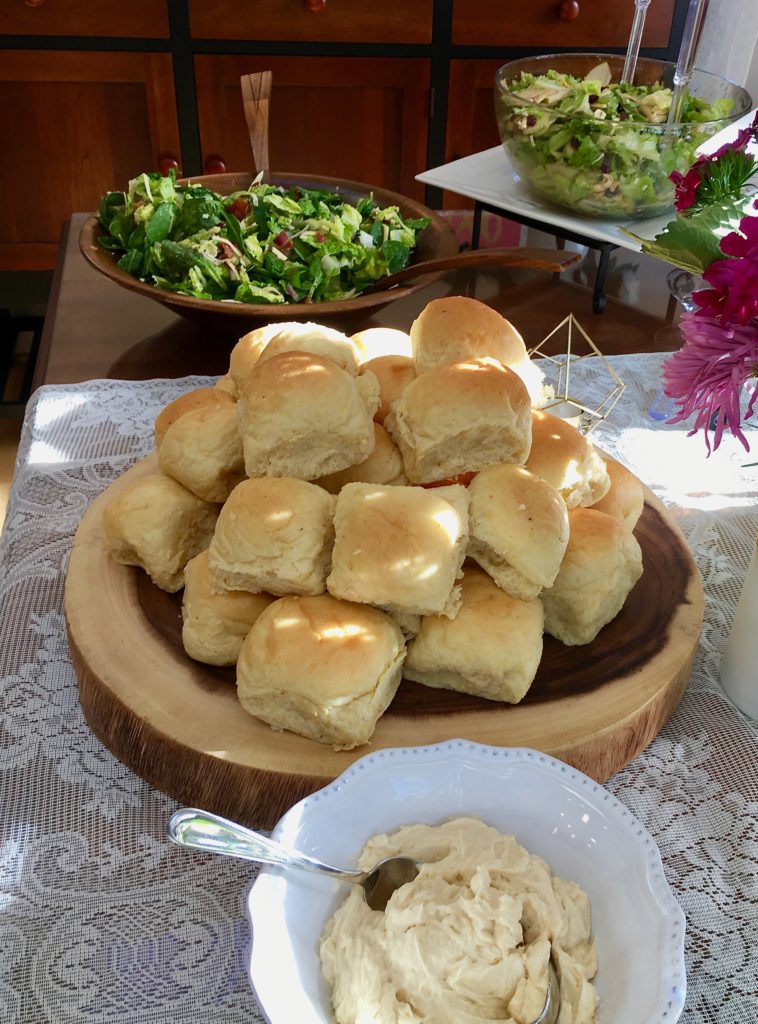
Baking is my first love. I learned to bake alongside my mom as I grew up and love making breads and desserts more than anything! My mom made some amazing rolls and they’ve always been my top comfort food. I still use her recipe to this day for classic dinner rolls and cinnamon rolls that are better than I’ve had in any bakery. I found today’s recipe on Mel’s site– you’ll see me share a lot of her recipes in the future. I was intrigued by the addition of cornmeal to the dough and had to try it out. Now I can’t stop making these because they’re just sooo good! This picture was taken when I took them to a friend’s baby shower and let’s just say I got a lot of recipe requests.

Cornmeal Dinner Rolls

INGREDIENTS

2 cups milk (1%, 2% or whole)
2/3 cup yellow corn meal
1 1/2 Tbsp. instant yeast (or active dry yeast*)
1/2 cup (1 stick) butter
1/3 cup granulated sugar
1 tsp. salt
3 large eggs
5 1/2 – 6 cups all-purpose flour (or you can use half white and half whole wheat flour)

DIRECTIONS

  1. In a medium saucepan set over medium heat, warm the milk to just below a simmer; tiny bubbles will appear around the edges (this is called scalding milk). Add the cornmeal (SLOWLY) and cook and stir constantly until the mixture is thickened and bubbling. It should be the consistency of porridge before taking off the heat.
  2. Pour the cornmeal mixture into the bowl of a stand mixer fitted with the dough hook or a large bowl (if mixing by hand) and let cool until lukewarm. Add the yeast, butter and sugar (if you dissolved active dry yeast with a bit of water and sugar until it foamed, add it now). Mix.
  3. Add the salt and eggs. Mix well. Add the flour gradually until a soft dough forms. Knead for 2-3 minutes (slightly longer if you use half whole wheat flour).
  4. Transfer the dough to a greased bowl and cover with lightly greased plastic wrap; let rise until doubled.
  5. Portion the dough into 24 equal pieces (about 2.75 to 3 ounces each) and roll into a taut ball on the counter. Place each roll on a large, rimmed baking sheet lined with parchment paper, spacing about an inch apart to allow for rising (on a 11X17-inch rimmed baking sheet, I fit 24 rolls on the sheet – four across, six down). Cover lightly with greased plastic wrap. Let the rolls rise until doubled (mine took about 1 1/2 hours).
  6. Bake at 375 degrees for 14-17 minutes (I baked for 12-15 min), until lightly browned and baked through. Remove from the oven and brush with butter while still warm.

*If you need/want to use active dry yeast instead of instant yeast, change the amount of yeast to 2 tbsp. active dry and dissolve the yeast in 1/2 cup warm water and 1 tbsp. sugar. Let the yeast mixture activate and foam (approximately 5 minutes) before adding it to the cornmeal mixture with the butter and 1/3 cup sugar

Makes 2 dozen rolls.

Recipe from Mel’s Kitchen Cafe

Whole Wheat Banana Bread

May 23, 2015

IMG_7919

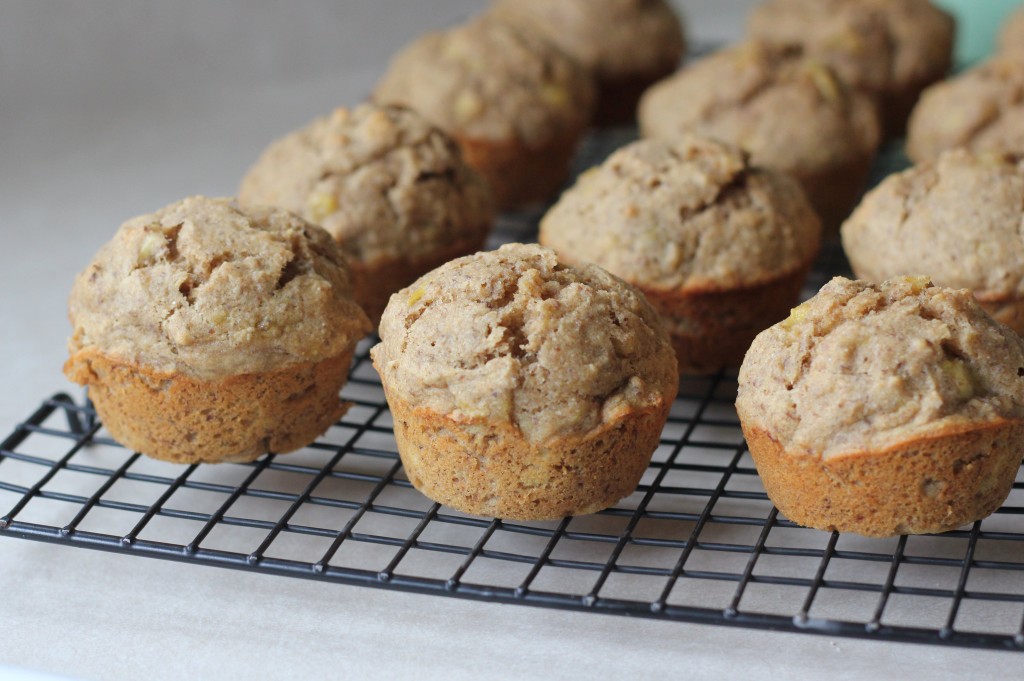
A basic banana muffin (or bread if you bake it as a loaf), made with 100% whole wheat (plus flax) and a touch of honey. These don’t taste nearly as healthy as they are. They’re soft and plenty sweet and lightly spiced (add the cinnamon!!). Enjoy them warm and then freeze the leftovers- they’ll stay fresh much longer and you can pull one out of the freezer for a snack anytime!

Whole Wheat Banana Bread/Muffins

INGREDIENTS

2 ¼ cups whole-wheat flour (I replaced 1/4 cup flour with ground flaxseed)
¾ tsp. baking soda
¼ tsp. salt
3 ripe bananas, mashed
¼ cup plain yogurt (I used nonfat plain Greek yogurt)
¼ cup honey
2 eggs
⅓ cup oil (I used melted coconut oil)
1 tsp. vanilla
1 tsp. cinnamon (optional)

DIRECTIONS

1. Preheat oven to 350 F and light coat a muffin pan with cooking spray.

2. Whisk together the flour, baking soda, and salt (and cinnamon if using).

3. In a separate bowl mix mashed bananas with yogurt, honey, eggs, oil, and vanilla.

4. Fold the banana mixture into the flour mixture until blended. Do not overmix.

5. Pour batter into prepared pan.

6. Bake in preheated oven for about 15 minutes, until a toothpick inserted into the center of a muffin comes out clean. Remove muffins from the pan to cool on a wire rack.

NOTE: This recipe can be made into a loaf. Bake in a loaf pan for ~50 min.

*high altitude adjustments (~7000 feet): increase oven temperature to 375 F, halve baking soda

Makes 12 large muffins.

(Adapted from 100 Days of Real Food)

Coconut Banana Muffins

January 9, 2014

coconut banana muffins

I can’t remember for sure (as it has been 20+ years) but being a toddler must be tough. Learning to move and communicate with a tiny awkward body. Constant tumbles. Constant rejection. Constantly sick and snotty. It must be frustrating figuring out a new world. Finding out that world isn’t fair.

Most of my day revolves around a miniature being who is so full of life and energy and so fed up with it at the same time. One minute I’m being smothered in hugs and kisses and the next I’m ducking swinging arms and legs amidst wails of despair. (It must be diaper changing time again.) She’s so sweet and innocent and meanwhile clever and mischievous and I never know what I’ll get.

coconut banana muffin

I consider myself a pretty nice mama. I patiently walk in to her bedroom in the middle of almost every night, to give her a hug and a kiss, a sip of water, and lay her back down to sleep. I cook her breakfast, lunch, and dinner and try my hardest to not throw a tantrum when she doesn’t eat. I spend hours at the park and on the floor playing blocks and drawing beside her and reorganizing the drawers she’s emptied. I set limits and stick her in time-out when she loses it. (Which she then begs for anytime I’m making her do something she doesn’t want to be doing. -i.e. diaper changing.) I’m her nurse, stylist, chef, maid, teacher, therapist, and punching bag.

And I love it. I lover her. But what I’m really saying is that some most days being a mama is tough and exhausting. But I’m guessing that being under two (or three, etc.) is hard too. And just like my little Clara, who can’t seem to remember that her potty is for poo-poo and not for stashing toys, I need reminding. That she’s not out to get me. That she needs me. And that she’s allowed to have bad days too.

coconut oil banana muffins

Anytime I ask Clara what she wants for a snack (which isn’t often, I usually decide what we eat) she’s guaranteed to say one of three things: “chi-chi’s” (cheerios), “oie” (orange), or muffie (muffin). (And she begs for pizza every night. I don’t blame her.) She’s loves her muffins and I love that I can stuff them full of healthy things: oatmeal, whole grains nuts/seeds, fruit (banana, raisins, whatever is in season) and even veggies such as carrots and zucchini.

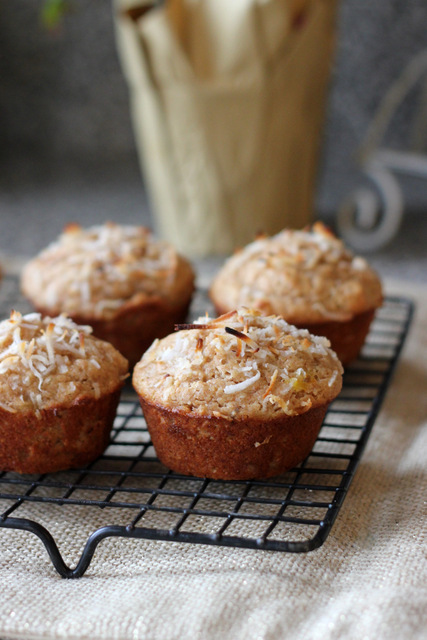
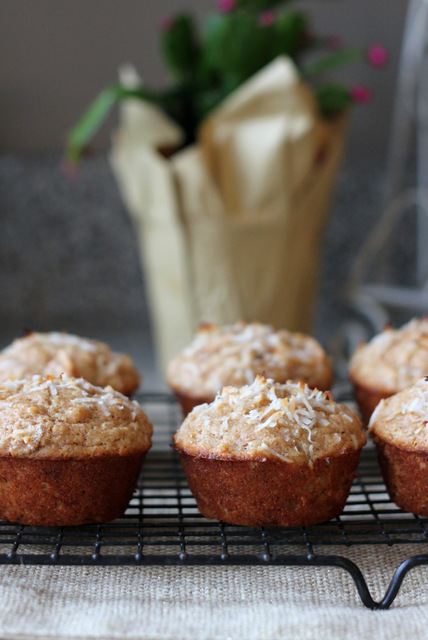
Today we have coconut banana muffins. I always make my muffins low-sugar (so beware, if you want a dessert-type muffin you’ll want to increase the amount of sugar) and usually low-fat by swapping out the oil for yogurt or applesauce. This time I left in the coconut oil because it adds so much flavor and has nutrient benefits. And instead of whole wheat flour, I used spelt. It’s still whole grain but makes for an even lighter, more tender muffin. Stock up on spelt- it makes some amazing bread and baked goods! There’s a bit of tang from the sour cream/yogurt and texture from the coconut. And they’re just sweet enough with banana and brown sugar and cinnamon.

Coconut Banana Muffins

INGREDIENTS

1 3/4 cup whole spelt flour (or white whole wheat flour)
2 tsp. baking powder
1/2 tsp. salt
1/2 tsp. cinnamon
1/4 tsp. nutmeg
1/4 cup brown sugar
1/4 cup coconut oil, melted
1/2 cup sour cream or plain yogurt
2 large eggs
1 tsp. pure vanilla extract
1 cup mashed ripe banana (about 2 large bananas)
1/4-1/2 cup unsweetened shredded coconut + extra for topping (If you use sweetened coconut you could reduce the sugar further)

DIRECTIONS

1. Preheat oven to 375 F. Line with muffin liners or lightly grease a 12 cup muffin pan.

2. In a large bowl, whisk to combine the flour, baking powder, salt, cinnamon, and nutmeg. In a separate bowl, whisk to combine the brown sugar, coconut oil, sour cream or yogurt, eggs, vanilla, and mashed banana. Add the wet ingredients to the dry and mix until just combined. Stir in the coconut. Spoon the batter into the prepared muffin pan.

3. Bake in preheated oven for about 15 minutes, until a toothpick inserted into the center of a muffin comes out clean. Cool in the pan for several minutes before removing muffins from the pan onto a wire rack to cool completely.

(NOTE: These muffins freeze well. Reheat at room temperature or in the microwave.)

Makes 12 muffins.

(Adapted from The Green Forks)