Category Archives: Breakfast

Blueberry Buttermilk Sheet Pan Pancakes

October 12, 2020

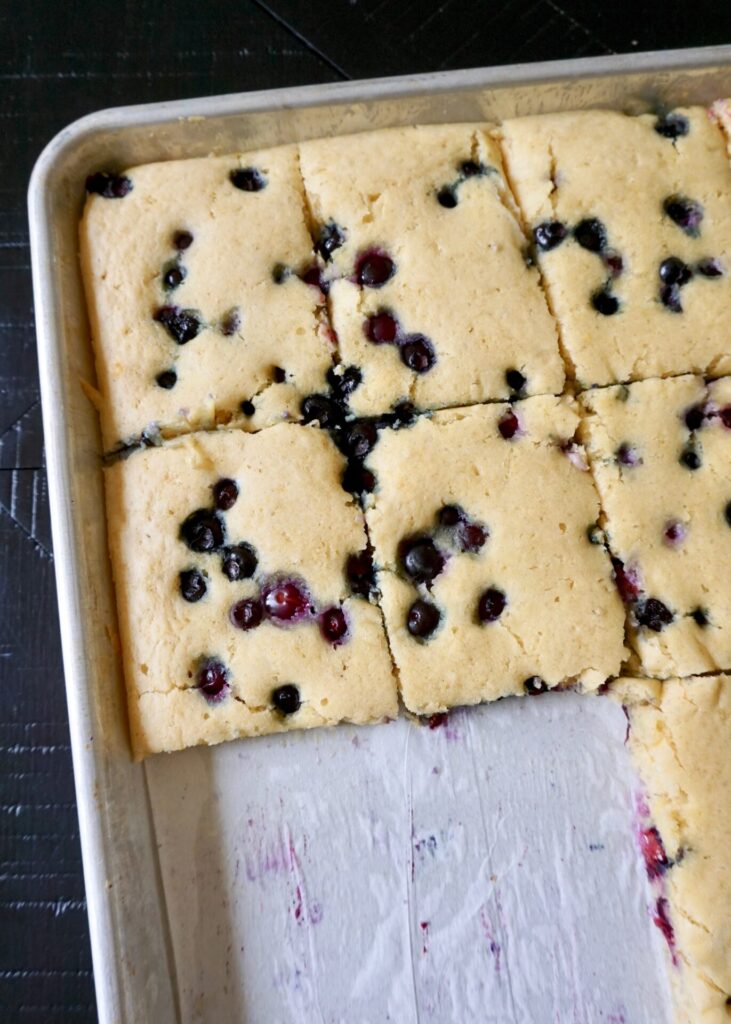
Besides bowls of cereal or peanut/almond butter on toast, blueberry pancakes (+ eggs scrambled with veggies) are the most frequently made breakfast foods around here. And this pancake mix is my go-to recipe. It makes part whole wheat, perfect fluffy pancakes that are best stuffed with blueberries. But it requires standing over the stove flipping pancakes one by one. So I was intrigued by the idea of cooking an entire batch of pancakes all at once in the oven! I thought for sure they would be inferior, but I was totally wrong! These sheet pan pancakes are very similar and just as delicious as the stove-top version.

I think you could increase the whole wheat flour to half with no problem (maybe add 1-2 Tbsp. more buttermilk if the batter seems too dry). Just about any berry would be delicious here. And I didn’t use nearly as much lemon as the recipe called for. I just wanted a hint of lemon flavor, so I stuck with about 1/4 of the zest and juice and it was just right.

Blueberry Buttermilk Sheet Pan Pancakes

INGREDIENTS

1 1/2 cups all-purpose flour
1/2 cup white whole wheat flour
2 Tbsp. sugar
2 tsp. baking powder
1 tsp. baking soda
1 tsp. kosher salt
2 Tbsp. unsalted butter, melted and cooled slightly
2 cups buttermilk (or 1 cup Greek yogurt + 1 1/4 cups milk)
2 large eggs
juice and zest of 1 medium lemon (optional, I only used about 1/4 of the lemon juice and zest because I didn’t want a strong lemon flavor)
1 1/2 tsp. vanilla extract
1 1/2- 2 cups blueberries (fresh or frozen, I used 2 cups frozen blueberries and I sprinkled them on top of the batter so they wouldn’t turn the batter blue, I’ve also used a mixture of blackberries, raspberries, and blueberries)

DIRECTIONS

  1. Preheat the oven to 400 F. Spray a rimmed 13 × 18-inch sheet pan with cooking spray (this will keep the parchment in place). Cut a piece of parchment paper to cover the bottom completely. Place on the sheet pan and spray more oil on the parchment and around the sides of the sheet pan.
  2. In a medium bowl, whisk together the flours, sugar, baking powder, baking soda, and salt. In another medium bowl, whisk together the butter, buttermilk (or yogurt and milk), eggs, lemon juice and zest, and vanilla.
  3. Add the wet ingredients to the dry ingredients and whisk until just combined.
    Do not overmix (or worry if there are some lumps). Gently fold in the blueberries with a spatula (or wait and sprinkle them on top once the batter is in the pan).
  4. Pour the batter into the prepared sheet pan. Spread evenly with a spatula, then tap the sheet pan on the counter a few times to settle the batter.
  5. Bake, until golden and set, about 12-15 minutes. Slice and serve with toppings of choice (with butter, syrup, yogurt, powdered sugar, fresh fruit, etc.!).

Makes a 13×18-inch sheet pan of pancakes.

(Adapted from Skinnytaste)

Denver Scramble

October 1, 2020

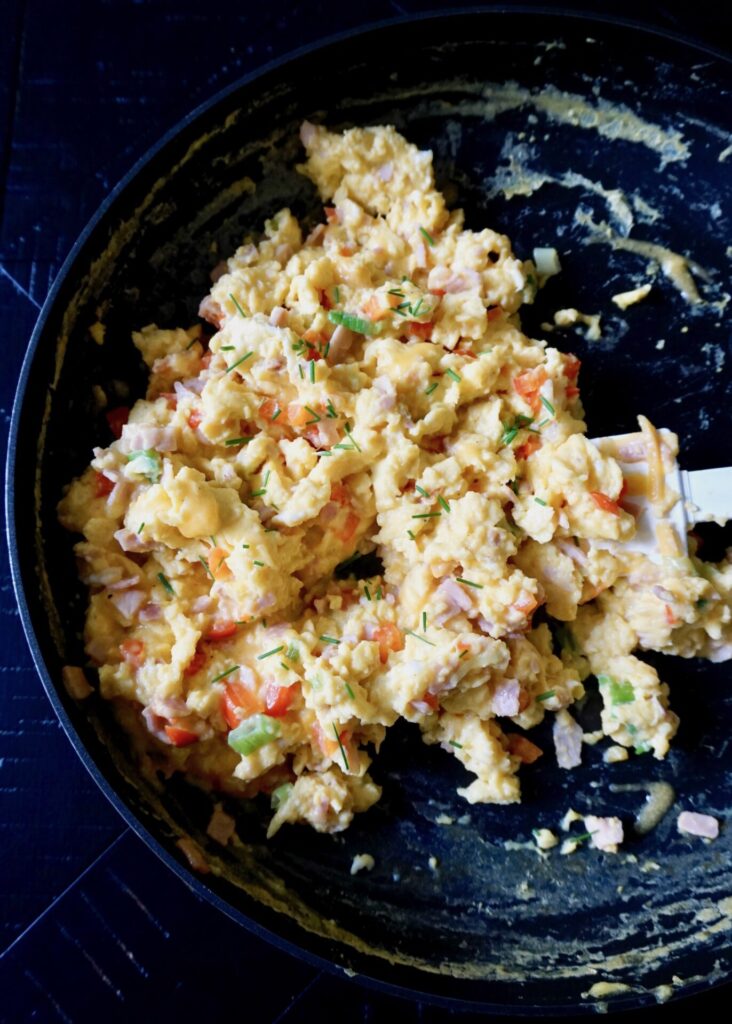
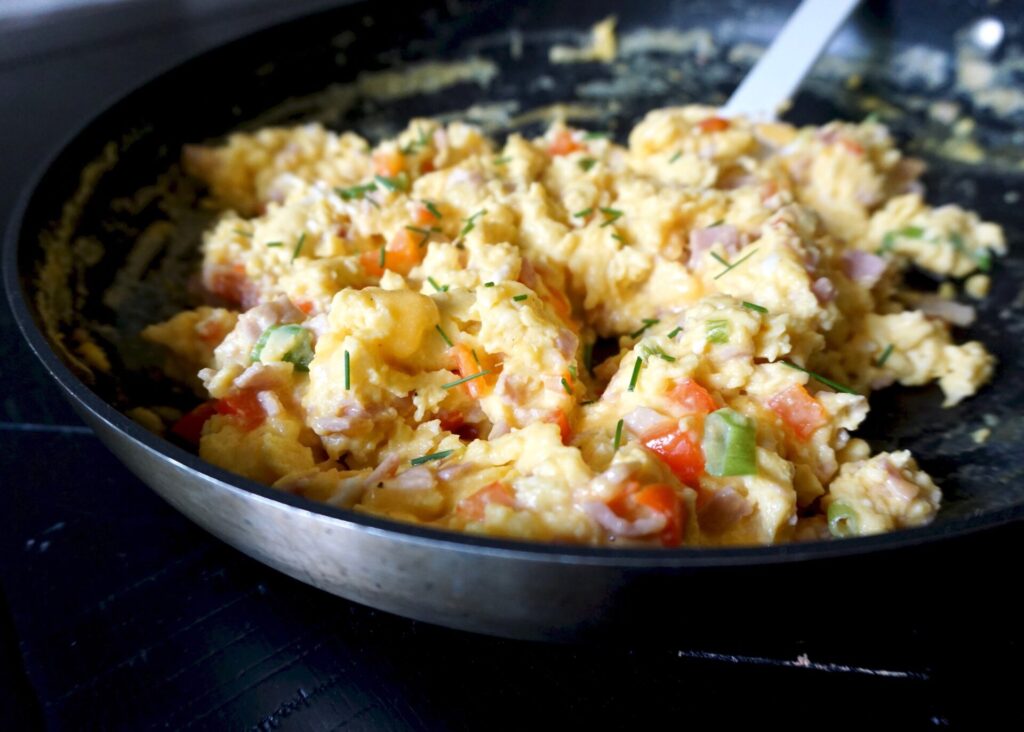
Before moving to the Seattle area, we lived in Colorado for 2 years. I was pregnant and in the newborn phase with Gwen for half of that time so I didn’t post very many recipes. But I did learn to bake at high altitude (this guide saved my life baked goods)! I’m not sure how this recipe, the Denver scramble, came by its name but I do know I saw it on many menus there. The combo of green onion, sweet peppers, salty ham, and cheddar cheese in soft scrambled eggs has become one of our family’s breakfast staples ever since.

Like many recipes I create, I don’t use exact amounts. Generally I use about 2 eggs per human (3 if they’re extra hungry). And you can adjust the amount of fillings (veggies, ham, and cheese to taste). My kids prefer it not be too veggie-heavy. I love lots of onion so I sprinkle extra chives on mine before serving. Salsa or hot sauce and avocado are often served alongside.

Denver Scramble

INGREDIENTS

eggs
bell pepper, diced (I usually use red, but any color works)
green onion, sliced
butter
ham (or Canadian bacon), diced
cheddar cheese (I use medium or sharp), grated
salt and freshly ground black pepper, to taste

optional for serving:
fresh chopped chives
salsa or hot sauce
sliced avocado

DIRECTIONS

  1. Crack eggs into a large bowl and whisk until well combined. Season with a pinch of salt and pepper.
  2. Heat a bit of butter (or a drizzle of olive oil) in a large nonstick skillet over medium heat. Add the bell pepper and green onion and saute a few minutes. Add the diced ham and continue cooking until the peppers and onion are just tender. Remove the pan from the heat and pour the mixture onto a plate and set aside. Wipe the skillet clean with a paper towel.
  3. Add another bit of butter to the same skillet and return it to medium-low heat. Pour in the whisked eggs. Scramble the eggs, stirring frequently with a spatula. When the eggs are about halfway done, stir in the bell pepper, onion, and ham mixture. When the eggs are just set, turn off the heat and stir in the cheese. Season to taste with salt and freshly ground black pepper, and serve with optional toppings.

Omelet Tortilla Wrap

September 14, 2020

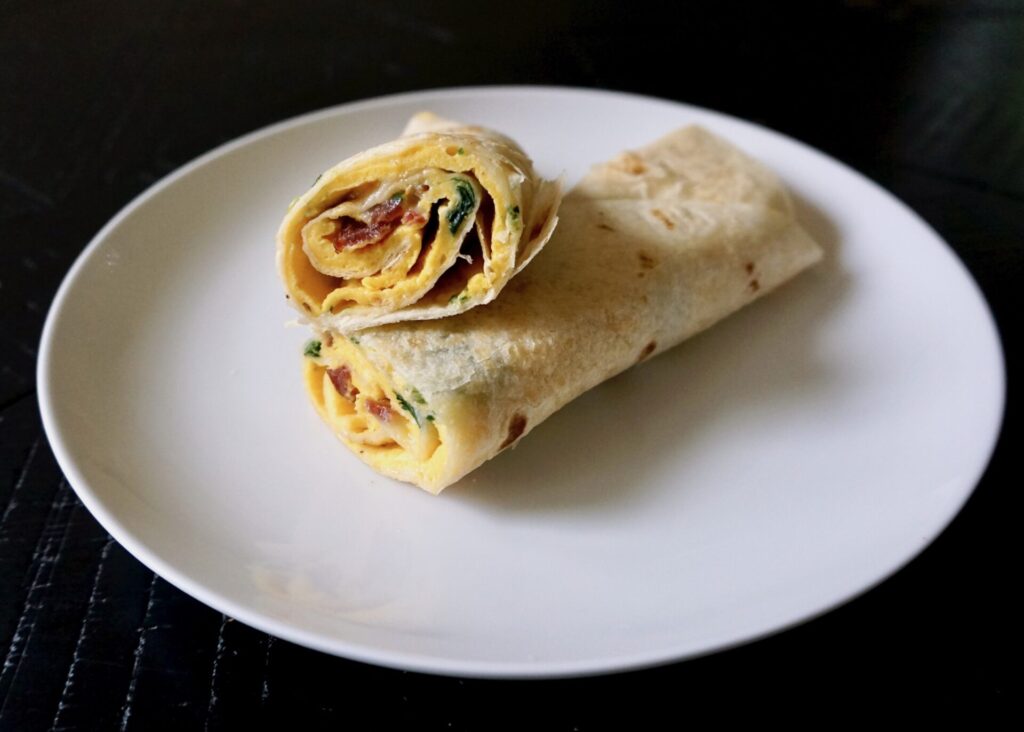
I first saw this omelet-tortilla concoction on a cooking show (which is the one type of television that I can tolerate and convince my kids to watch alongside me- especially if it’s the Great British Baking Show!). And when I saw this egg-wrap fusion made on the screen in front of me I had to bring it to life! Then I found this recipe by Skinnytaste that is very similar and made it my own.

After making these wraps several times I have some tips for success…

Most importantly, prep everything ahead of time. The eggs need to be whisked and seasoned, and the fillings (meat, veggies, cheese) chopped/grated/etc. ahead of time so you can grab them and go. These omelet-tortilla wraps cook quickly and you won’t have time to pause once you stop! I’m usually make 5+ in a row so it’s extra important everything is ready to go. On that note, if you need 5 wraps, times the recipe by 5. That means you’d need to whisk 10 eggs and increase the seasonings accordingly. I whisk the eggs all together and just try to pour in an approximately even amount for each one. No worries if it’s not perfect.

What you put in your omelet is totally up to you! I’ve stuffed it with only veggies and made it with bacon as well. I’ve used cheese every time because I love cheese so much, but just leave it out if you’re going for dairy-free. Hot sauce and salsa are options for serving on the side.

Omelet Tortilla Wrap

INGREDIENTS

2 large eggs, beaten
¼ tsp. kosher salt
pinch freshly ground black pepper
pinch fresh minced garlic or garlic powder (optional)
1 (8 or 10-inch) tortilla

Optional Additions:
bacon, cooked and crumbled (or sliced ham, Canadian bacon, etc.)
thinly sliced mushroom (or another vegetable- I’ve also made it with sun-dried tomatoes and that is especially delicious!)
chopped baby spinach (or another green/herb)
grated cheese (I used Pepper Jack)

hot sauce or salsa, for serving (optional)

DIRECTIONS

  1. In a small bowl whisk together the eggs, salt, pepper, and garlic (if using) and set aside.
  2. Heat a large (at least the size of your tortilla) non-stick skillet over medium heat. Lightly coat with cooking spray. Pour in the egg mixture and swirl the pan so the eggs evenly coat the bottom of the pan.
  3. Top the eggs with your add-ins of choice (I used crumbled bacon, chopped baby spinach, sliced mushrooms, and Pepper Jack cheese). Then place the tortilla on top of the omelet and press gently with your hands, using the uncooked part of the egg as a sort-of glue. Allow to set for about 10 seconds.
  4. Run a flat spatula along the outside of the omelet, carefully releasing the edge to prepare for flipping. Quickly flip the omelet and cook, tortilla side down for about 1 minute more, until the eggs are cooked through and the tortilla is browned and beginning to crisp.
  5. Transfer to a plate and carefully roll up the tortilla. Place seam side down and cut in half. Serve with fresh salsa or hot sauce, if desired.

Makes 1 wrap, but recipe can be repeated as many times as desired.

(Adapted from SkinnyTaste)

Zucchini Cheddar Frittata

September 2, 2020

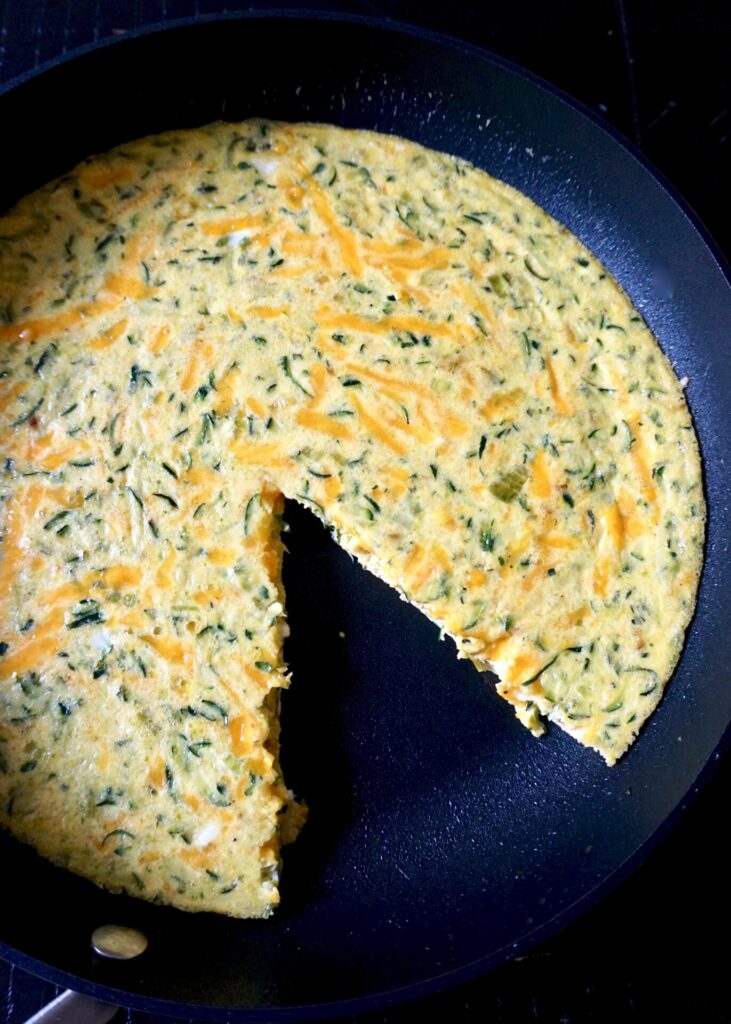
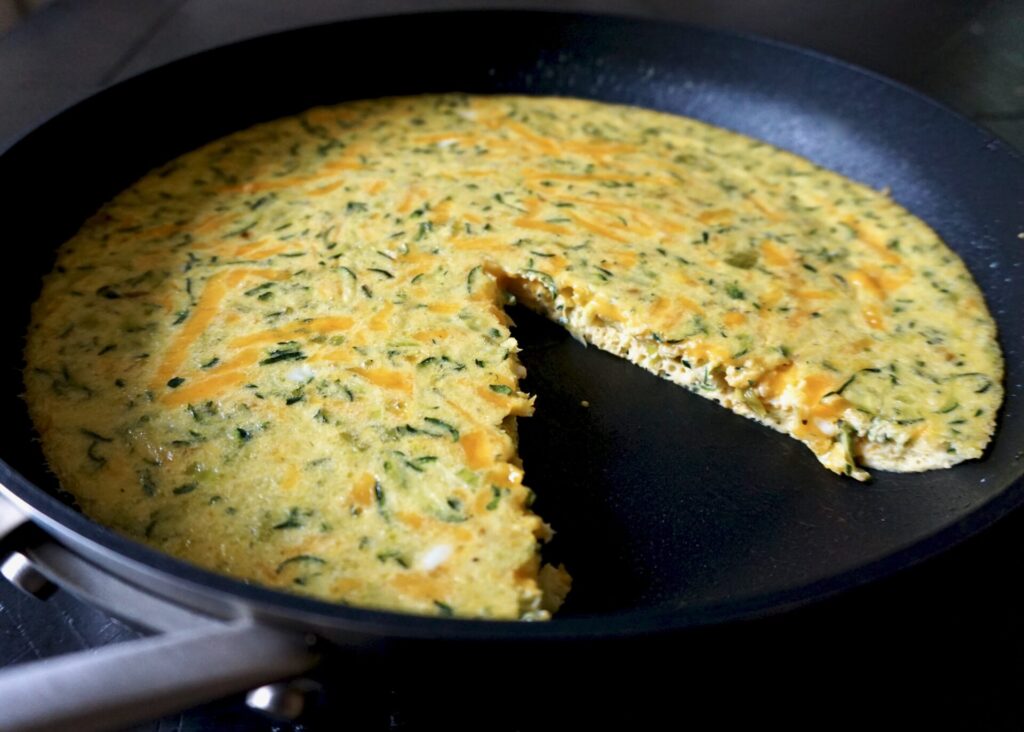
I have a hard time convincing anyone else around here to eat zucchini. (Unless it’s disguised in a baked good or this delicious cornbread.) So I didn’t have high hopes for this zucchini frittata, and was so surprised when all my kids and husband ate it without complaining! Consider it both zucchini-lover and zucchini-suspicious approved.

I think the secret to the success of this frittata is shredding the zucchini. It almost blends into the texture of the eggs and cheese. I used a sharp Cheddar and lightened it slightly by using half and half instead of cream (it was still plenty rich). This recipe is quick and flavorful and full of veggies- everything I like!

Zucchini Cheddar Frittata

INGREDIENTS

12 oz. zucchini (about 2 small zucchini)
2 Tbsp. unsalted butter
1/4 cup finely chopped shallots (or green onion)
3/4 tsp. salt, divided
6 large eggs
1/4 cup heavy cream (I used half and half)
1/4 tsp. freshly ground black pepper
3 oz. (about 1 cup) grated sharp Cheddar cheese

DIRECTIONS

  1. Preheat the oven to 325 F.
  2. Using a food processor or box grater, grate the zucchini. Place the grated zucchini on top of several layers of paper towels or inside a kitchen towel and wring dry. If necessary, repeat 1-2 times to remove any excess moisture.
  3. In an 8 or 10-inch ovenproof, nonstick sauté pan, melt the butter over medium heat. Add the shallot (or green onion), zucchini and 1/2 teaspoon salt and cook, stirring occasionally, until the moisture evaporates and the zucchini is tender, 6-7 minutes.
  4. Meanwhile, in a medium bowl, whisk together the eggs, heavy cream (or half and half), remaining 1/4 teaspoon salt and pepper.
  5. Add the cooked zucchini and grated cheese to the egg mixture and stir to combine. Pour the frittata mixture into the pan (no need to wash it), then place in the oven and bake until set, 20-23 minutes (I used a 10-inch pan and it cooked in 20 minutes). Carefully (remember the handle will be HOT!) remove the frittata from the oven and let sit several minutes before slicing to serve.

Serves 2-4.

(Adapted from Once Upon a Chef)

Baked Ham and Cheese Croissants

August 27, 2020

Today’s recipe was inspired by all the croissants we devoured on our trip to Paris two summers ago. Dustin was addicted to the chocolate croissants, the almond were my favorite, and for a slightly healthier breakfast or lunch we’d pick up a hot ham and cheese croissant sandwich. While I’m not about to make my own croissant dough or almond paste, the ham and cheese version is simple to make at home!

This time around (because there have been many times- though we save these for special occasions!) I bought mini croissants at Whole Foods. I like to make a spread of mayonnaise and stoneground mustard (with a few fresh snipped chives if I have them) to spread on one half of the croissant and then layer the ham and cheese before baking them until melty in the middle and crisp on top. That’s it! A little bite of France in your own kitchen.

Baked Ham and Cheese Croissants

INGREDIENTS

croissants, sliced in half
deli ham, thinly sliced (black forest ham is our favorite)
Muenster cheese, thinly sliced (or Havarti, Cheddar, Swiss, etc.)
mayonnaise
stoneground mustard, to taste
fresh chives, chopped (optional)

DIRECTIONS

  1. Preheat oven to 350 F.
  2. In a small bowl, stir to combine mayonnaise, a squeeze of stoneground mustard, and a few chopped fresh chives. Spread a bit of the mayonnaise mixture on the bottom side of each croissant. Top with a slice of cheese, some deli ham, and another slice of cheese, and the top of the croissant. Place prepared croissants on a baking sheet.
  3. Cover the croissants with aluminum foil and bake in the preheated oven for 15-20 minutes, until the cheese is melted and they are warmed throughout, removing the foil for the last few minutes to crisp the tops. Remove from the oven and serve immediately.