Category Archives: Dessert

Cinnamon Ice Cream

February 22, 2011

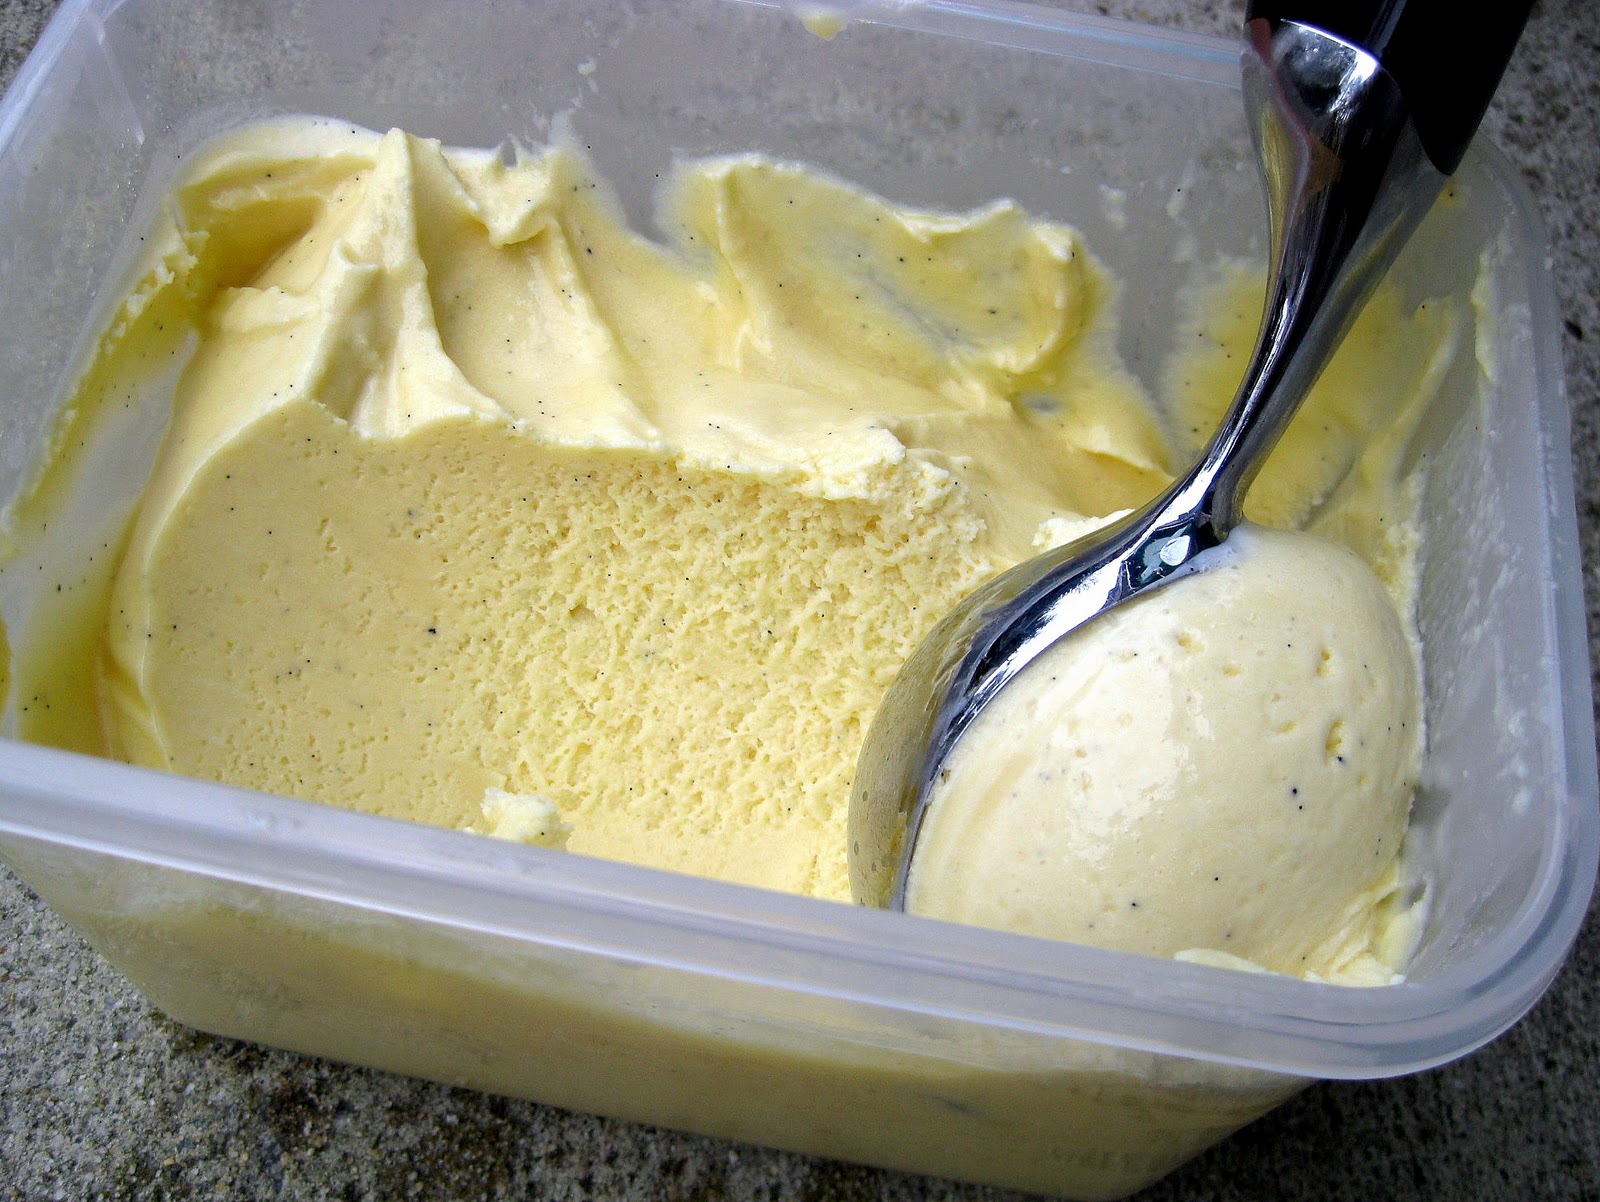
I’ve been churning a quart of ice cream almost weekly since I unwrapped my ice cream maker on Christmas Day. I’ve made a lot of vanilla- French-style with eggs and Philadelphia-style without, some with whole milk and another batch with low-fat. Then came the richest most luxurious ice cream I’ve ever met- Salted Caramel. This last week I spiced up the usual vanilla with a little cinnamon. I thought it was the perfect occasion to try a new addition to my spice collection- Vietnamese cinnamon. Vietnamese cinnamon is known for its intensity. According to My Spice Sage it’s powerfully spicy, sweet, and warm. For this reason, I used slightly less than the recipe called for. I didn’t want the cinnamon to overwhelm the other flavors. And it was just right. You can, of course, stick to using any regular ground cinnamon. Just make sure it’s fairly fresh so that your ice cream is aromatic and wonderful.

I realize I occasionally use ingredients that aren’t easy to find at every supermarket. I’ve had trouble locating some of them myself and/or been frustrated at how expensive they are. And then recently I discovered the web site I referenced above- My Spice Sage. (I’m NOT being paid to advertise for them or getting any credit at all- I’m just sharing my sources!) They carry almost any obscure spice you can dream up, and then all the usuals. Shipping is a reasonable flat rate and they always throw in a free sample of your choice, as well as a free gift (with my last order I got 8 FREE Madagascar Vanilla Beans- which is worth quite a bit of money and handy when you’re making so much vanilla ice cream). And I know that there are other similar sites out there.

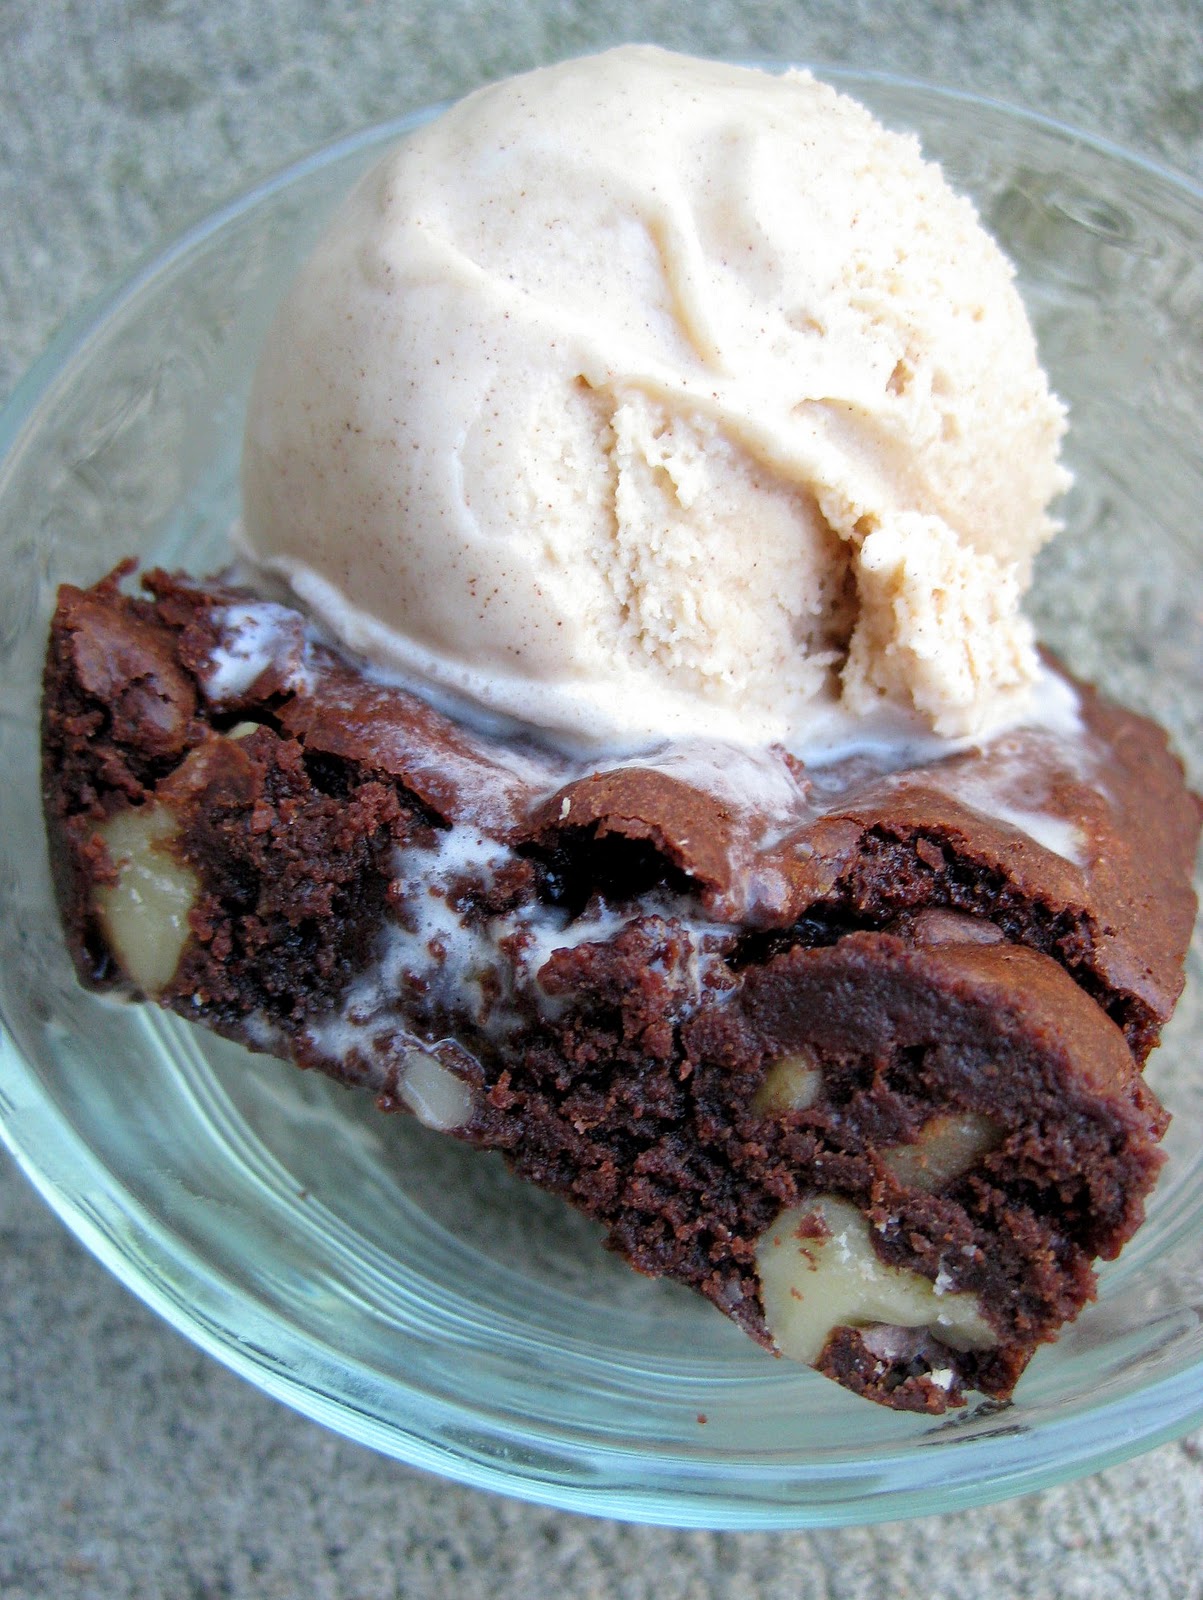
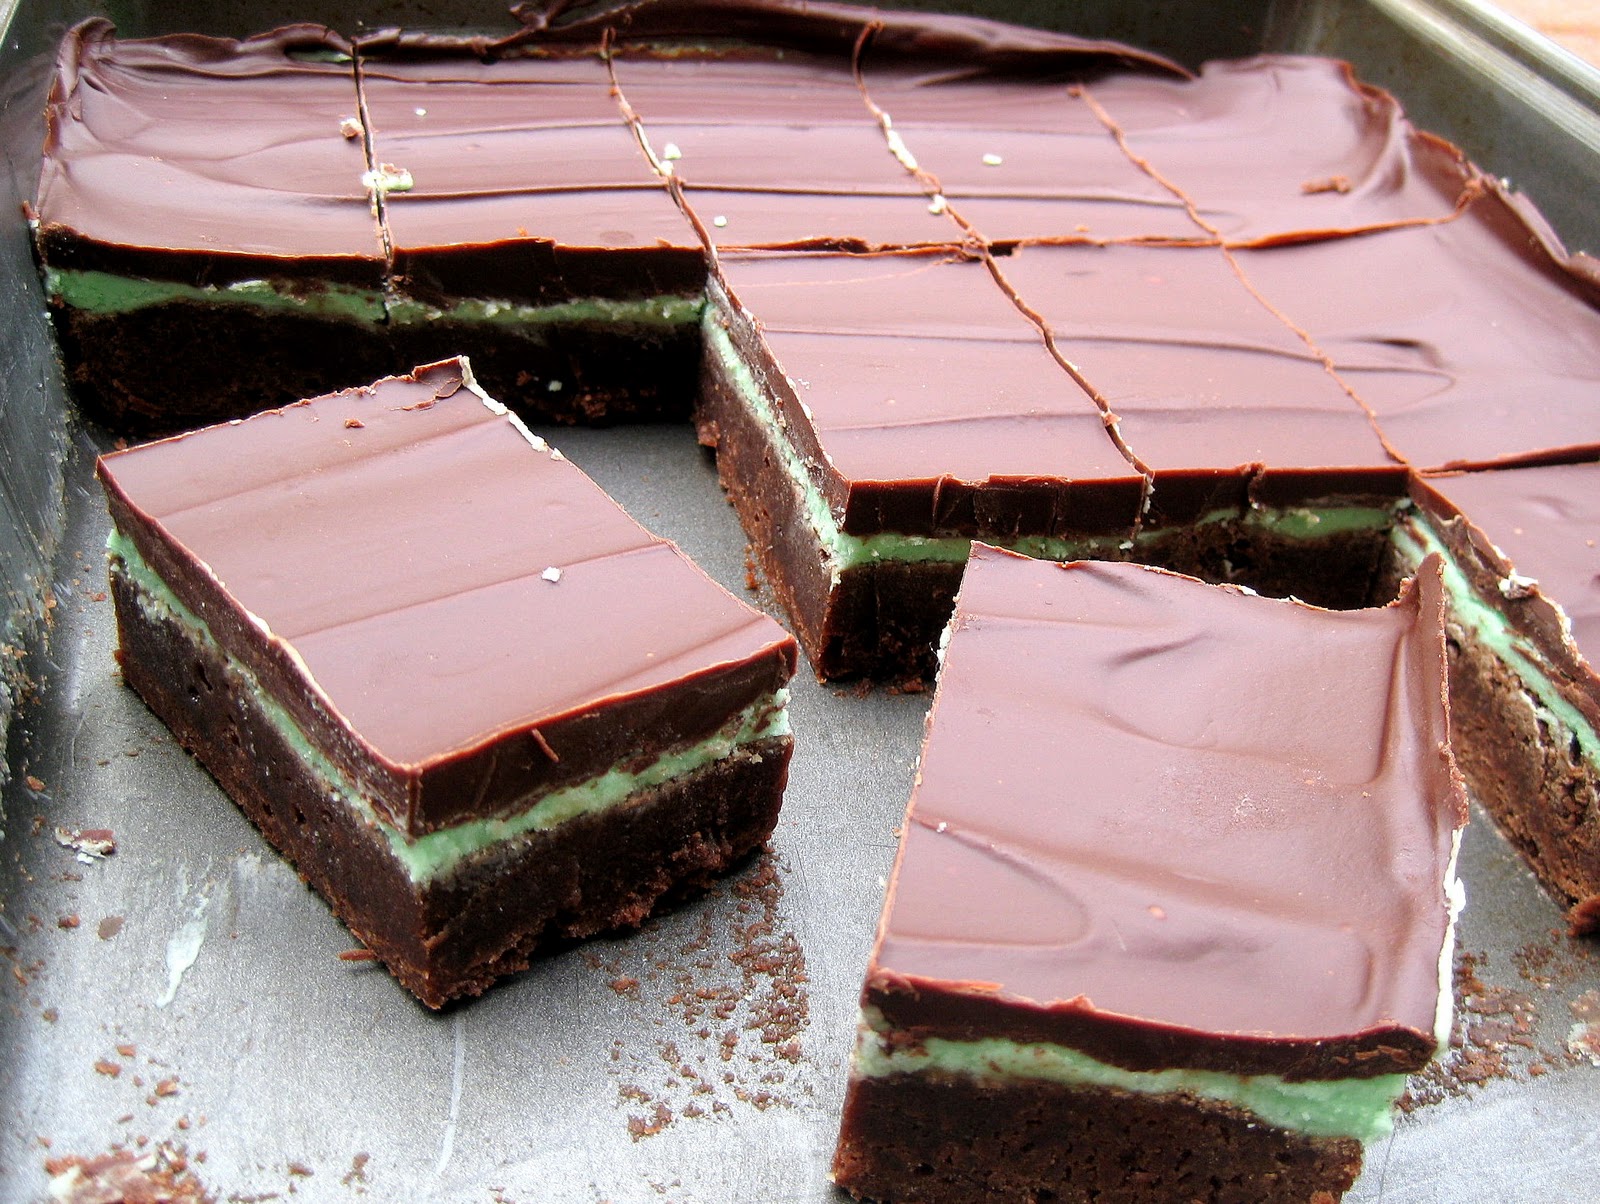
In case you’re wondering, those are the Browned Butter Walnut Brownies I made for Valentines Day and served with this cinnamon ice cream. The combination was devastating. Dustin, who doesn’t care much for cinnamon, was amazed at how much he loved it. He asked me how a little spice could transform ordinary ice cream into something so good. Magic is my guess.

Cinnamon Ice Cream

INGREDIENTS

2 cups heavy cream
1 cup whole milk (or 2% milk)
3/4 cup sugar
1/4 tsp. salt
2 eggs, whisked (or 5 yolks)
1 tsp. vanilla extract
2 tsp. ground cinnamon (I used 1 1/2 tsp. Vietnamese cinnamon)

DIRECTIONS

1. In a saucepan over medium heat, dissolve the sugar in the milk and 1 cup of heavy cream. When the mixture begins to simmer, remove from the heat and add to the whisked eggs in a slow stream, whisking constantly (if you alter the temperature too quickly the eggs will scramble).

2. Pour back into the saucepan and cook over medium heat, stirring frequently, until custard coats the back of a spoon and registers 170 F (do not let boil). Remove from the heat and whisk in the remaning cream, salt, vanilla, and cinnamon. Chill custard (preferably overnight) until very cold.

3. Pour custard into an ice cream maker and freeze according to manufacturer’s directions. Transfer to an airtight container and place in freezer to firm up.

Makes about 1 quart.

(Adapted from Simply Recipes and All Recipes)

Spiced Applesauce Cake with Cinnamon Cream Cheese Frosting

February 10, 2011

I feel like a hypocrite posting this recipe only several days after demonizing sugar. Let’s get one thing straight: sugar isn’t evil. Only concentrated amounts of it on a regular basis can wreak havoc on your body. So when your parents turn fifty-something and it’s time to celebrate, have a slice of cake (and a scoop of the most luxurious salted caramel ice cream) and don’t feel bad about it. Just don’t eat the whole cake. Share with friends. Banish leftovers to the freezer. Whatever works. This cake is worthy of a special occasion. It’s aromatic and moist. The cinnamon makes the cream cheese frosting unforgettable. And that ice cream… well, you’ll have to wait to hear about it another day!

Spiced Applesauce Cake with Cinnamon Cream Cheese Frosting

INGREDIENTS

Spiced Applesauce Cake:
2 cups all-purpose flour
2 tsp. baking powder
1/2 tsp. baking soda
1/2 tsp. salt
3/4 tsp. cinnamon
1/2 tsp. ground ginger
1/8 tsp. cloves
1/2 cup (1 stick) unsalted butter, softened
1 cup packed light brown sugar
1 tsp. pure vanilla extract
2 large eggs
1 1/2 cups unsweetened applesauce
1/2 cup walnuts, toasted and chopped (optional)

Cinnamon Cream Cheese Frosting:
5 oz. cream cheese, softened
3 Tbsp. unsalted butter, softened
1/4 tsp. pure vanilla extract
1 cup powdered sugar
1/2 tsp. cinnamon

DIRECTIONS

1. Preheat oven to 350 F. Butter a 8 or 9 inch square cake pan.

2. In a medium bowl, whisk together flour, baking powder, baking soda, salt, and spices. In a separate large bowl, beat butter, brown sugar, and vanilla with an electric mixer at high speed until pale and fluffy, 2-3 minutes. Add eggs, 1 at a time, beating well after each addition, then beat in applesauce. At low speed, mix in flour until just combined, then fold in walnuts.

3. Spread batter evenly in prepared pan and bake in preheated oven for 35-45 minutes, until a toothpick inserted into the center comes out clean. Cool in pan 15 minutes. Run a knife around the edge of the cake to loosen, then invert onto a plate. Reinvert cake onto rack to cool completely.

4. To prepare the frosting, beat cream cheese, butter, and vanilla with an electric mixer at high speed until light and fluffy. Sift powdered sugar and cinnamon over top and beat at medium speed until incorporated. Spread frosting over cooled cake.

Makes a single-layer 8 or 9 inch square cake.

(Adapted from Gourmet)

White Chocolate Walnut Blondies with Maple Cream Sauce

January 26, 2011

This morning I’ll be receiving my first formal culinary training. I’ve been wanting to take a cooking class for ages, and for Christmas, Dustin granted my wish! I wanted to learn something that I wouldn’t ordinarily make at home and so I chose puff pastry. I might be able to make a near-perfect pie crust, but I always thought of flakey layered puff pastry as something you purchased. No longer! (Or at least that’s what I’m hoping.) But even if my pastry creations disappoint, the experience should be fun!

As much as I love cooking (and eating healthy), I have a weakness for baking. I guess you could say that I cook out of necessity and bake for pleasure. Breads, cookies, cakes… I’m not ashamed to play favorites.  Let’s be real- the best prepared vegetable (and I like vegetables) will never produce the same reaction as a hot buttered slice of homemade bread or a warm and gooey chocolate chip cookie. So mingled amongst the nutritious and savory, I slip in something sweet and sinful every so often.

If you’re in the mood for a spectacular treat, try this one. This recipe is meant to mimick a dessert served at Applebee’s (I wouldn’t know, we don’t won’t eat there). It consists of three essential elements: a warm blonde “brownie” base stuffed with white chocolate chips and walnuts, a scoop of vanilla bean ice cream, and a drizzle of hot maple cream sauce. You can even add more toasted walnuts on top. While each respective part is good, it’s the combination of the three that is unforgettable. Check back in a day or two for an easy homemade vanilla ice cream recipe!

White Chocolate Walnut Blondies with Maple Cream Sauce

INGREDIENTS

Blondies:
3 cups all-purpose flour
1/4 tsp. salt
1 tsp. baking powder
10 Tbsp. unsalted butter, melted
2 cups light brown sugar
3 eggs, lightly beaten
1 tsp. pure vanilla extract
1/2 cup walnuts, chopped
1 cup white chocolate chips

Maple Cream Sauce:
2 Tbsp. unsalted butter
1/2 cup pure maple syrup
1 1/2 cups heavy cream

vanilla bean ice cream, for serving
walnuts, toasted and chopped, for serving

DIRECTIONS

1. Preheat oven to 350 F. Lightly grease a 9×13 baking pan.

2. In a medium bowl, whisk to combine the flour, salt, and baking powder. In a separate large bowl, whisk to combine the melted butter and brown sugar until well-blended. Stir in the eggs and vanilla, mixing well. Slowly add the flour mixture to the wet ingredients, until moist throughout (be careful not to overmix). Stir in the walnuts and white chocolate chips. (The batter will be very thick.)

3. Pour batter into the prepared baking dish and baked in preheated oven for 20-25 minutes, until a toothpick inserted into the center comes out clean. Cool slightly before serving.

4. To prepare the maple cream sauce, melt butter in a medium saucepan over medium heat. Add the maple syrup and heavy cream and bring to a simmer. Reduce heat slightly and simmer for about 30 minutes, until thickened and reduced by 1/3. Let cool slightly before serving. (Or refrigerate and reheat prior to serving.)

5. Place a scoop of vanilla ice cream over top of a warm blondie. Drizzle with warm maple cream sauce, sprinkle with toasted walnuts and serve.

Serves 12.

(Adapted from Tasty Kitchen)

Vanilla Bean Ice Cream (French-Style)

January 13, 2011

Here it is, my first batch of homemade ice cream! Naturally, I started with vanilla. Made with the real thing– a Madagascar vanilla bean! First, a word on vanilla beans. I did a little research on the subject and concluded a few things: there are several places they come from (Tahiti, Mexico, and Madagascar) and the origin of the bean affects its flavor and potency, they are expensive, and they’re best fresh. Madagascar (also referred to as Bourbon) beans tend to be bold and robust. Why I chose to use them brings us to point number two- price. A single vanilla bean can set you back anywhere from 3-10 $ at a local grocery store. So I went online and found a great deal at Amazon- 7 Madagascar beans for around 7 $ (and free shipping). Sold. But if you can’t fathom yourself using up seven beans in the next year or so, this may not be the best option for you. They’re only worth it if they’re fresh, which is evident if they’re juicy and plump and intensely vanilla-y. Store them in a airtight container (such as a zipped plastic baggie) in a cool dark place (but NOT the refrigerator or freezer). I anticipated that I wouldn’t have a problem making seven batches of ice cream in the next year. In fact, I may be out of vanilla beans by next month.

Now about the ice cream. I read up on a lot of recipes before attempting this one. Apparently there’s not one right way to do vanilla. Since it was my first try, I went with an ultra-creamy highly rated recipe from David Lebovitz. And then I switched things up by following the method from a recipe in Gourmet. I took some risks, and second guessed myself quite a bit, but in the end all was well. Here’s what I learned: you could substitute half and half or a lower fat milk for some of the cream (but the end product will be less creamy and more icy), the vanilla extract is optional (the vanilla bean provided plenty of flavor on it’s own and next time I plan on omitting the extract), and the custard can be made without a thermometer (it will just be more stressful). If you don’t have a candy thermometer, bring the custard to the point where it begins to bubble around the edges of the pot, before it reaches a full boil, and remove it from the heat. It worked for me. But I didn’t enjoy worrying about whether I was going to ruin my custard so I already went out and bought a thermometer for next time.

My last piece of advice is to make sure that the custard and the ice cream maker bowl are both properly cold before the churning process begins. Carefully follow the instructions that came with your ice cream maker. I know this seems like a lot to remember, but it’s not as complicated as it sounds. The finished product is so luxurious and infinitely better than what you’ll buy in the store that it’s worth the few extra steps. This recipe is fantastic on it’s own or perfect for topping a fudgy brownie or slice of pie. And you always have the option of adding in something extra- I’m thinking cinnamon!

Vanilla Bean Ice Cream (French-Style)

INGREDIENTS

1 cup whole milk
pinch salt
3/4 cup sugar
1 vanilla bean, split lengthwise
2 cups heavy cream
5 large egg yolks
1 tsp. pure vanilla extract (optional)

DIRECTIONS

1. With a knife scrape the seeds of the halved vanilla bean into a large heavy saucepan and stir in pods, milk, salt, sugar, and cream. Bring mixture just to a simmer, stirring occasionally, and remove pan from heat.

2. In a large bowl lightly beat eggs. Add hot cream mixture to eggs in a slow stream, whisking (this process is called tempering, if you add the hot cream too fast the eggs will scramble), and pour into pan. Cook custard over moderately low heat, stirring constantly, until a thermometer registers 170°F. (Do not let boil.) Pour custard through a sieve into a clean bowl (making sure to remove the vanilla bean pods), stir in the vanilla extract (if using), and cool. Chill custard, its surface covered with wax paper, at least 3 hours, or until cold (preferably overnight).

3. Freeze custard according to ice-cream maker instructions.Transfer ice cream to an airtight container and put in freezer to harden.

Makes about 1 quart.

(Adapted from David Lebovitz and Gourmet)

Mint Brownies

December 17, 2010

My mom loves mint brownies. And for a long time I’d promised her I’d make some. So last week when my family (the condensed version) came down to attend my graduation, I baked these. It turns out we all love mint brownies. Even Dustin, who thinks that the brownie shouldn’t be messed with. He gets uneasy whenever he hears I’m putting a new twist on something traditional. But the boy couldn’t stop eating these. (Victory!) Maybe it was the fudgy brownie base, or perhaps the thin layer of mint filling. Or was it the rich chocolate topping? Probably the irresistible combination of all three.

I was a little bit concerned about how much butter went into these brownies. It’s probably why they’re so awesome. Two sticks here, another two there. What’s a little butter over the holidays, right? Just make sure you’ve got someone to share these with. (And the recipe could easily be reduced by half, or less.)

Mint Brownies

INGREDIENTS

Brownie Batter:
1 cup (2 sticks) unsalted butter, melted
1/2 cup unsweetened cocoa powder
2 cups sugar
4 eggs, whisked
1 tsp. pure vanilla extract
1/2 tsp. salt
1 1/2 cups sifted all-purpose flour

Mint Frosting:
1/2 cup (1 stick) unsalted butter, softened
2 Tbsp. milk
2 cups powdered sugar
1 tsp. peppermint extract
green food coloring (optional)

Chocolate Topping:
1/2 cup (1 stick) unsalted butter
1 1/2 cups semi-sweet chocolate chips

DIRECTIONS

1. Preheat oven to 350 F. Lightly grease a 9×13 baking pan with cooking spray.

2. To make the brownie batter, in a large bowl, whisk to combine melted butter and cocoa powder. Add the sugar, eggs, vanilla, and salt and mix well. Stir in the flour, mixing until just combined. Pour into the prepared baking dish. Bake in preheated oven for about 20 minutes, until set in the center. Cool slightly before placing in the freezer for 20 minutes.

3. To prepare the mint frosting, combine all ingredients in a medium bowl. Mix with electric beaters on medium speed until fluffy. Spread over brownies and return pan to freezer for 20 more minutes.

4. To prepare the chocolate topping, melt butter and chocolate together in a glass bowl (on the stove or in the microwave). Drizzle over brownies and spread into an even layer with a spatula. Place in the freezer or refrigerator until set.

Fills a 9×13 pan.

(Adapted from Make it Do)