Category Archives: Dessert

Carrot Cake with Whipped Cream Cream Cheese Frosting

April 14, 2020

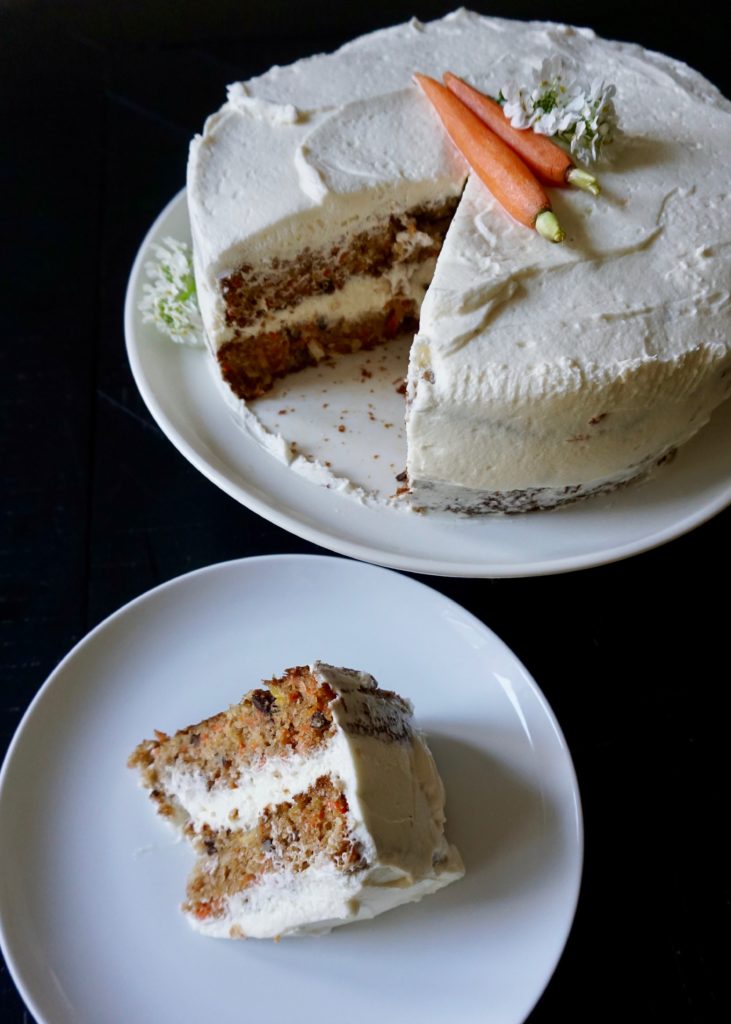
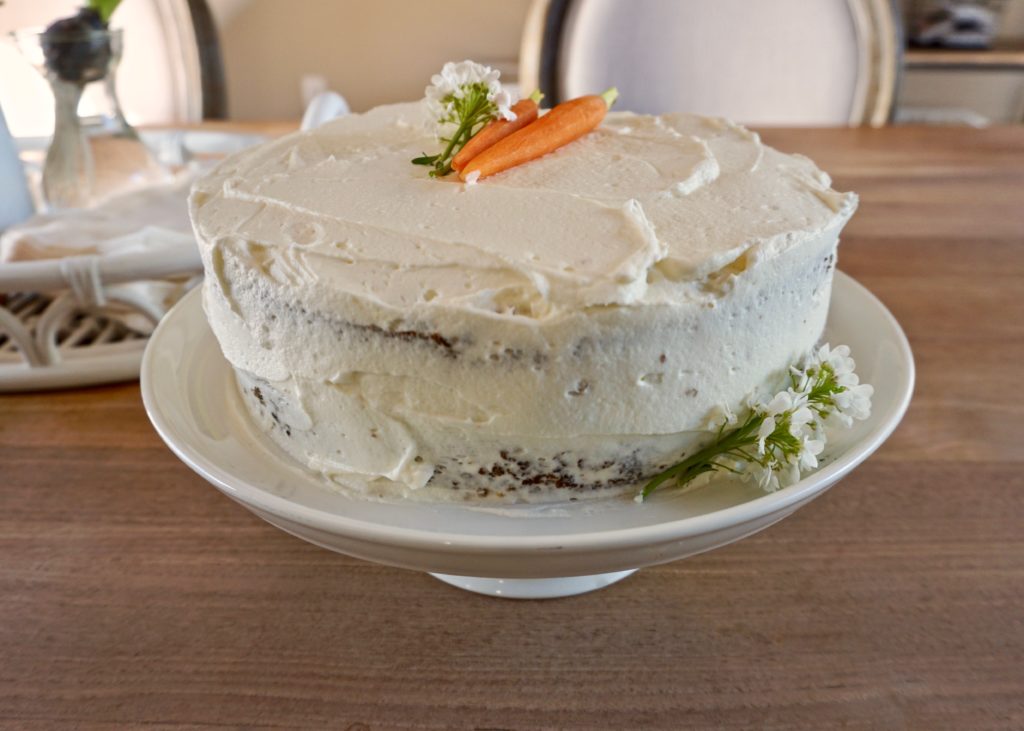
Since its debut at a bridal shower my mother and I hosted last February (edit: now over 8 YEARS ago!) , I couldn’t wait to re-make this cake! Carrot cake is my favorite dessert. This one has a dense moist center-  full of crushed pineapple, chopped nuts, flaked coconut, and chewy raisins. But the frosting is what really sets it apart- real whipped cream and whipped cream cheese- not a speck of butter in site (in the entire cake actually). This is my all-time favorite frosting, on one of my favorite cakes. Enough said.
Carrot Cake with Whipped Cream Cream Cheese Frosting

INGREDIENTS

3 large eggs
3/4 cup buttermilk
3/4 cup canola oil
1 1/2 cups white sugar
2 tsp. pure vanilla extract
2 tsp. ground cinnamon
1/4 tsp. salt
2 cups all-purpose flour
2 tsp. baking soda
2 cups shredded carrots
1 cup flaked coconut
1 cup chopped walnuts or pecans (I used 1/2 cup pecans)
1 8 oz. can crushed pineapple with juice
1 cup raisins (optional- I use 1/2 cup)

DIRECTIONS

1. Preheat oven to 350 F. Grease and flour a 9×13 inch pan. (Or 2 9-inch rounds.)

2. In a medium bowl, sift together flour, baking soda, salt and cinnamon. Set aside.

3. In a large bowl, combine eggs, buttermilk, oil, sugar and vanilla. Mix well. Add flour mixture and mix well.

4. In a medium bowl, combine shredded carrots, coconut, walnuts, pineapple and raisins.

5. Using a large wooden spoon or spatula, add carrot mixture to batter and fold in well.

6. Pour into prepared 9×13 inch pan (or two 9-inch rounds), and bake in preheated oven for about 45 minutes (or about 25-30 minutes for two 9-inch rounds), or until a toothpick inserted into the center comes out clean. Allow to cool for at least 20 minutes before serving or to cool completely before frosting.

Whipped Cream Cream Cheese Frosting

INGREDIENTS

1 8 oz. package cream cheese, slightly softened
1 cup white sugar
1/8 tsp. salt
1 tsp. pure vanilla extract
1 1/2 cups heavy whipping cream

DIRECTIONS

1. In a small bowl (keep cold) beat whipping cream until stiff peaks form. Set aside.

2. In a separate large bowl combine cream cheese, sugar, salt, and vanilla. Beat until smooth, then fold in whipped cream. Keep in the refrigerator until ready to use.
Frosts one 9×13 inch cake.

(Both recipes adapted from
All Recipes- Carrot Cake and Frosting)

Yellow Birthday Cake

March 27, 2020

Damen joined our family two Septembers ago (and turned 1 1/2 this week I’m just realizing)! As usual, I was sick/nauseas for most of my pregnancy and I feel like I’m finally emerging from the sleepless baby phase again. Having babies hasn’t made it easy to keep up with this space, but they’re definitely worth it! He’s the sweetest little guy- he can’t get enough cuddles and his older sisters just adore him.

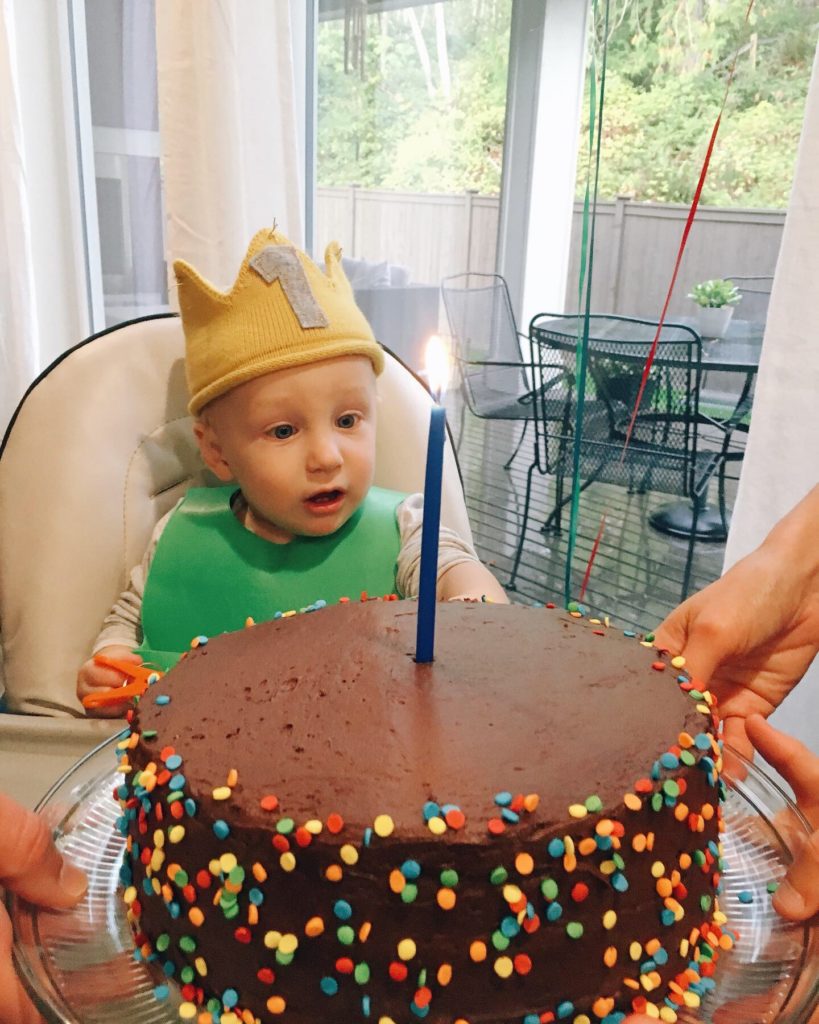
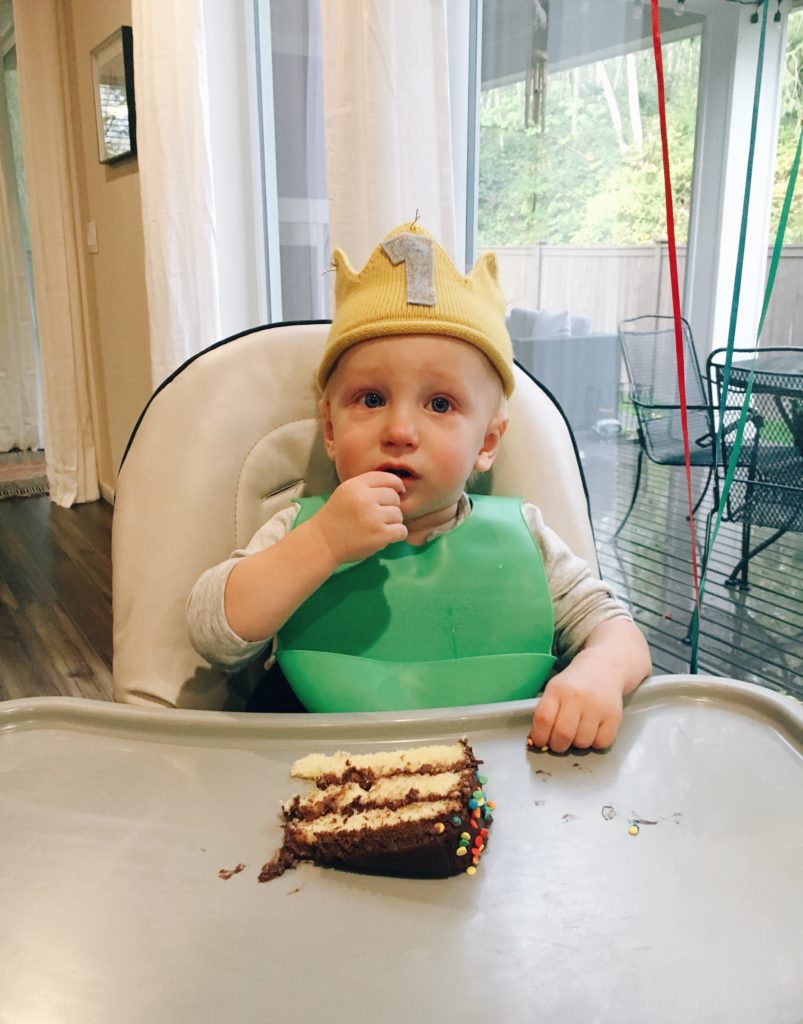
For Damen’s first birthday I made this classic yellow birthday cake and it was a keeper. The yellow cake layers are fluffy and soft, yet moist (no dry cake allowed around here). I added my favorite chocolate buttercream and kept it simple with a few sprinkles. He was crying in the second pic because I wouldn’t let him have the whole cake! Once he had his own slice he recovered quickly.

If you want detailed instructions on the cake baking process, follow the link to Mel’s original post. She spent a lot of time perfecting her yellow cake and is a trusted source for great recipes! The only deviation I made from her directions was to bake my bake batter in 3 pans and because of this I had to reduce the cooking time.

Yellow Birthday Cake

INGREDIENTS

1 cup butter, softened to room temperature
1 3/4 cups granulated sugar
2 tsp. vanilla
3 large eggs, room temperature
2 large egg yolks, room temperature
2 1/4 cups cake flour, lightly measured
1 1/2 tsp. baking powder
1/4 tsp. baking soda
1/2 tsp. salt
1/2 cup milk (1% or above), room temperature
1/2 cup sour cream, room temperature

DIRECTIONS

  1. To prep, whisk together the milk and sour cream together in a liquid measure and let come to room temperature.
  2. Preheat the oven to 350 degrees F and make sure an oven rack is placed in the middle of the oven.
  3. In a large bowl of an electric stand mixer or with a handheld electric mixer, whip the butter on medium speed for 1-2 minutes. Add the granulated sugar and beat for 4-5 minutes on medium speed. Mix in the vanilla.
  4. One at a time, add the eggs and egg yolks, mixing just until combined in between additions. Scrape down the sides of the bowl as needed.
  5. Combine the cake flour, baking powder, baking soda and salt. Sift them together through a fine mesh strainer.
  6. Add 1/3 of the dry ingredients to the batter and mix just until combined, scraping down the sides of the bowl as needed. Add 1/2 of the milk/sour cream mixture and mix. Add another 1/3 of the dry ingredients, mixing just until combined. Add the last 1/2 of the milk/sour cream mixture and beat until just combined. Add the final 1/3 of the dry ingredients and mix just until combined, scraping down the sides of the bowl if necessary. Give the batter one good, final stir with the rubber spatula.
  7. Grease the cake pans and line the bottoms with a parchment round. Grease the parchment and sides of the pan again very well. I use regular cooking spray but you can also use butter or cooking spray with flour. If your cake pans tend to cause sticking, consider also flouring the pans.
  8. Divide the batter evenly between the two pans. (I used 3 round cake pans) Drop each pan from about 3-inches onto the counter to minimize air bubbles while baking.
  9. Bake for 25-28 minutes (I baked for about 18 minutes) until lightly golden around the edges and a toothpick inserted in the center comes out with moist crumbs. Resist the urge to open and close the oven to check on the cake – this can cause the center of the cake to fall and never recover. And as with all cakes, don’t over-bake or the cake will be dry.
  10. Let the cakes rest in the pans for 5-10 minutes before gently turning them onto a cooling rack to cool completely.

Yellow Cake from Mel’s Kitchen Cafe.

Chocolate Buttercream

INGREDIENTS

1 cup unsalted butter, softened to room temperature
3 and 1/2 cups confectioners’ sugar
1/2 cup unsweetened natural or dutch-process cocoa powder
3 Tbsp. heavy cream or milk
1/4 tsp. salt
2 tsp. pure vanilla extract

DIRECTIONS

  1. With a handheld or stand mixer fitted with a paddle or whisk attachment, beat the butter on medium speed until creamy – about 2 minutes. Add confectioners’ sugar, cocoa powder, heavy cream, salt, and vanilla extract. Beat on low speed for 30 seconds, then increase to high speed and beat for 1 full minute. Add 1/4 cup more confectioners’ sugar or cocoa powder if frosting is too thin or another Tablespoon of cream if frosting is too thick.

*From what I remember this was enough frosting to cover the entire cake, but if you like tons of frosting or find it’s not enough, you can 1 1/2 times or double this recipe.

Chocolate Buttercream from Sally’s Baking Addiction.

Salted Caramel Ice Cream

February 12, 2020

I wish I could claim this recipe was quick and easy. But unless you’re a professional candy-maker (not me), it’s a bit tricky. First, you have to make the caramel. I’m not talking about melting little candy squares- I mean the old-fashioned way with sugar and cream and heat. This part was the most stressful for me. Then you have to make the custard, which requires tempering (not scrambling) the eggs and thickening the mixture without boiling it. This I had done before, but it makes me nervous every time. Several times during the process I thought for sure my caramel was ruined (is it supposed to clump and harden like that?!). But I kept going, with the faint hope that I wasn’t going to have to pour such precious ingredients down the drain.

And then worst of all, you have to wait. After all of this work, you can’t enjoy the results of your effort until the next day. The custard must chill overnight (or the better part of a day) before churning. But you know what? Despite a few glitches, it somehow worked. And it was worth all the trouble and the patience. I ended up with intensely rich, smooth, creamy caramel ice cream. With a touch of salt to offset the sweet. This is the type of recipe that makes you truly proud (and relieved) when you’re done. My own frozen masterpiece.

Salted Caramel Ice Cream

INGREDIENTS

1 1/4 cups sugar, divided
2 1/4 cups heavy cream, divided
1/2 tsp. flaky sea salt such as Maldon (I used kosher salt)
1/2 tsp. pure vanilla extract
1 cup whole milk
3 large eggs

DIRECTIONS

1. Heat 1 cup sugar in a dry 10-inch heavy skillet over medium heat, stirring with a fork to heat sugar evenly, until it starts to melt, then stop stirring and cook, swirling skillet occasionally so sugar melts evenly, until it is dark amber.

2. Add 1 1/4 cups cream (mixture will spatter) and cook, stirring, until all of caramel has dissolved. Transfer to a bowl and stir in sea salt and vanilla. Cool to room temperature.
3. Meanwhile, bring milk, remaining cup cream, and remaining 1/4 cup sugar just to a boil in a small heavy saucepan, stirring occasionally.
4. Lightly whisk eggs in a medium bowl, then add half of hot milk mixture in a slow stream, whisking constantly. Pour back into saucepan and cook over medium heat, stirring constantly with a wooden spoon, until custard coats back of spoon and registers 170°F on an instant-read thermometer (do not let boil). Pour custard through a fine-mesh sieve into a large bowl, then stir in cooled caramel.
5. Chill custard, stirring occasionally, until very cold, 3 to 6 hours. Freeze custard in ice cream maker (it will still be quite soft), then transfer to an airtight container and put in freezer to firm up.

Makes about 1 quart.

(Recipe from Gourmet)

Vanilla Birthday Cake

May 19, 2015

IMG_7786-001

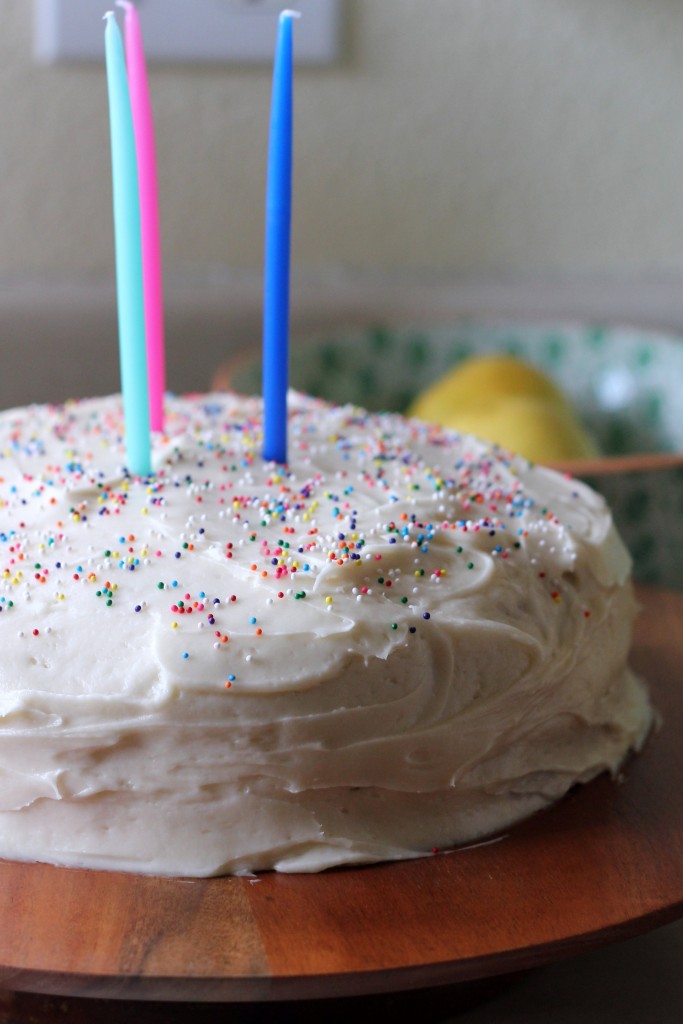
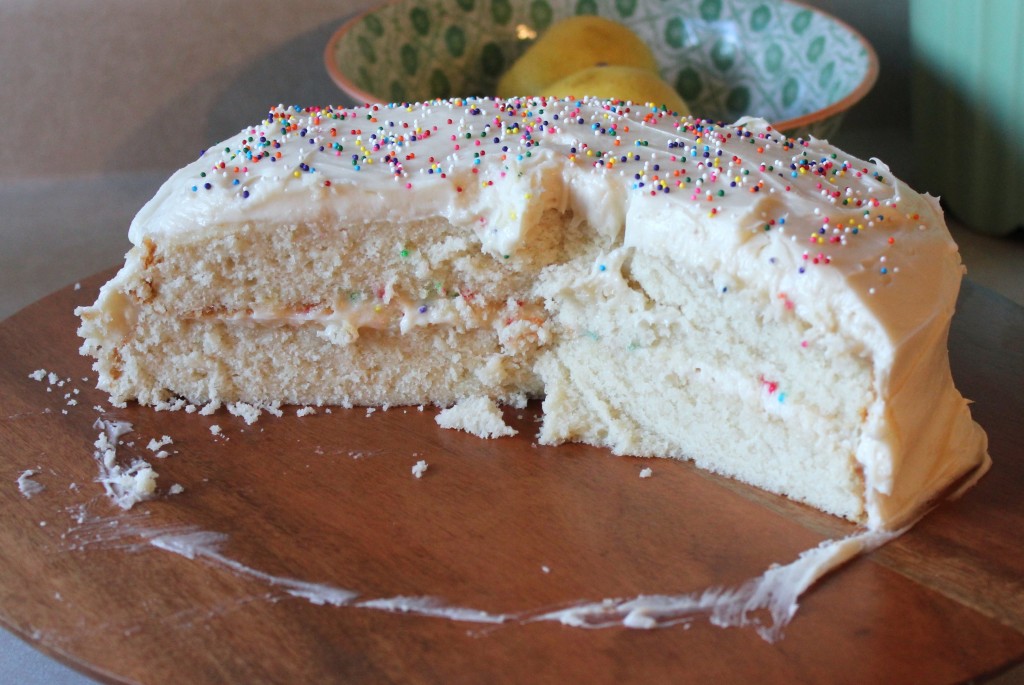
Clara’s birthday cake. I almost made her this funfetti cake but decided last minute to try a new recipe for vanilla cake with a buttery cream cheese frosting and just add some sprinkles between the layers and on top. Simple and elegant and just whimsical enough for a 3-year-old. I was truly wowed by how delicious this vanilla cake turned out to be! Soft and tender and moist. The frosting (which I added a little more cream cheese and used a little less sugar in) was just right. Creamy and not at all too sweet. We all LOVED it!

IMG_7903

When I’m deciding whether to try a recipe from another blog, I always read through the comments. Besides rave reviews, many people wondered if they could use whole eggs instead of whites. The answer is that no, not in this case. It would change the texture, color, and final result. And the cake would probably take on a yellow hue. Save those yolks and make some ice cream too! I made a few slight adjustments for high altitude, which I’ve detailed below*. We had a bit of cake leftover, which I froze and then devoured the following week. It was just as amazing the second time around.

Vanilla Birthday Cake

INGREDIENTS

Cake Batter:
2 cups all-purpose flour
2 tsp. baking powder
1/4 tsp. salt
12 Tbsp. (1 1/2 sticks) unsalted butter, softened
1 1/2 cups granulated sugar
6 large egg whites, at room temperature
3/4 cup whole milk, at room temperature
1 1/2 tsp. vanilla extract
1/2 tsp. almond extract

Cream Cheese Frosting:
12 Tbsp. (1 1/2 sticks) unsalted butter, softened
8 oz. cream cheese, at room temperature
4 cups powdered sugar (to taste)
1 Tbsp. vanilla extract
Pinch salt

DIRECTIONS

1. Position a rack in the middle of the oven and preheat to 350 degrees F. Spray two 8 or 9-inch cake pans with nonstick cooking spray. Cut two 8 or 9-inch rounds of parchment or wax paper and line the bottom of each pan; spray the paper with nonstick spray. (To measure the parchment paper, just trace the bottom of the pan.)

2. In a medium bowl, whisk together the flour, baking powder, and salt.

3. Place the butter and sugar in the bowl of a heavy-duty mixer fitted with the paddle attachment and beat on medium speed for about 5 minutes, or until very soft and light. Beat in the vanilla and almond extracts.

4. Meanwhile, whisk together the egg whites and milk by hand in a medium bowl until just combined.
Reduce the mixer speed to low and beat in one-quarter of the flour mixture, then one-third of the milk mixture, stopping and scraping down the bowl and beater after each addition. Beat in another quarter of the flour, then another third of the milk mixture. Scrape again. Repeat with another quarter of the flour and the remaining milk mixture; scrape. Finally, beat in the remaining flour mixture.

5. Scrape the bowl with a large rubber spatula. Don’t worry if the the batter looks a little grainy. Pour the batter into the prepared cake pans and smooth the tops.

6. Bake the cakes for about 30 minutes, until they are well risen and set on top and a toothpick inserted into the center emerges clean. Cool the cakes in the pans on rack for 5 minutes, then unmold onto rack to finish cooling right side up (keep parchment paper underneath cake layers so they don’t stick to rack).

7. When cake layers are completely cool, transfer to cake plate and frost with vanilla buttercream.

8. To make the frosting: In the bowl of an electric mixer, cream the butter and cream cheese until creamy and well combined. Gradually add the confectioners’ sugar, then beat in the vanilla and salt. If the frosting is too thick, add 1-2 tablespoons of milk or cream.

for high altitude (~7000 feet): increase baking temp to 375 F, decrease baking time to ~25 min., + 3 Tbsp. flour, halve baking powder, + 2-3 Tbsp. milk, -1 1/2 Tbsp. sugar

(Adapted from Once Upon a Chef)

Sugar Cookie Crust Fruit Pizza

May 30, 2014

IMG_5765

I keep starting to write about our day to day life (job searching, moving, the most annoying masters thesis in the world, toddlers who are this very minute singing while kicking the wall and NOT napping) and then decided I’m boring myself and all you’re really here for is a recipe. So, a recipe it is.

IMG_5775

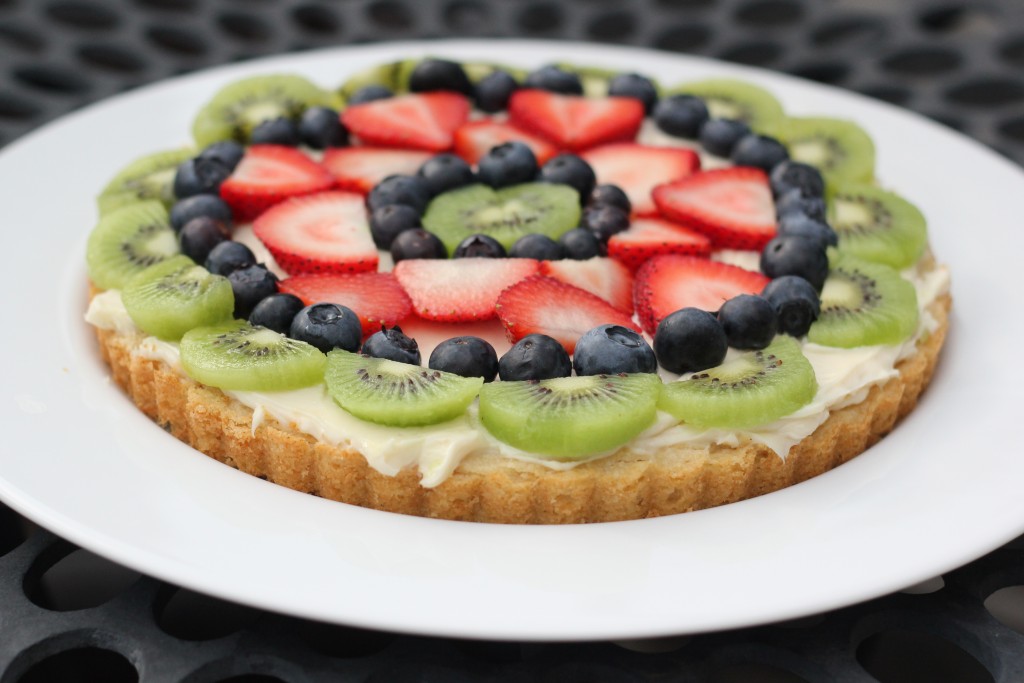
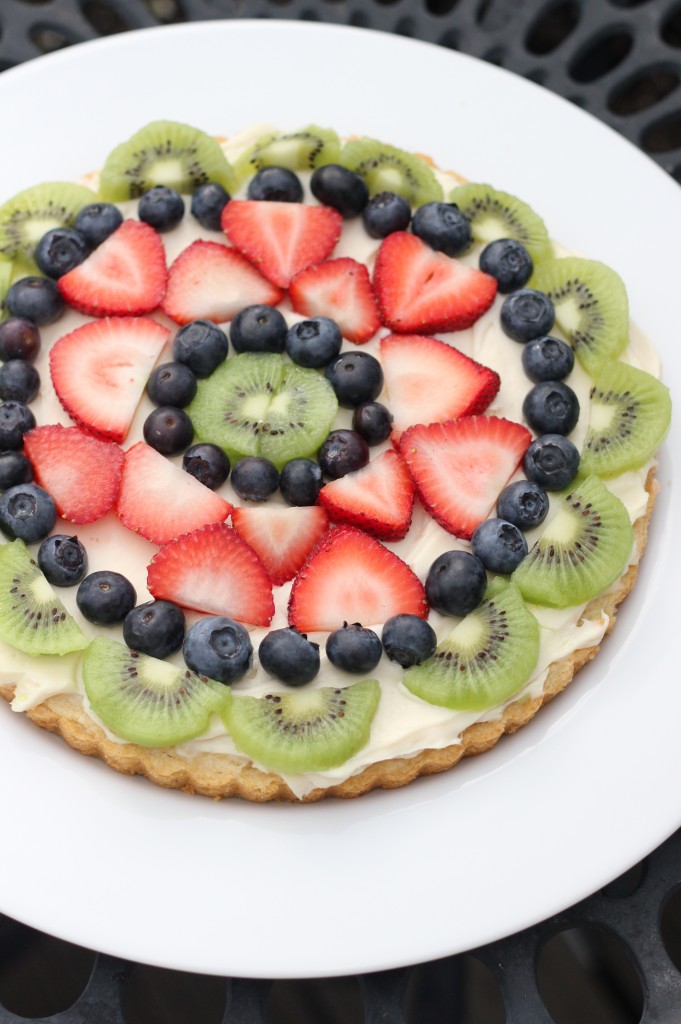
We bbq’d on Memorial Day and tried three new recipes and loved them all. So I’ll be sharing them. Starting with dessert, naturally. A giant sugar cookie spread with a generous layer of lemony cream cheese frosting and topped with as much fruit as you can fit. Some people call it fruit pizza. I just know it’s delicious and the perfect thing to make when it’s 4pm and your guests are arriving at 5 and you need a dessert STAT. It does cook quickly, just be warned that you must let it cool completely before frosting or you’ll end up with a puddle of fruit on top.

Sugar Cookie Crust Fruit Pizza

INGREDIENTS

1/2 cup (1 stick) unsalted butter, softened
1/2 cup sugar
1/4 cup light brown sugar
1 large egg
1 tsp. pure vanilla extract
1/4 tsp. almond extract
1 1/4 cup all purpose flour
1/2 tsp. baking powder
1/4 tsp. salt

Spread:
1 (8 ounce) package cream cheese, softened
3/4 cup powdered sugar
1 1/2 tsp. vanilla extract
1/2 tsp. lemon zest

Fresh Fruit:
strawberries, blueberries, raspberries, blackberries, peaches, kiwi, mango, etc.

DIRECTIONS

1. Preheat oven to 325 F.

2. In a medium bowl, mix together the flour, baking powder, and salt. In a large mixing bowl cream together the butter and sugars until smooth. Add the egg, vanilla, and almond extract and mix until just incorporated. Slowly incorporate the flour mixture into the creamed butter and mix until blended. Remove dough from bowl and press into a greased 10 inch tart pan or pizza pan.

3. Bake in preheated oven for 10 to 12 minutes, or until the edges just start to brown. Remove from oven and let cool on a cooling rack.

4. In a large mixing bowl, beat the cream cheese, sugar, vanilla, and lemon zest until smooth. Spread evenly on the cooled crust. Arrange fresh fruit in desired pattern on top of filling and chill until ready to slice and serve.

Makes a 10-inch round cookie.

(Adapted from Kelsey Nixon via Lahatchita Eats)