Category Archives: Dessert

Homemade Butterscotch Ice Cream

March 6, 2012

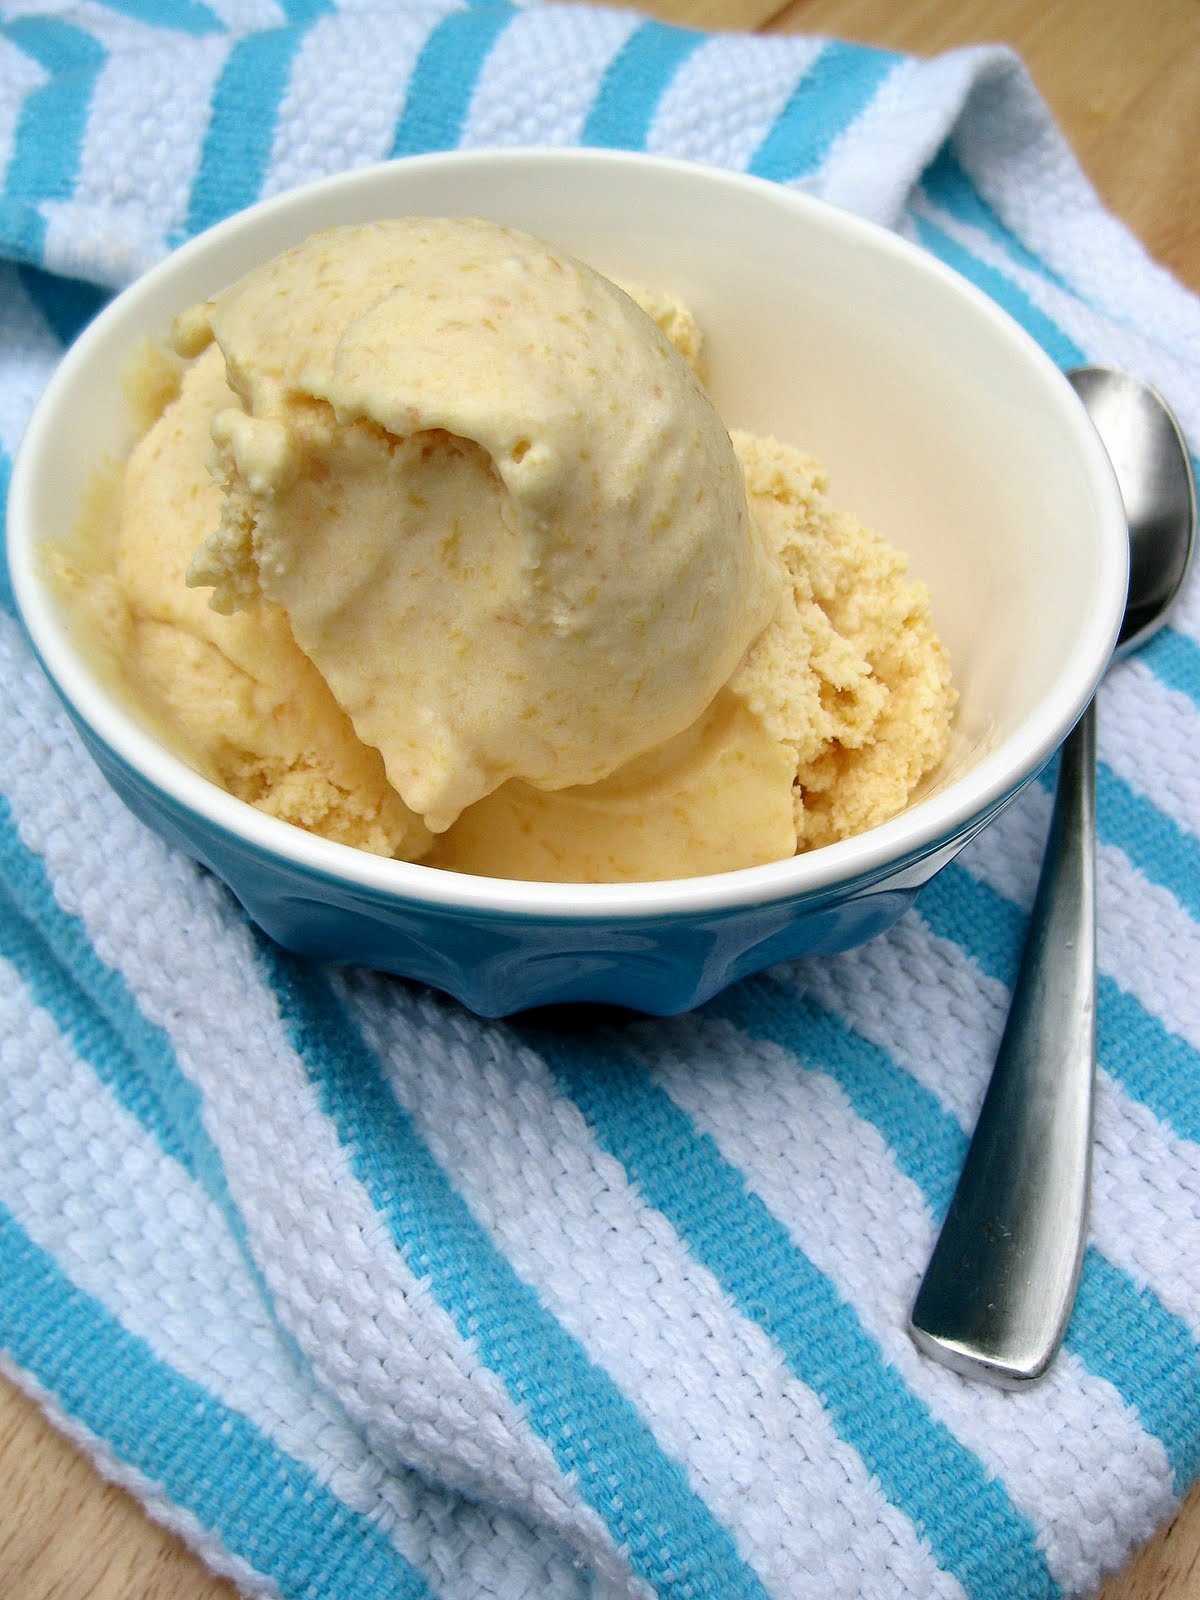
This ice cream was devoured before I could snap a picture of it. So I’m posting the recipe photo-less, since it was too good not to be shared. My family was visiting for the weekend and my mom baked my favorite German Chocolate Cake (an early birthday celebration). And I picked this ice cream to accompany it. It was the perfect duo. Rich chocolate cake with boiled coconut-pecan frosting and light creamy butterscotch delight. It was excellent served soft right from the ice cream machine as well as spooned from the freezer a few days later.

Butterscotch Ice Cream

INGREDIENTS

1 cup brown sugar
2 Tbsp. butter
1 Tbsp. pure vanilla extract
1 1/2 cups whipping cream
2 cups half and half
6 large egg yolks

DIRECTIONS

1. In a saucepan over medium heat, stir brown sugar, butter, and vanilla until butter is melted, sugar is dissolved, and mixture is bubbly, 3 to 4 minutes. Whisk in 1/2 cup whipping cream until smooth; remove butterscotch mixture from heat.

2. In a separate saucepan over medium-high heat, combine remaining 1 cup whipping cream and the half-and-half; bring to a simmer.

3. Meanwhile, in a bowl, beat egg yolks to blend. Whisk 1/2 cup of the warm cream mixture into egg yolks, then pour egg yolk mixture into pan with cream. Stir constantly over low heat just until mixture is slightly thickened, 2 to 4 minutes. Immediately remove from heat.

4. Pour through a fine strainer into a clean bowl and whisk in butterscotch mixture. Chill until cold, stirring occasionally, about 2 hours; or cover and chill up to 1 day.

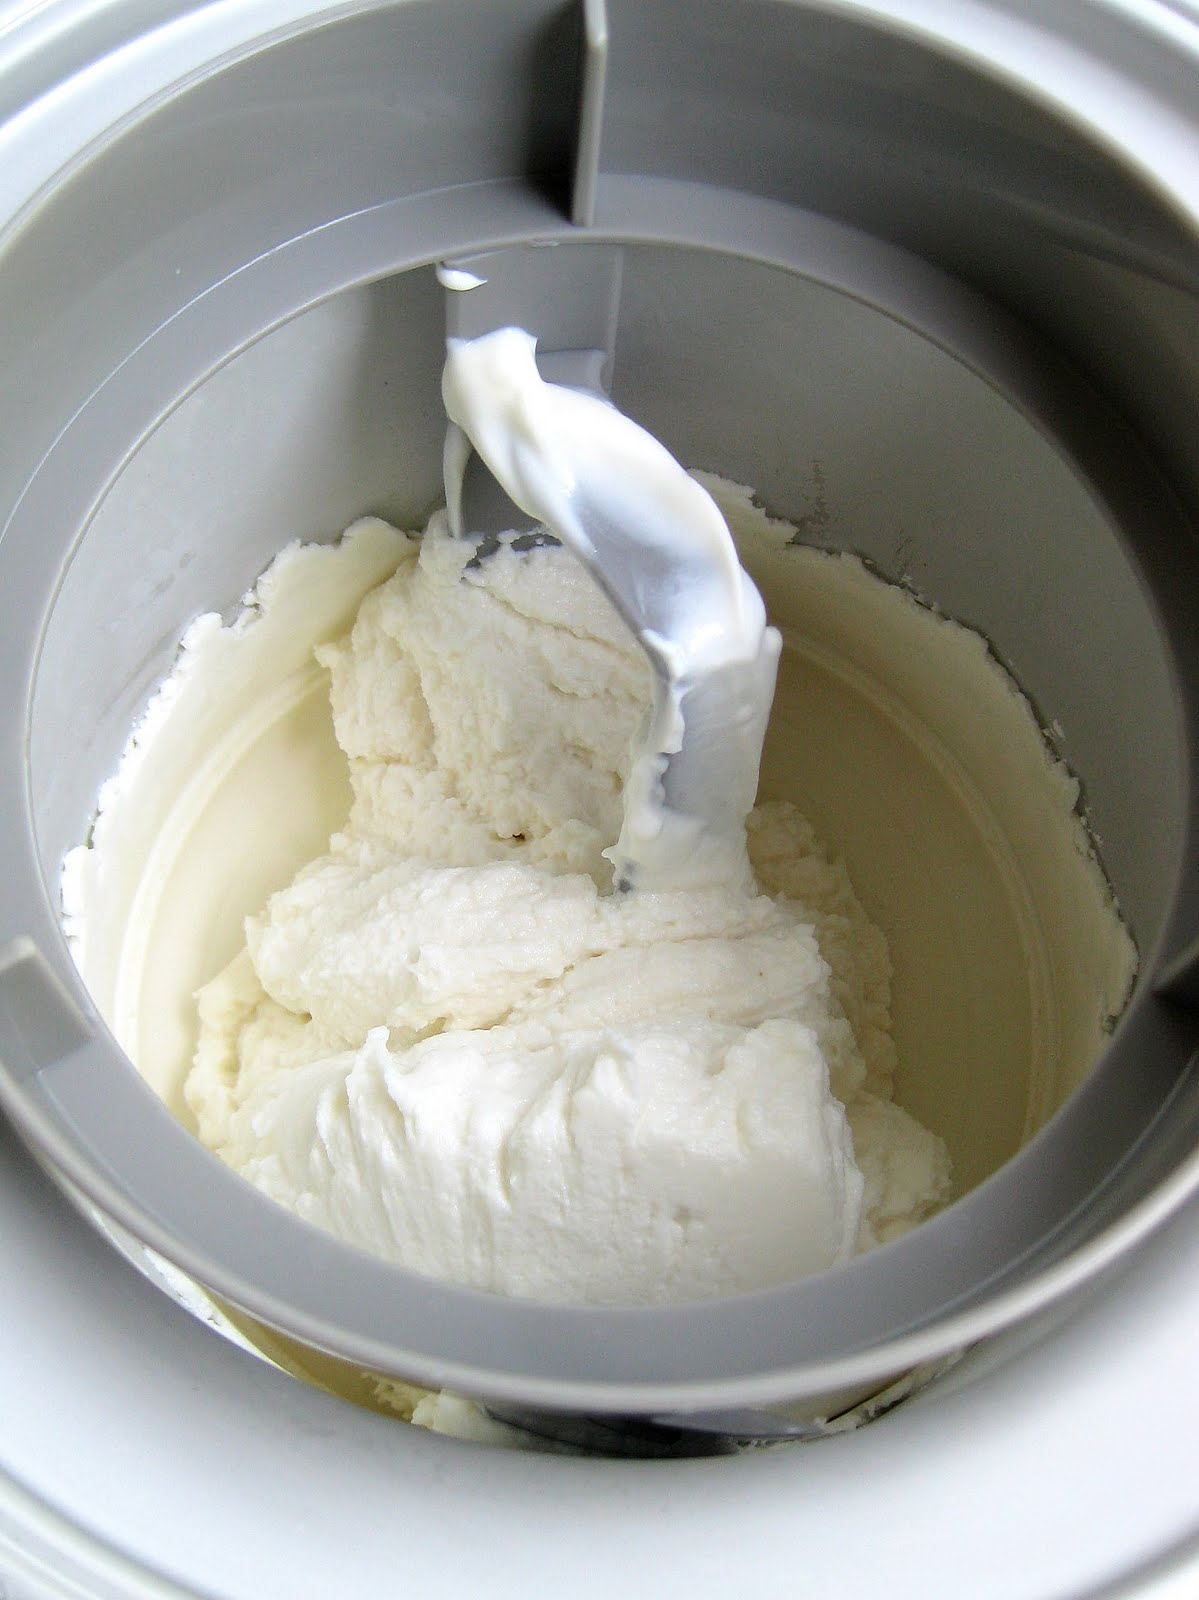
5. Freeze mixture in an ice cream maker according to manufacturer’s instructions. Serve softly frozen, or transfer ice cream to an airtight container and freeze until firm, at least 6 hours or up to 1 week.

Makes about 1 quart.

(Adapted from Sunset via Smitten Kitchen)

Red Velvet Whoopie Pies with Cream Cheese Frosting

January 3, 2012

I’m back! With a recipe, finally! And hopefully there will be more to come over the next few months before baby girl arrives. I was in the mood to make something sweet to celebrate the New Year and found this recipe of Paula Deen’s. Red velvet has always intrigued me, so I decided to attempt an easy version of the classic cake in the form of a cookie (or actually whoopie pie). While the shape might be unusual, this recipe includes all of the traditional elements of red velvet- cocoa powder, buttermilk, and mounds of cream cheese frosting. My only complaint is that this recipe makes a bit too much frosting, if there is such a thing. I’m sure you’ll find a use for the excess though. Or just start by halving that part of the recipe and see how it goes. I thought these were delicious- the cake is soft and chewy, the filling is rich and creamy, and the toasted pecans added the perfect bit of crunch.

Red Velvet Whoopie Pies with Cream Cheese Frosting

INGREDIENTS

Red Velvet Whoopie Pies:
1 1/3 cups all-purpose flour
2 Tbsp. cocoa powder
1 tsp. baking powder
1/4 tsp. baking soda
1/2 tsp. salt
1/4 cup butter, room temperature
1 cup sugar
2 eggs
2 Tbsp. buttermilk
2 Tbsp. apple cider vinegar
1 tsp. vanilla extract
1 Tbsp. red food coloring

Cream Cheese Frosting:
16 oz. cream cheese, room temperature
1 cup (2 sticks) butter, room temperature
1 tsp. vanilla extract
4 cups powdered sugar
3/4 cup toasted pecans, finely chopped (optional)

DIRECTIONS

1. Preheat oven to 375 F. Line a large baking sheet with parchment paper.

2. In a small bowl, mix together the flour, cocoa powder, baking powder, baking soda, and salt. In a large bowl, cream the butter and sugar until light and fluffy, about 3 minutes. Add the eggs 1 at a time. Then beat in the buttermilk, vinegar, vanilla, and red food coloring. Once combined, add the dry ingredients to the wet and mix until thoroughly combined.

3. Drop batter into rounded mounds on the prepared baking sheet using a small ice cream/cookie scoop or a tablespoon. Bake in preheated oven for about 10 minutes, until set. (The cookies should be cake-like and light.) Remove cookies from the pan to a wire rack to cool completely.

4. To make the cream cheese frosting, in a large mixing bowl, beat the cream cheese, butter, and vanilla together until smooth. Add the sugar and on low speed, beat until incorporated. Increase the speed to high and mix until light and fluffy. Spread the frosting between two cooled cookies and roll the edges in pecans, if desired.

Makes 16-20 sandwich cookies.

(Recipe from Food Network)

Snickerdoodles

September 10, 2011

How I love cinnamon. Cinnamon rolls, cinnamon swirl loaves, cinnamon-spiced cakes, even ice cream. I can always count on cinnamon to bring me to a happy place. When I need a quick cinnamon fix I turn to snickerdoodles- the classic cinnamon ‘n sugar dusted cookies. You’ll be able to taste these cookies long before you bite into them. The smells of butter and sugar and cinnamon permeating every part of your kitchen (or entire house if its small like ours). If the aroma is too much to resist you can always freeze the remainder of the batch. That way they might last a little bit longer.

7/28/09: When I started typing out this recipe one ingredient in particular caught my eye. Baking soda? I don’t remember using any baking soda. In fact, I remember reaching for my trusty tin of baking powder, and dumping in two whole teaspoonfuls. So I double checked the recipe. Yep, baking soda. Every single snickerdoodle recipe in the world calls for baking soda, NOT baking powder (I checked most of them).

So I was a little scatterbrained that night. I must have been on painkillers- or something. There has to be an excuse. But now I recall that on Sunday when I was making Blueberry Crumb bars (coming soon) I used the wrong measuring cup, dumping in 1/3 cup sugar instead of 1/4. Well nobody is going to complain about that. Those turned out delish.

Luckily, neither mistake was fatal. These snickerdoodles were a tad bit on the airy side. Soft, like biting into a cinnamon-sugar dusted pillow. I’m almost embarrassed to admit, this was only my second experience with snickerdoodles. I was introduced to them last week, and have ever since been lamenting the fact that my childhood was devoid of their presence. It should be a crime.

So this is the way they should be made. With baking soda. Next time I’ll get it right.

Snickerdoodles

INGREDIENTS

1 cup butter
1 1/2 cups white sugar
2 eggs
1 tsp. vanilla extract
2 3/4 cup all purpose flour
2 tsp. cream of tartar
1 tsp. baking soda
1/4 tsp. salt
1/4 cup white sugar
2 tsp. cinnamon

DIRECTIONS

1. Preheat oven to 400 F.

2. Cream butter and sugar. Add the eggs and vanilla and cream until light and fluffy.

3.. In a separate bowl combine the flour, cream of tartar, baking soda, and salt. Blend the dry ingredients into the wet, mixing by hand.

4. In a small bowl, mix together the 1/4 cup sugar and cinnamon. Shape the dough into small balls and roll them in the cinnamon-sugar to coat. Place 2 inches apart on an UNgreased cookie sheet.

5. Bake in preheated oven for 6-10 minutes (depending on size) until the tops are set and the bottoms are beginning to brown. Remove from the cookie sheet and cool on a wire rack.

Makes 3-4 dozen cookies.

(Adapted from All Recipes)

Peach Ice Cream

August 13, 2011

We’re on the verge of a week-long getaway to the beach. Actually, let me clarify. We’ll be cramming with my family (and a few add-ons- friends, girlfriends) into a modest (a.k.a. somewhat small and outdated) beach house. But it’s right on the ocean. And there will be swimming and sunbathing and all sorts of fun involved. My family makes this trip to the Carolina coast every summer. And this is the first time we’re lucky enough to be able to join them! We’ve been looking forward to this for months.

We’ll also be celebrating our 5th anniversary while we’re away. And we have a special little escape planned for just the two of us- involving a charming southern town, dinner out, and a picturesque bed and breakfast. (We decided a crowded beach house wasn’t exactly romantic.)  I can’t wait! 

There won’t be a whole lot of cooking happening this week. We’ll be relishing the local seafood. And trying to stay out of each others way in the kitchen. But for sure there will be fish tacos and always pizza. (Pizza is my most-requested dish. I’ve become expert at whipping out double, triple, quadruple, etc. etc. batches of pizza dough. I can make enough pizza to feed a small country.)

Before I go I wanted to share this little recipe. For a luscious and dreamy peach ice cream. Now is the time to pick up a basket full of peaches and make yourself this frozen treat. It’s tangy and sweet and smooth (although it could be chunky if you preferred). Not that you would want to wait, but definitely enjoy this ice cream soon after it has been churned. Because of the fruit, it gets frosty and loses some of its creaminess after being frozen for too long.

Peach Ice Cream

INGREDIENTS

1 1/3 lbs. ripe peaches, peeled, pitted, and chopped
1/2 cup water
3/4 cup sugar
1/2 cup sour cream
1 cup heavy cream
1/4 tsp. pure vanilla extract
few drops freshly squeezed lemon juice

DIRECTIONS

1. Combine the peaches and water in a medium saucepan. Cook over medium heat, covered and stirring occasionally, until the peaches are soft and cooked through, about 10 minutes. Remove the pan from the heat, stir in the sugar, and set aside to cool.

2. Add the cooled peaches to a blender or food processor and puree until chunky or smooth. In a medium bowl, whisk to combine the sour cream, heavy cream, vanilla, and lemon juice. Stir in the peaches. Chill the mixture thoroughly in the refrigerator. Once chilled, transfer the mixture to an ice cream maker and freeze according to manufacturer’s instructions.

Note: This ice cream is best enjoyed immediately or soon after churning, as it gets frosty after being in the freezer for very long.

Makes about 1 quart.

(Adapted from David Lebovitz via Annie’s Eats)

Vanilla Frozen Yogurt

July 24, 2011

I had no idea that making my own frozen yogurt would be so easy! OK, it does require an ice cream maker. That’s the only catch. But everyone should own an ice cream machine. Homemade ice cream- and now frozen yogurt- is unbelievable. And it’s sad that I only figured this out so recently. But we’ll talk about ice cream another day. This moment belongs to yogurt.

I adore yogurt. I just don’t care for the thin runny stuff. (Or all the sugary flavored varieties.) I love pure unadulterated thick and luscious plain Greek yogurt. It’s marvelous paired with fruit and a drizzle of honey. I eat it almost daily. And that’s what’s used in this recipe. The original source suggested using whole milk yogurt for the creamiest result. And while I agree that whole milk yogurt would make this wonderful, I didn’t want my fro-yo to be as calorie dense as ice cream. So I went with 2%. I also reduced the amount of sugar. I wanted my frozen yogurt to be pleasantly sweet, with a bit of tartness sneaking through. And that’s just what I got. A creamy and simultaneously tart and sweet frozen treat. I served it straight out of the ice cream machine topped with sliced kiwi and fresh berries.

Vanilla Frozen Yogurt

INGREDIENTS

4 cups plain Greek yogurt (I used Fage 2%)
1/2 cup sugar (more or less to taste)
1 1/2 tsp. pure vanilla extract

DIRECTIONS

1. Combine yogurt, sugar, and vanilla. Stir until the sugar is completely dissolved. Refrigerate at least one hour.

2. Freeze in ice cream maker according to manufacturer’s instructions. (Mine took about 20 minutes to churn.)

Several notes: This frozen yogurt is best enjoyed immediately after churning. It eventually loses its creaminess and solidifies in the freezer. Also, this recipe can be scaled down to make fewer servings. Just reduce the sugar and vanilla accordingly.

Makes slightly more than a quart.

(Adapted from David Lebovitz via 101 Cookbooks)