Category Archives: Sides

Sheet-Pan Roasted Breakfast Potatoes (Home Fries)

January 16, 2021

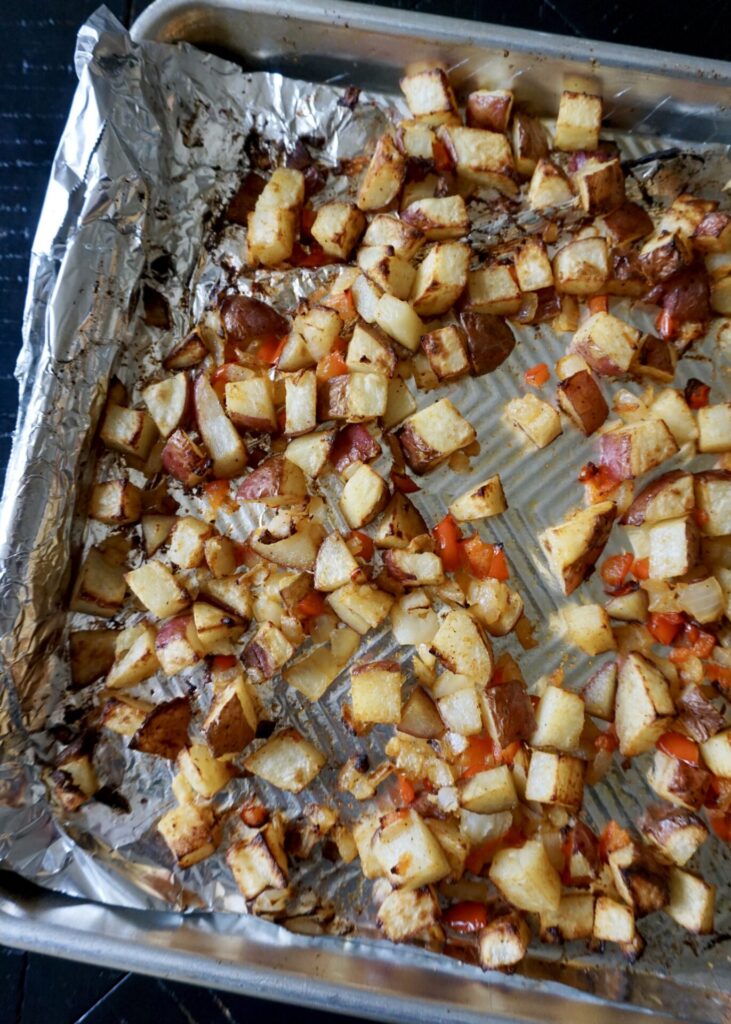
These crispy sheet-pan roasted potatoes (and peppers and onions) make for an easy breakfast/brunch or dinner side dish. I served them with scrambled eggs, bacon, and toast, ketchup on the side. They’d also make a great base for a breakfast burrito (with scrambled eggs, cheese, salsa, etc. wrapped in a tortilla) or a hash (add meat/herbs/veggies and top with a fried egg).
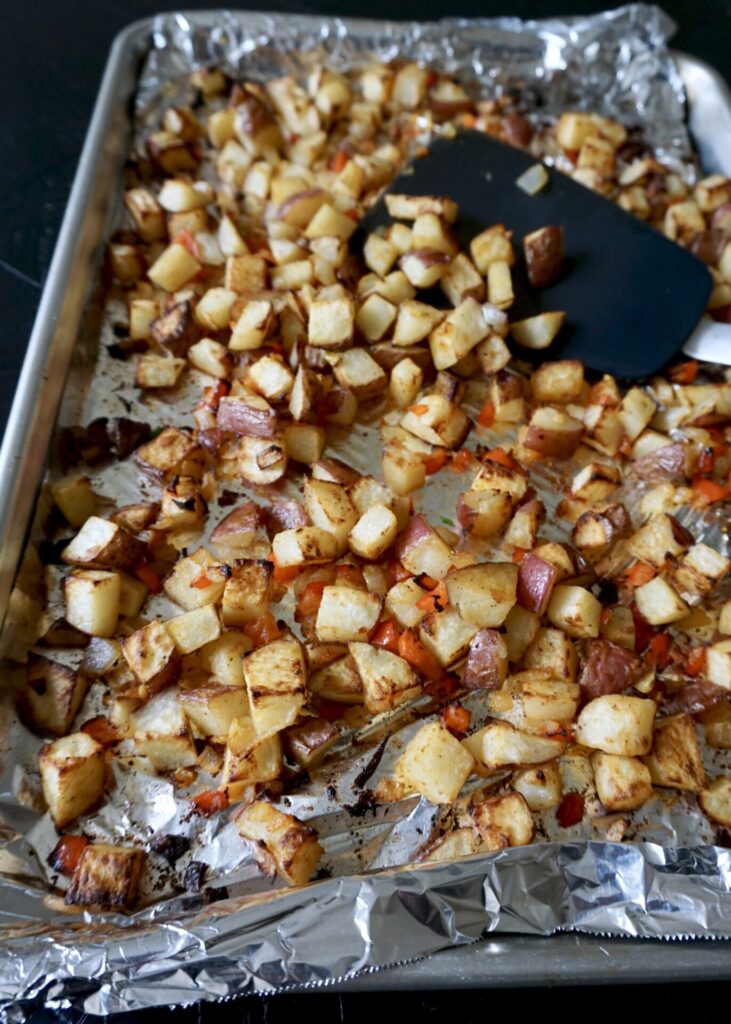
Our current home has a convection oven and I’ve began using it nonstop lately for roasting veggies. You have to be careful because it cooks things hotter and faster (so I usually reduce the temp by 25 degrees) but it’s awesome because it results in extra crispy edges! Perfect for any potatoes (especially sweet potato fries). So if your oven has convection capabilities, I recommend using it here.

Sheet-Pan Roasted Breakfast Potatoes (Home Fries)

INGREDIENTS

2 lbs. red potatoes, diced (or another potato such as Yukon or Russet)
1/2 yellow or red onion, diced
1/2 large red bell pepper, diced (or yellow/orange/green bell pepper)
2 Tbsp. olive oil
1 tsp. garlic powder
1 tsp. kosher salt
1/2 tsp. paprika
freshly ground black pepper, to taste

DIRECTIONS

  1. Preheat oven to 425 F. (I baked mine on convection at 400 F which I recommend for getting them extra crisp!)
  2. Place the potatoes, onion, and red pepper on a large baking sheet. (I line mine with parchment or foil for less mess.) Drizzle with olive oil and sprinkle with seasonings (garlic powder, salt, and paprika) and toss until vegetables are well coated. Season with freshly ground black pepper, to taste.
  3. Place the pan in the preheated oven and roast until potatoes are crispy, 30- 45 minutes. (Mine only took about 25-30 minutes with the oven on convection.) Serve warm.

Serves 4.

(Adapted from Two Peas and Their Pod)

Skillet-Roasted Broccoli

January 2, 2021

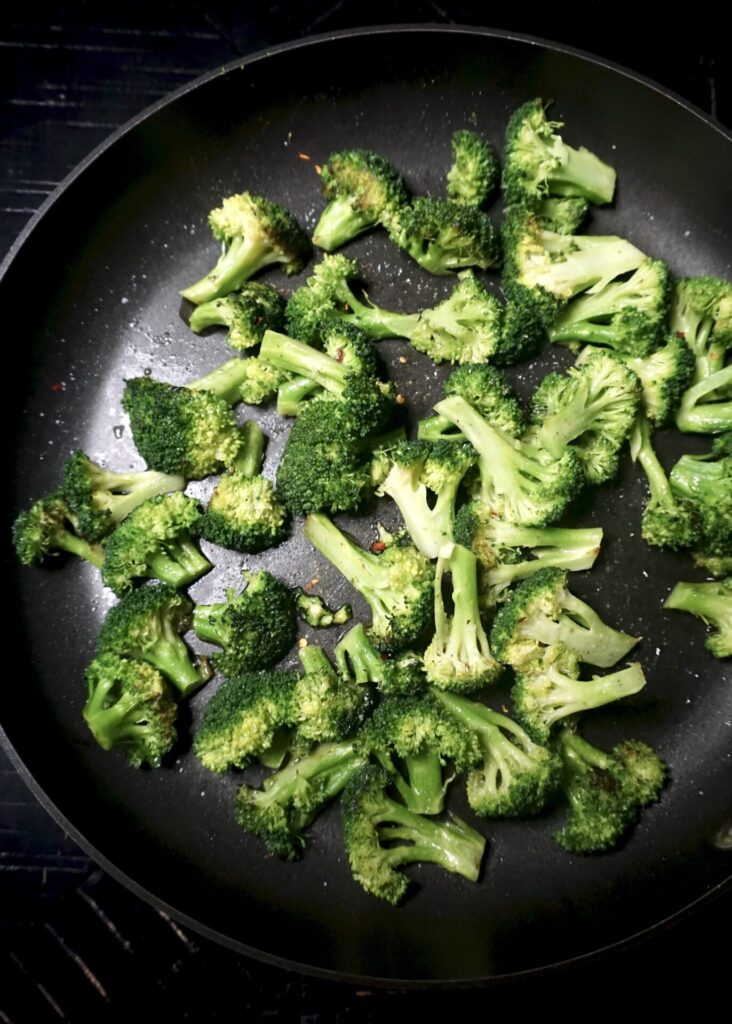
How about a fresh healthy veggie dish to start the new year? This skillet-roasted version is my favorite new way to eat broccoli! I often roast broccoli in the oven but it usually ends up extra charred and steaming it is just a bit boring, so this recipe is a happy middle ground. Plus, it’s FAST! You’ll heat a bit of oil in a skillet, add the broccoli and crisp it for about a minute. Then you pour in some water (or chicken/vegetable broth if you wish), cover it with a lid, reduce the heat, and continue cooking it for just a few more minutes. Salt and pepper (and crushed red pepper for some heat) to taste and you’re done! It’s tender yet crisp and just delicious!

Skillet-Roasted Broccoli

INGREDIENTS

1- 2 Tbsp. olive oil or other cooking oil
~1 lb. (about 6 cups) broccoli florets
kosher salt and freshly ground black pepper, to taste
crushed red pepper flakes (optional- to taste)
1/2 cup water (or chicken or vegetable broth)

DIRECTIONS

  1. Heat the oil in a 12-inch nonstick skillet over medium-high heat until the oil is rippling and hot. Add the broccoli in a mostly single layer and sprinkle with a pinch of salt. Let the broccoli “roast” in the hot skillet for 30 seconds or so and then give it a good stir. You can let it keep browning for a minute for more flavor or move on to the next step. (I cooked mine or a little over a minute during the first step.)
  2. Pour in the water/broth, immediately cover the skillet with a lid (or foil), and reduce the heat to medium-low. Let the broccoli simmer for 2-3 minutes until bright green and crisp-tender. Add additional time if you want the broccoli more tender. (I found 3 minutes to be pretty crisp, 4 minutes to be a bit more tender.)
  3. Remove from the heat, add seasonings (salt/pepper/crushed red pepper) to taste and serve.

Serves 4.

(Adapted from Mel’s Kitchen Cafe)

Classic Turkey Stuffing

December 8, 2020

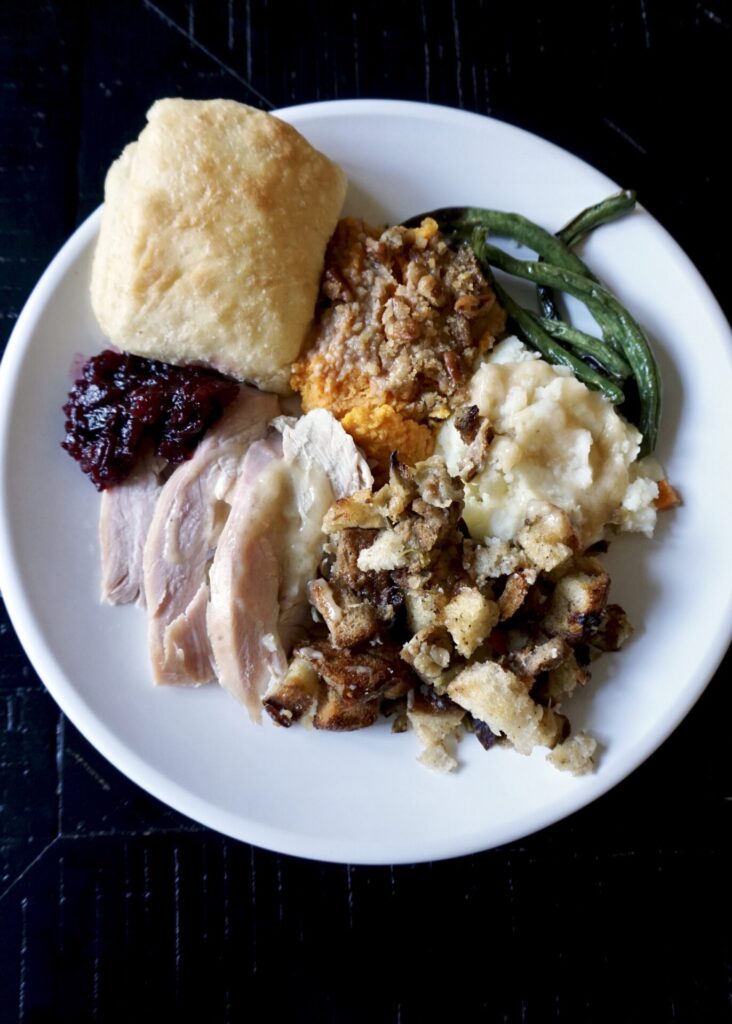
We had Thanksgiving dinner alone this year (thank you, COVID) and it’s the first time we’ve ever prepared an entire Thanksgiving meal all on our own! We smoked a (much-too-large for our little family of 5) turkey on the Traeger which was a bit stressful on our first try but still turned out delicious. Of course there were mashed potatoes and gravy, cranberry sauce, and rolls (I tried a new roll recipe that didn’t blow us away). I simply roasted the green beans and made this sweet potato casserole my kids go nuts over (because it’s practically dessert). And today I’m sharing the recipe I’ve learned from my mama and always use to make stuffing.

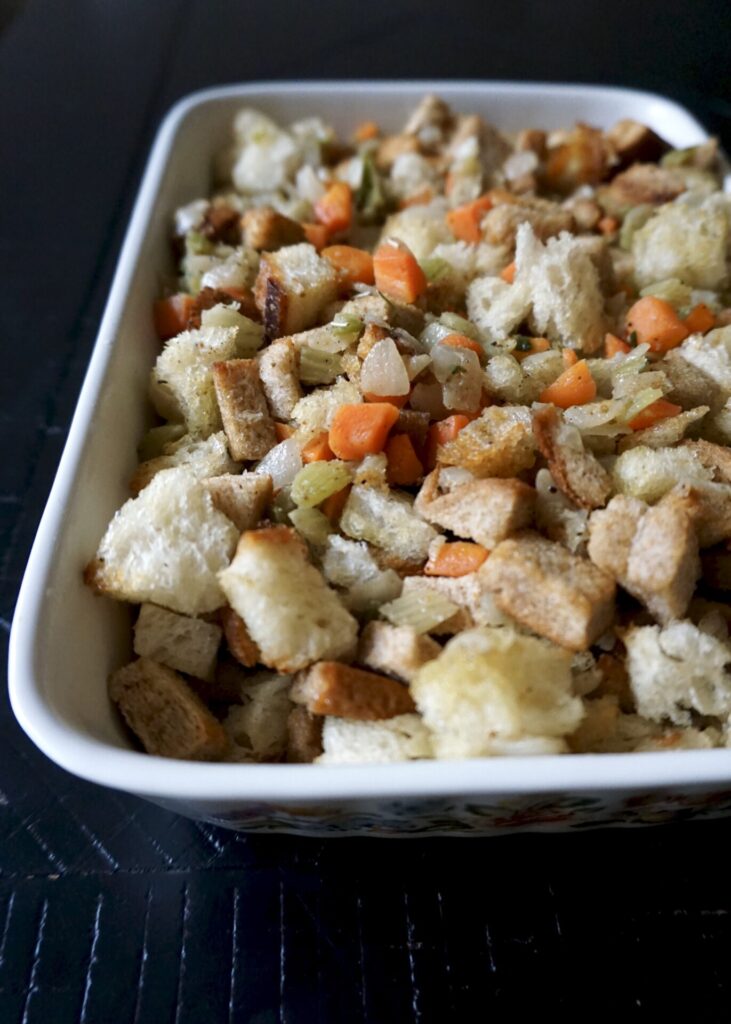
This is a classic turkey stuffing recipe, that closely resembles a Betty Crocker recipe so I’m pretty sure that’s where my mom got it. I don’t actually stuff the bird but rather bake the stuffing in a dish and if you use a bit of turkey stock (don’t throw away the turkey neck and giblets and make your own it’s so easy and worth it!), it tastes just as good. Plus, you can control how moist it stays/crisp it gets and know that it’s completely cooked through! I also love how adaptable this recipe is (use your favorite mixture of breads, add more/less veggies, and you can adjust the seasonings to taste). My kids were suspicious of this stuffing when it appeared on their plates but were fighting over the leftovers. It’s so good!

Classic Turkey Stuffing

INGREDIENTS

Stuffing:
~12 cups dried bread cubes (I used a mixture of crusty white bread and whole wheat sandwich bread and dried them out in the oven at 350 F for about 10 min)
1/2 cup (1 stick) butter
1 large onion, diced
2 large carrot, peeled and diced
2-3 stalks celery, diced
~1 tsp. kosher salt 
~ 1/2 tsp. freshly ground black pepper
1 tsp. poultry seasoning* (or more to taste)
turkey or chicken stock, to moisten (I used turkey stock made with the turkey neck and giblets)

*Poultry Seasoning:
1/2 tsp. ground sage
3/4 tsp. ground thyme
1/2 tsp. ground marjoram (mine was not ground so I crushed it a bit)
1/4 tsp. ground rosemary (mine was not ground so I crushed it a bit) 
1/4 tsp. nutmeg
1/4 tsp. freshly ground black pepper

DIRECTIONS

  1. To make the poultry seasoning, stir to combine the sage, thyme, marjoram, rosemary, nutmeg, and black pepper in a small bowl.
  2. To prepare the stuffing, melt the butter in a large saute pan over medium heat. Add the onion, carrots, and celery and cook for about 10 minutes until the vegetables are tender. Stir in the salt and pepper and poultry seasoning. 
  3. Place the bread cubes in a large bowl, pour the onion mixture over top and toss to combine. Adjust salt and pepper and poultry seasoning to taste. At this point the stuffing can be refrigerated until ready to use.
  4. The stuffing can be cooked inside of a turkey, but I bake it separately in the oven. Grease or butter a 9×13 baking dish. Spread the stuffing in the dish and pour some turkey/chicken stock over top, mixing it in lightly with a fork. How much you’ll use depends on how moist you want the stuffing. I use quite a bit for flavor and so it can bake for a while alongside the other side dishes. 
  5. Preheat oven to 400 F (or whatever temperature your other dishes are baking at will be fine!). Bake for 30-60 minutes (depending on how moist/crisp you want it and what else is baking alongside it) until crisp on the edges but still moist in the middle. 

Makes enough to fill a 9×13 baking dish.

(Adapted from my mom and Betty Crocker, poultry seasoning from Food)

Zucchini Cornbread

May 15, 2020

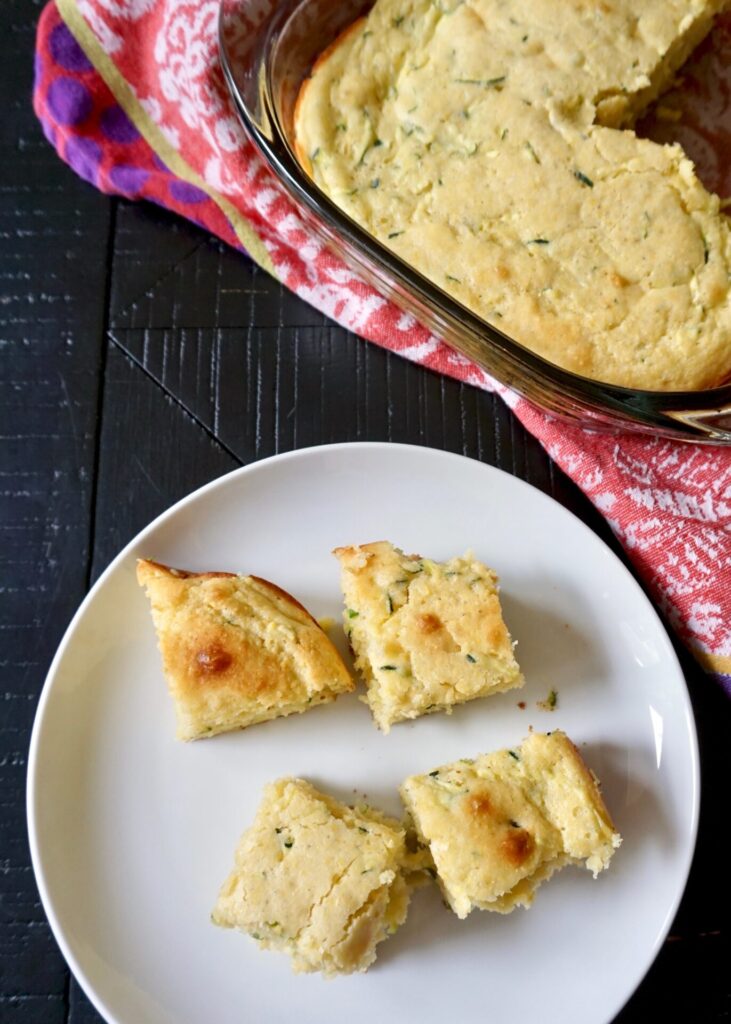
Zucchini isn’t very popular around here. I’m alone in my love for it in our home. My kids definitely complain when it makes an appearance, unless it’s in a baked good (muffins, even cake!). I still make it and serve it every so often and am convinced they’ll eventually come around. I tried to sneak it into grilled cheese sandwiches once and now when I make grilled cheese my 4-year-old checks hers thoroughly for signs of zucchini before proceeding to eat. Haha. They might have questioned what little green specks were doing in their cornbread when I first made this one, but one bite and they no longer cared. This zucchini cornbread is delish!

This cornbread is super moist and just the right amount of sweet. It doesn’t need any toppings but adding a little butter and honey never hurts! It can be made with half white whole wheat flour for a heartier version. I’ve also made it with half cornmeal, half flour for a stronger cornmeal flavor.

Zucchini Cornbread

INGREDIENTS

1/2 cup yellow cornmeal
1 1/2 cups all-purpose flour*
1/3 cup sugar
2 tsp. baking powder
1/4 tsp. baking soda
3/4 tsp. salt
1 cup buttermilk or milk
2 eggs, lightly beaten
4 Tbsp. butter or coconut oil, melted
2 cups unpeeled shredded, drained zucchini (can also use yellow squash)

DIRECTIONS

  1. Preheat the oven to 350 F. Lightly grease a 9-inch square baking pan with cooking spray. Set aside.
  2. In a large bowl, stir together the cornmeal, flour, sugar, baking powder, baking soda, and salt.
  3. Make a well in the dry ingredients and add the buttermilk (or milk), eggs, and melted butter (or coconut oil) and zucchini. Stir just until combined.
  4. Spread the batter in the prepared pan and bake for 30-35 minutes until the top springs back lightly to the touch and/or a toothpick inserted in the center comes out clean.

*You can use half white whole wheat flour and half all-purpose flour, but you may need to add an extra 1-2 Tbsp. buttermilk/milk if the batter seems too thick.

To Make Muffins: Divide batter into 12 lightly greased muffin cups and bake for approx.15-20 min until a toothpick comes out clean.

Adapted from Mel’s Kitchen Cafe

Scalloped Potatoes

April 27, 2020

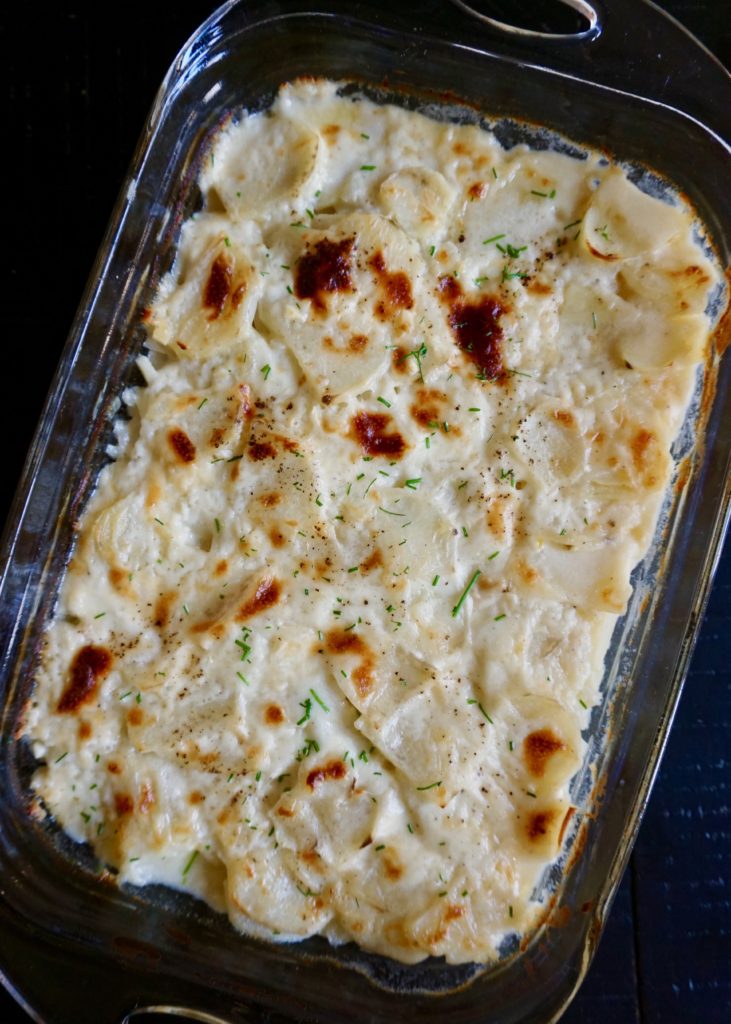
My kids are so used to sweet potatoes around here that I have a hard time getting them to eat white ones. They’ll eat french fries, of course, and tater tots. But even mashed potatoes aren’t their favorite. So I’ve been experimenting with different ways to prepare potatoes and found a winner. (Well, Dustin and I think these are amazing, and so does the one year old at least!) This is a classic cheesy scalloped potato dish, with a creamy white cheddar sauce. It went wonderfully with our herb marinated pork tenderloin and roasted carrots for Easter dinner. Next up are the no-knead buttermilk rolls I also served alongside.

Scalloped Potatoes

INGREDIENTS

3 Tbsp. butter
1 cup yellow onion, chopped
3 Tbsp. all-purpose flour
1 Tbsp. garlic, minced
salt and freshly ground black pepper, to taste
2 3/4 cups milk (whole or reduced fat)
1 1/4 cups sharp white cheddar cheese, shredded
2 3/4 lbs. red potatoes (I’ve also used russet potatoes)
1 Tbsp. fresh parsley or chives, chopped (optional)

DIRECTIONS

  1. Preheat oven to 350 degrees. Spray a 9×13 baking dish with non-stick cooking spray.
  2. Melt butter in a medium saucepan over medium heat. Add onion and saute 3 minutes. Add flour and garlic and saute 1 minute. While whisking pour in milk. Bring to a light boil over medium-high heat, stirring frequently, until thickened. Remove from the heat and stir in cheese. Season with salt and pepper to taste (you’ll need about 1 tsp. kosher salt). Set pan aside until ready to assemble.
  3. Peel potatoes and slice into 1/6-inch slices using a mandolin (I do it by hand with a sharp knife). Spread half of the potatoes into an even layer in prepared baking dish (be sure each slice is separated). Pour half the sauce evenly over potatoes. Spread over remaining half of potatoes and finish by covering with remaining half of sauce.
  4. Bake in preheated oven until potatoes are tender when pierced with a toothpick or fork, about 55 – 70 minutes. Garnish with parsley or chives if desired and serve warm.

Makes a 9×13 pan.

Adapted from Cooking Classy