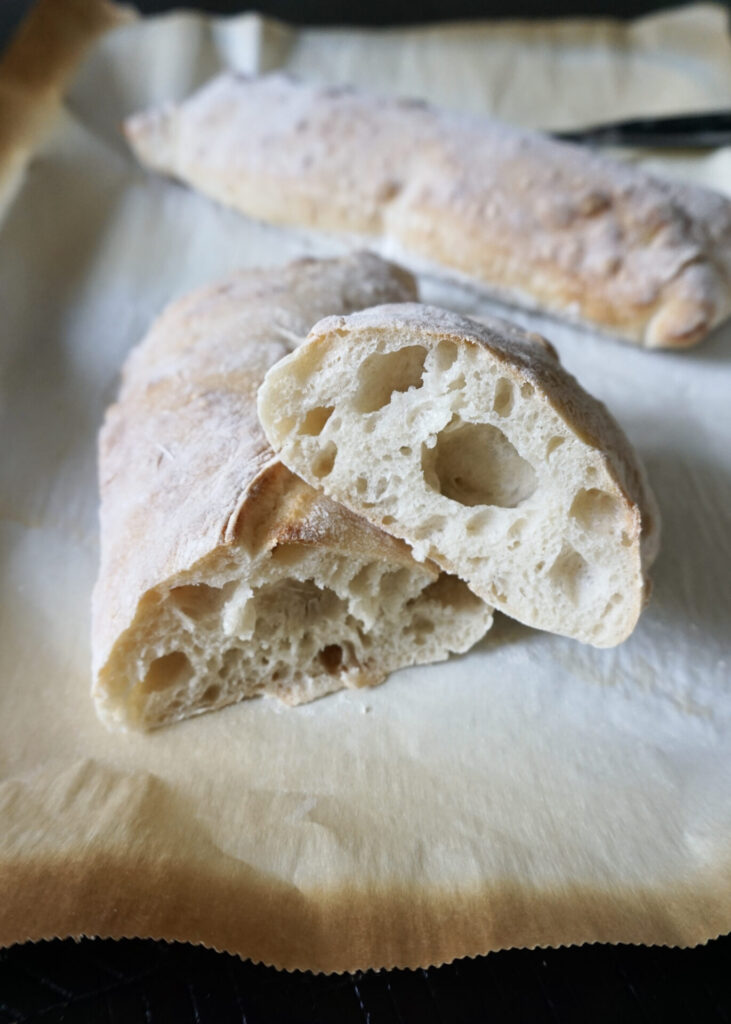
I’m on roll with with the Italian breads lately. First, I surprised myself by making my own focaccia that was just as addictive as the loaves from my favorite bakeries. And now I made ciabatta, and it too was soooo good! These loaves turned out soft in the center with a chewy crust and nice big holes- just as ciabatta should be.
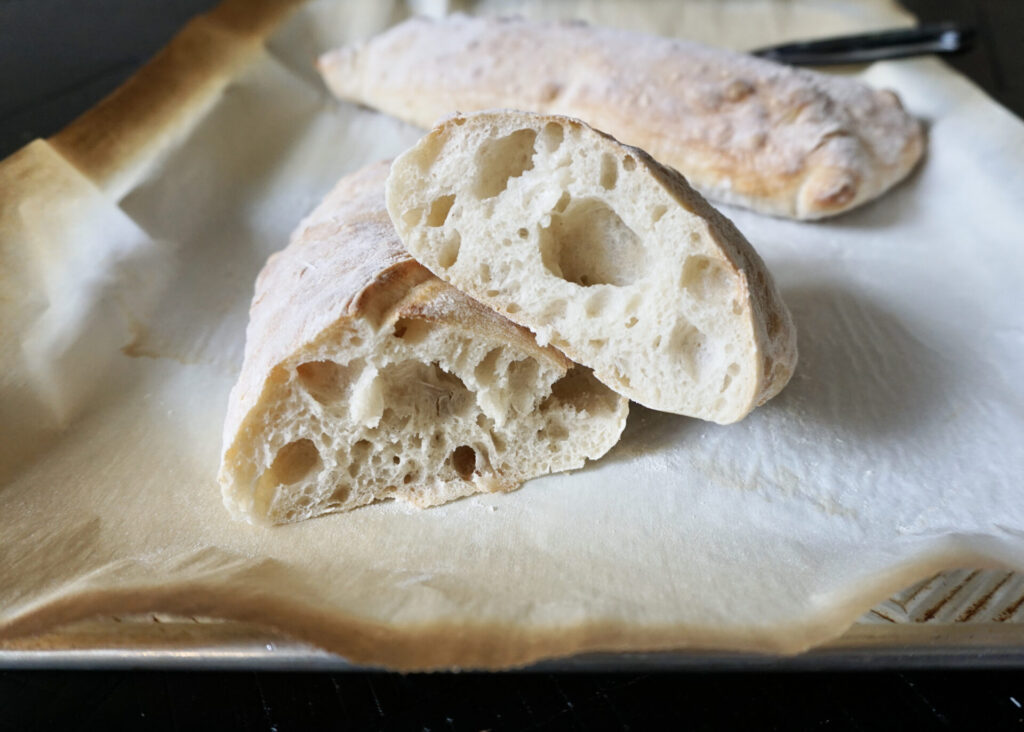
This recipe was pretty much perfect so I didn’t change much about it. I did use bread flour (King Arthur being my favorite brand) and haven’t tested it yet with all-purpose flour, but suspect it would still work. Make sure you start the night before as you’ll make a starter dough that needs to sit out for 8-12 hours (overnight makes it easy) to ferment. But it’s as simple as stirring some water, yeast, and flour together before bed and time does the rest. I followed the original instructions closely using my Kitchen Aid stand mixer (with the paddle attachment) to knead and rest the dough for the exact times specified and couldn’t have been happier with the result.
Homemade Ciabatta Bread
INGREDIENTS
Yeast Starter Dough:*
1/2 tsp active dry yeast
3/4 cup water, room temperature
1 cup bread or all-purpose flour
Ciabatta Dough:
1/2 tsp active dry yeast
3/4 cup water, room temperature
All of the Yeast Starter Dough From Above plus the following:
2 cups bread or all-purpose flour (I used King Arthur bread flour)
1 1/2 tsp salt
DIRECTIONS
- *For the Yeast Starter Dough: Combine all ingredients in a medium sized bowl and stir well. Cover with plastic wrap and allow to sit at room temperature for 8-12 hours (overnight works perfectly).
- For the Ciabatta Dough: In a large bowl or the bowl of a stand mixer fitted with a paddle attachment, stir the yeast in to the water. Add all of the Yeast Starter Dough that you made earlier and has been sitting. Mix briefly. Add the flour and salt and mix to combine. Beat on medium-low for 3 minutes. Stop the mixer and let dough rest for 10 minutes. Beat again on medium-low for 3 minutes. Stop again and let dough rest for 10 minutes.
- Remove dough to a lightly oiled bowl large enough to hold double the amount of dough. Cover the bowl with plastic wrap and let the dough rest until it starts to puff up, about 45 minutes.
- Using a silicone bowl scraper or spatula, scrape the dough on to a well-floured work surface. Have a cup of flour handy to use. Sprinkle the top of the dough with some flour. Using your silicone bowl scraper, scoop up one edge of the dough and fold it over the top of the dough to reach the middle. Scoop up the opposite edge and scoop it up to cover the fold you just made. Add some more flour to your board and the top of the dough (just enough to control stickiness). Let dough rest for 15 minutes and then repeat this same folding. Let rest another 15 minutes. Flour board and top of dough and roughly shape in to an 8×8-inch square. Using a sharp knife, cut your dough into two 4×8-inch rectangles. Flour the top of the dough then cover with a tea towel and allow to rise until puffy, about 30 minutes.
- Meanwhile, preheat oven to 475° F and line a baking sheet with parchment paper (or grease well). When dough is risen, using a bench scraper or silicon spatula and your hand, gently lift the loaves to the prepared baking sheet, being careful not to deflate.
- Bake in the preheated oven for 20-25 minutes (my loaves were done at 18-19 minutes) or until golden brown and the internal temperature reaches 200°F. Transfer to a cooling rack to cool.
Makes 2 8-inch loaves.
(Adapted from Seasons and Suppers)


I’ve been following your recipe for the past few months and made many loaves. It is the easiest recipe to follow and I love the results. Using Kitchen aid really helps.
Thank you so much for your recipe.