Brown Butter Chocolate Chip Cookies

October 5, 2020

Brown butter does something amazing for chocolate chip cookies. It adds a nutty richness that can’t be replicated with any other ingredient. It’s rare that I think a store-bought or even bakery cookie is as good as homemade, but I tried one of Whole Food’s brown butter chocolate chip cookies last year and was instantly hooked! They use a combo of bitter and semi-sweet chocolate so they’re not overly sweet and they’re crisp on the edge, chewy in the middle and everything a cookie should be. And ever since I’ve been trying to recreate them at home.
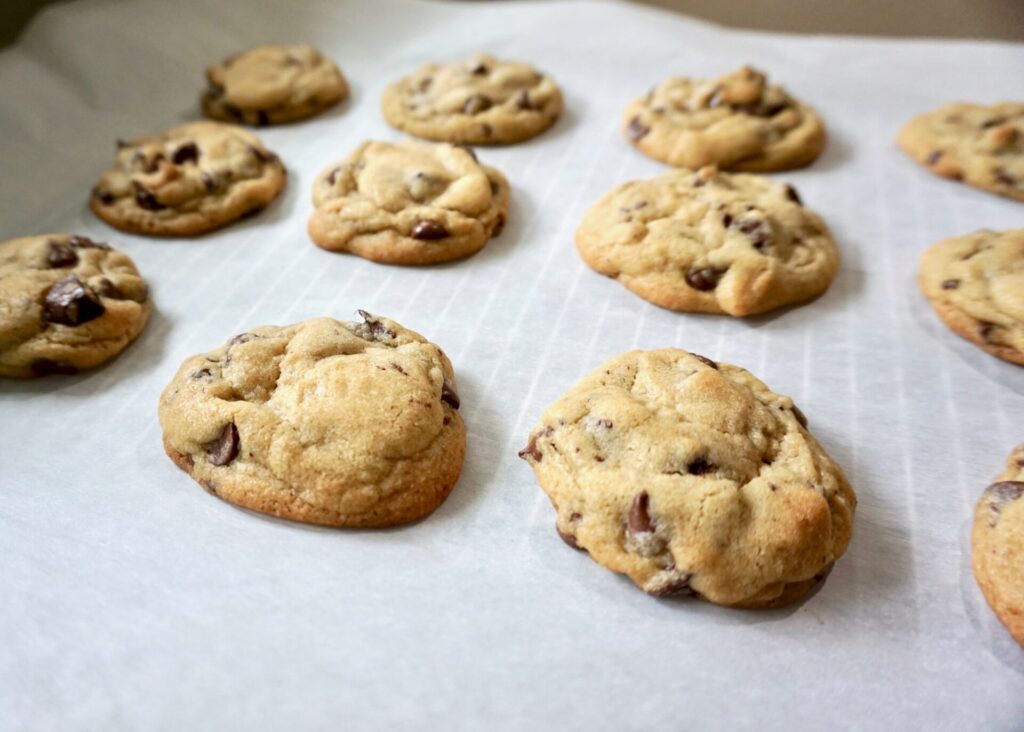
I read a lot of similar recipes before landing on one to try. My first attempt tasted pretty good but was flat and stuck to the pan and I learned two things: 1) the butter and dough need time to chill in the fridge before creaming/baking to prevent spreading, and 2) parchment paper is a good idea. The second time around I tweaked a couple ingredients (not too much vanilla extract so the brown butter flavor can shine through, a decent amount of salt to balance the sweet- you can even sprinkle some flake salt on top after baking!, and a bit more flour to get the perfect texture) and this time they were just right!

Don’t be intimidated by browning the butter. It takes a few minutes but it smells amazing and and totally transforms the flavor. The rest of the recipe is very straightforward. I like to use both semi-sweet and chopped dark chocolate but you can use what you have/prefer. I hope you love these as much as we do!

INGREDIENTS

2 sticks (1 cup) butter
1 cup light or dark brown sugar
1/2 cup sugar
2 eggs
1 tsp. pure vanilla extract
2 1/2 cups all-purpose flour
1 tsp. baking soda
1 tsp. sea salt
2 cups chocolate chips (I like a combo of semi-sweet and dark chocolate in these cookies, so I used about 1/2 cup chopped 60% bittersweet Ghirardelli chocolate and 1 1/2 cups Ghirardelli semisweet chocolate chips)

DIRECTIONS

  1. Place butter in large pot or deep skillet. Melt butter over medium-low heat. The butter will go through different phases. It will begin to melt and bubble. Take a wooden spoon or spatula and stir often and around the sides of the pan. Let the butter melt and watch for it to begin changing colors from a creamy yellow to a deep amber yellow. The butter will begin to foam and this is why it is important to stir often so you can see what is going on below the foam. Small brown bits will begin to form and that will be a signal that the butter is officially browned. Butter can burn quickly so watch carefully. It is better to pull off of the heat a little early instead of browning too long and risk burning it.
  2. Since you want the butter to chill quickly, pour it into the mixing bowl you’ll be using and place in the refrigerator. Use a spatula to get every bit of butter out of the pan. Let it chill in the refrigerator for about 1 hour.
  3. Remove the mixing bowl with chilled butter butter from the refrigerator. Add brown sugar and sugar and cream for 2-3 minutes, scraping the sides of the bowl often.
  4. Add eggs, one at a time, beating for 30 seconds after each addition. Stir in vanilla.
  5. Add flour, baking soda, and salt. Stir just until combined, avoid over-mixing. Stir in chocolate chips.
  6. Cover and let dough chill in the refrigerator for 2+ hours (or up to 2 days).
  7. Preheat oven to 375 F. Place parchment paper liners or Silpat liners on baking sheets. Roll balls of cookie dough and place on cookie sheet. Bake for 8-10 minutes or until edges starts to become a light golden color. Remove from the oven and cool on a wire rack.

Makes 2-3 dozen cookies, depending on size.

(Adapted from Modern Honey)

Bacon, Corn, and Parmesan Pasta

October 2, 2020

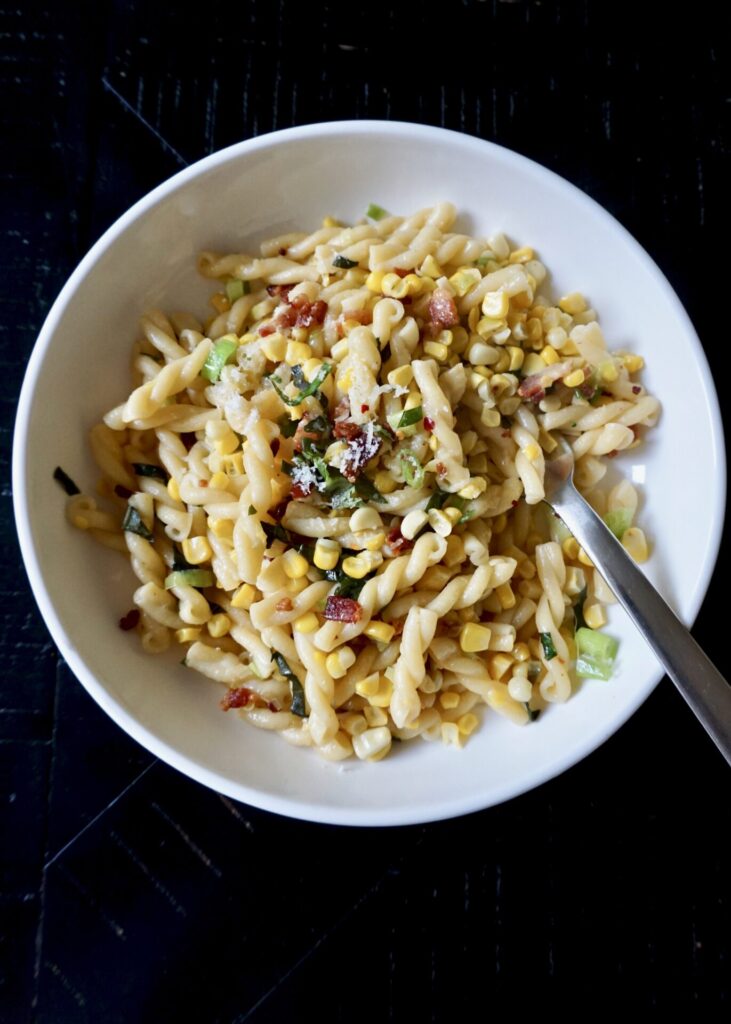
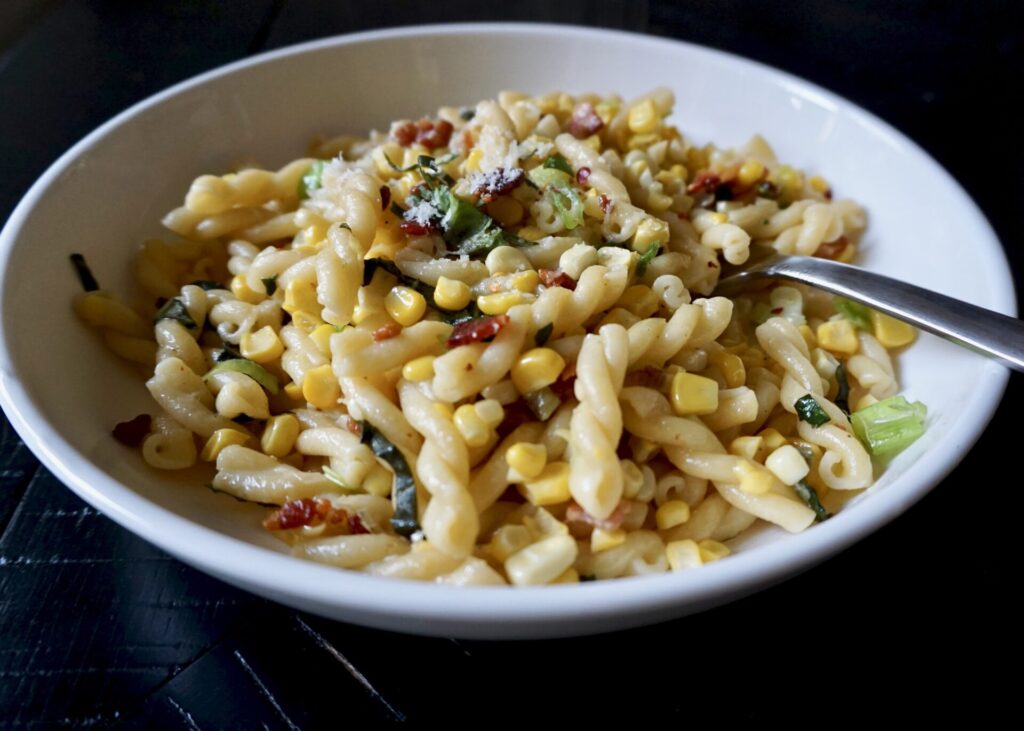
I had this recipe bookmarked all summer and just never got around to making it. But fresh corn is still popping up my local stores so I grabbed some and we had this pasta dish just last night! And I’m sharing it with you the very next day because it was that delicious! My 4 year old cried this morning when she learned daddy finished the rest of the pasta last night and there wasn’t any left-over for her lunch. That girls LOVES pasta.

I love the combo of bacon and sweet corn. I’ve put it on pizza before and it’s amazing. Instead of milk or cream, this recipe uses some of the pasta cooking water (IMPORTANT: don’t forget to set some aside before you drain the pot) to create the sauce. The bacon is cooked first and then the corn is essentially fried in some of the bacon grease before being tossed with the pasta and cheese (I used both Parmesan and Romano), so the flavor is reminiscent of a carbonara. If you can, it’s worth getting your hands on some fresh basil and chives to top it off.

Bacon, Corn, and Parmesan Pasta

INGREDIENTS

8 oz. dried pasta (I used gemelli)
8 oz. bacon, diced
4 ears corn, shucked and kernels cut from cob
Salt and freshly ground black pepper and/or red pepper flakes, to taste
3-4 scallions, thinly sliced
2/3 cup finely grated parmesan (and/or Pecorino Romano) + extra for serving
Fistful of fresh basil and chives, chopped

DIRECTIONS

  1. If you’re hoping to pull this all off in one pan, cook your pasta in a large deep saute pan or pot according to package directions. If you want the pasta al dente, cook it 1-2 minutes less than directed. Reserve a cup or two of pasta cooking water and drain. Wipe pan dry if using for the next steps, otherwise, you can get started in a large frying pan.
  2. Scatter bacon in pan over medium-high heat, no need to heat the pan first. Cook, stirring, until evenly browned and crisp. Use a slotted spoon to transfer bacon bits to paper towels to drain. Pour off all but 2 tablespoons bacon fat from pan and add corn to it. Season corn with salt and pepper and cook, stirring for 1 to 2 minutes, until crisp-tender. Add pasta and a couple splashes of the cooking water and half the parmesan and toss, toss, toss the pasta with the corn, seasoning with more salt and pepper if needed and adding more cooking water if it doesn’t feel loose enough. Add scallions and other half of cheese and stir to warm. Stir in bacon and transfer to a serving bowl. Sprinkle with fresh herbs and additional cheese to taste. Dig in.

Serves 4-6.

(Adapted from Smitten Kitchen)

Denver Scramble

October 1, 2020

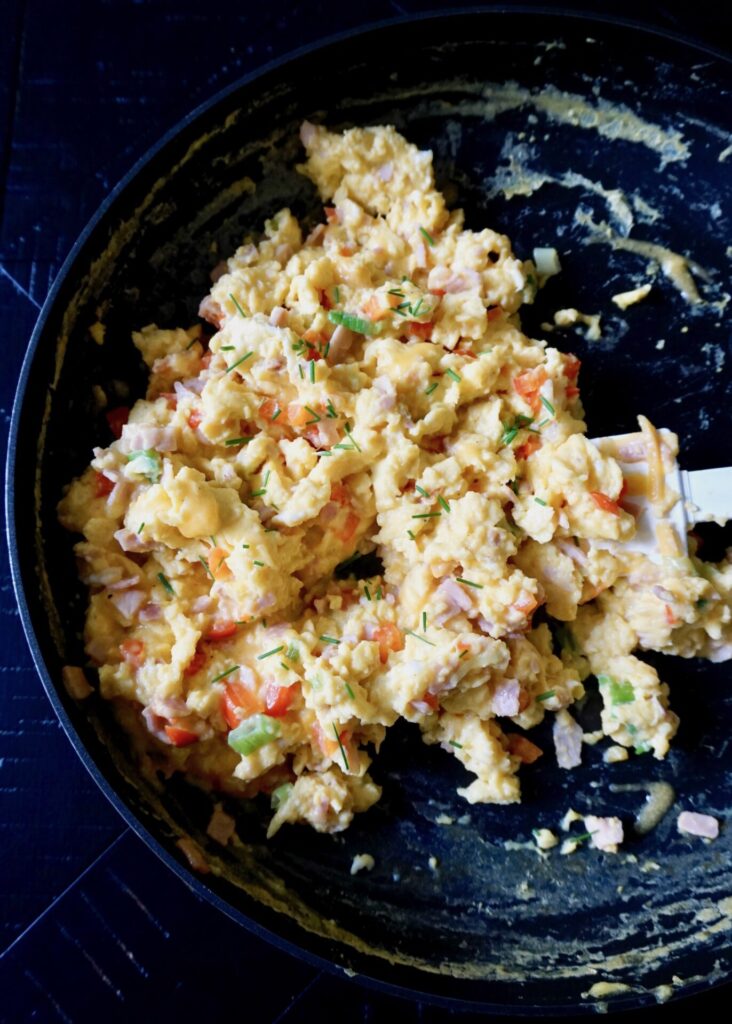
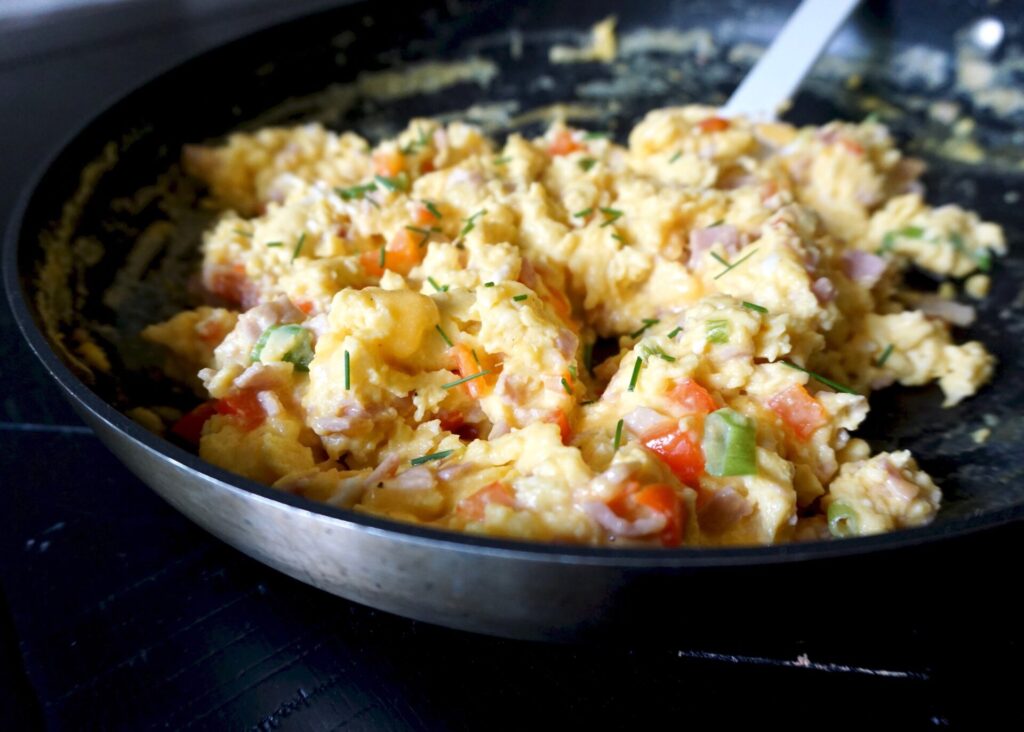
Before moving to the Seattle area, we lived in Colorado for 2 years. I was pregnant and in the newborn phase with Gwen for half of that time so I didn’t post very many recipes. But I did learn to bake at high altitude (this guide saved my life baked goods)! I’m not sure how this recipe, the Denver scramble, came by its name but I do know I saw it on many menus there. The combo of green onion, sweet peppers, salty ham, and cheddar cheese in soft scrambled eggs has become one of our family’s breakfast staples ever since.

Like many recipes I create, I don’t use exact amounts. Generally I use about 2 eggs per human (3 if they’re extra hungry). And you can adjust the amount of fillings (veggies, ham, and cheese to taste). My kids prefer it not be too veggie-heavy. I love lots of onion so I sprinkle extra chives on mine before serving. Salsa or hot sauce and avocado are often served alongside.

Denver Scramble

INGREDIENTS

eggs
bell pepper, diced (I usually use red, but any color works)
green onion, sliced
butter
ham (or Canadian bacon), diced
cheddar cheese (I use medium or sharp), grated
salt and freshly ground black pepper, to taste

optional for serving:
fresh chopped chives
salsa or hot sauce
sliced avocado

DIRECTIONS

  1. Crack eggs into a large bowl and whisk until well combined. Season with a pinch of salt and pepper.
  2. Heat a bit of butter (or a drizzle of olive oil) in a large nonstick skillet over medium heat. Add the bell pepper and green onion and saute a few minutes. Add the diced ham and continue cooking until the peppers and onion are just tender. Remove the pan from the heat and pour the mixture onto a plate and set aside. Wipe the skillet clean with a paper towel.
  3. Add another bit of butter to the same skillet and return it to medium-low heat. Pour in the whisked eggs. Scramble the eggs, stirring frequently with a spatula. When the eggs are about halfway done, stir in the bell pepper, onion, and ham mixture. When the eggs are just set, turn off the heat and stir in the cheese. Season to taste with salt and freshly ground black pepper, and serve with optional toppings.

Dahlia Bakery’s Tasty Tomato Soup

September 29, 2020

My favorite treat in Seattle comes from Tom Douglas’ Dahlia Bakery (or LOLA their Mediterranean inspired restaurant across the street). They have tiny donuts (more like a beignet) that they serve hot with sweetened mascarpone and marionberry dipping sauce. They’re incredible! Everything I’ve tried at both restaurants has been delicious. And of course I have the Dahlia bakery cookbook. It has a recipe for the Dahlia donuts which I’ve yet to try (probably because I know I’ll never be able to replicate the original and I live close enough, so why bother?!) but I have made- and loved!- their tomato soup recipe.

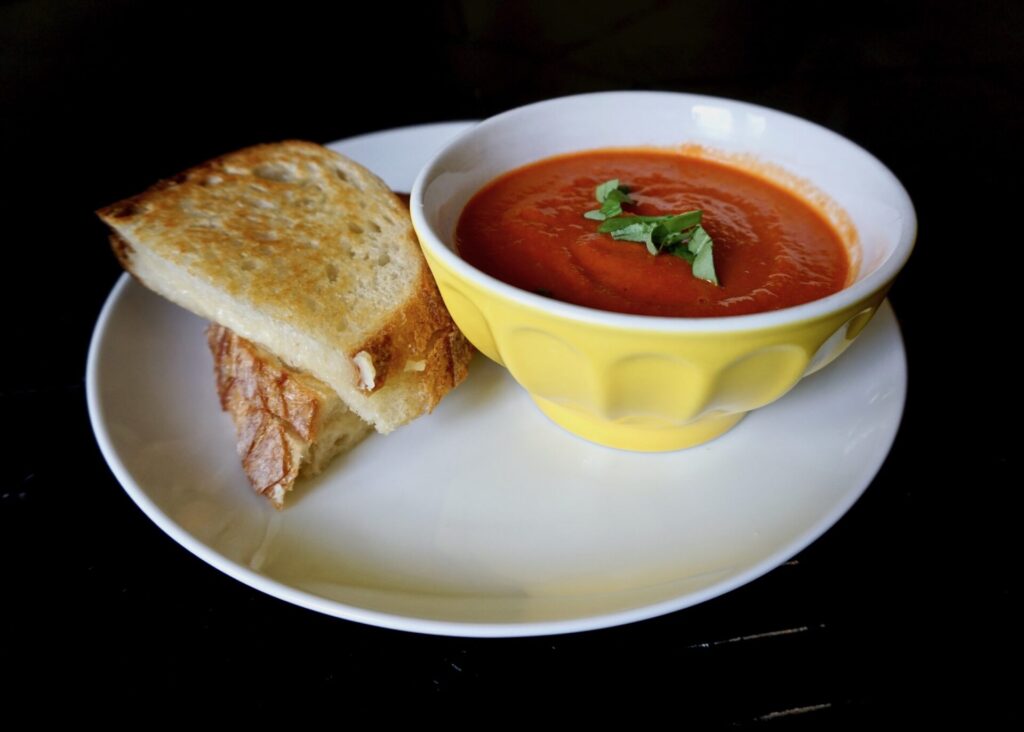
I thought this soup was just perfect as written. Though I did use half and half instead of cream because I had it around. And while it won’t be quite as rich, it’ll save you a few calories. Use high quality whole or crushed tomatoes for the best flavor. Soup needs a lot of salt so don’t be shy and season it generously to taste. I didn’t make the brown butter croutons because I was serving it alongside grilled cheese (perfect for dipping!) but next time I definitely will. They sound divine.

Dahlia Bakery’s Tasty Tomato Soup

INGREDIENTS

Tomato Soup:
1 Tbsp. unsalted butter
1 Tbsp. olive oil
1 medium onion, thinly sliced
3 garlic cloves, smashed with the side of a knife and peeled
5 cups canned whole tomatoes in juice (I used Cento brand, can also use crushed tomatoes)
1 cup water
2/3 cup heavy cream (I used half and half, heavy cream will make it richer)
1 1/2 -2 tsp. kosher salt (adjust to taste)
1/4 tsp. freshly ground black pepper (adjust to taste)
1/4 tsp. crushed red pepper flakes (adjust to taste)
1/4 tsp. celery seed (I used celery salt)
1/4 tsp. dried oregano or 1/2 tsp. finely chopped fresh oregano
1 Tbsp. sugar

Brown Butter Croutons:
3 Tbsp. unsalted butter
4 slices rustic bread, crusts removed, cut into 3/4- to 1-inch cubes (30 to 36 cubes)
Kosher salt and freshly ground black pepper

fresh basil, for serving (optional)

DIRECTIONS

  1. Heat the butter and olive oil in a large saucepan and sauté the onion and garlic until the onion is translucent, about 5 minutes. Add the tomatoes, water, cream, salt, red pepper flakes, celery seed, oregano, and sugar. Bring to a boil, then lower the heat to a simmer and simmer for 15 minutes.
  2. Remove from the heat and puree in batches in the container of a blender. Return the soup to the pot and reheat to a simmer, seasoning to taste with salt and pepper.
  3. Meanwhile, to make the brown butter croutons, preheat the oven to 350°F. Heat the butter in a small pan over medium heat and cook, stirring often, until the butter is golden brown and aromatic, about 3 minutes after the butter melts. Remove from the heat. Put the bread cubes in a bowl and pour the brown butter over them, tossing to coat. Season to taste with salt and pepper and toss again. Spread the bread cubes on a baking sheet and place it in the oven. Bake until the croutons are toasted and golden, about 20 minutes, stirring occasionally. Remove the pan from the oven.
  4. Serve the soup hot, garnished with the croutons and fresh basil (both optional).

(Adapted from The Dahlia Bakery Cookbook: Sweetness in Seattle)

Everyday Meatballs

September 23, 2020

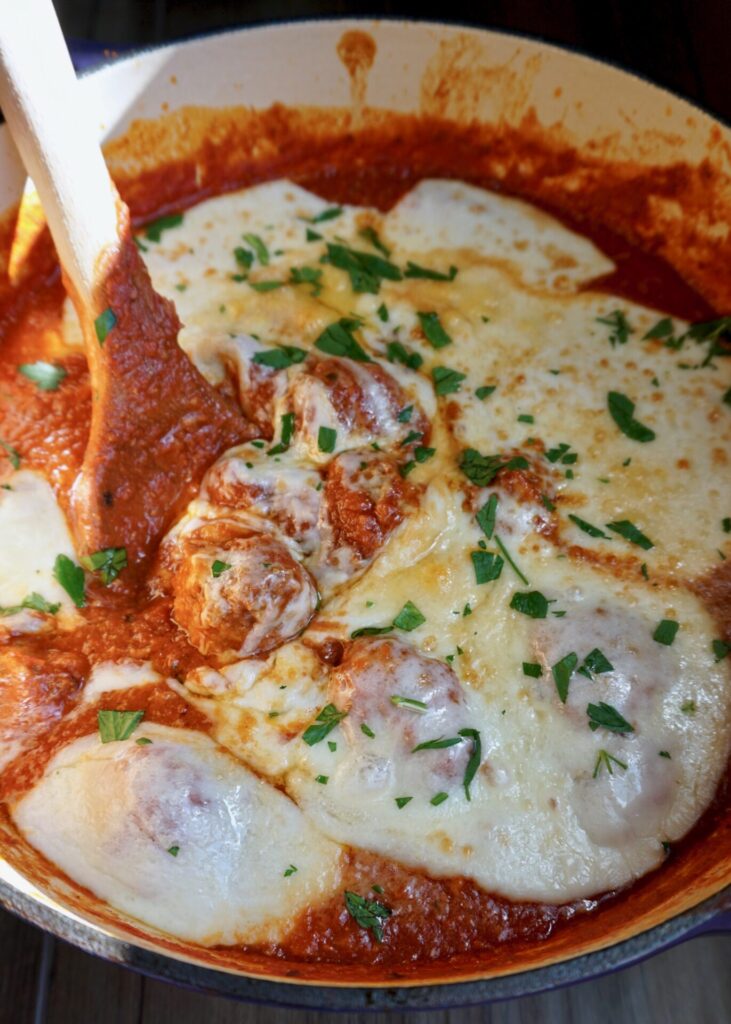
Meet my favorite meatballs. They’re cooked right in a pot of crushed tomato sauce and finished with a layer of bubbling cheese on top. I’ve only made them with beef but they’re adaptable to other ground meats like pork or turkey. Make sure to boil a pot of pasta and/or bake some garlic bread alongside to soak up all that marinara. Or on these french bread rolls they’d make perfect sliders!

Everyday Meatballs

INGREDIENTS

1 lb. ground meat (I used beef, you could also use pork or turkey or a mixture)
2/3 cup fresh bread crumbs or 1/2 cup panko 
1/3 cup milk
2 Tbsp. finely chopped parsley
2 Tbsp. finely grated Parmesan or Romano cheese 
2 tsp. kosher salt, divided
Pinches of red pepper flakes or a few grinds of black pepper
1/2 tsp. onion powder
2 large eggs
2 garlic cloves, minced, divided
2 Tbsp. olive oil
1 28-oz. can of tomato puree or crushed tomatoes

optional for serving:
cheese (I’ve used smoked provolone + Parmesan, another time mozzarella + Romano)
pasta
crusty bread or rolls
fresh chopped basil or parsley

DIRECTIONS

  1. Place meat, crumbs, milk, parsley, cheese, 1 teaspoon salt, pepper, onion powder, eggs and half of your minced garlic in a large bowl. I like to mix all of this together with a fork, which does a good job of breaking up the eggs and chunks of meat. Form mixture into 1 1/2 to 2-inch meatballs and arrange on a plate. I like to let them set in the fridge for a bit — 30 minutes, if you can spare it — which helps them keep their shape.
  2. In a large pot, heat 2 tablespoons olive oil over medium heat. Add remaining garlic and some pepper flakes and let sizzle until garlic is golden, 30 seconds to 1 minute. Add tomatoes (beware the splatter!) and season with remaining salt. Let mixture simmer over low heat for about 10 minutes (with a thicker puree) or 20 (for crushed tomatoes, which are usually more watery), stirring occasionally.
  3. With stove on the lowest heat possible to maintain a gentle simmer, add meatballs to sauce one by one, and cover with a lid. It will be hard but please don’t touch or move them for at least 20 minutes of the 25-minute cooking time, so that they have a chance to keep their shape. Meatballs should be fully cooked through at 25 minutes, but it cannot hurt to cut one in half to verify.
  4. Eat however makes you happy:
    — as-is.
    — with pasta.
    — “parmesan”-ed: Make sure meatballs are in an oven-safe baking dish. Tear about 8 ounces mozzarella (or provolone) over the top and broil until melted. Finish with some parmesan (or Romano), if desired. Sprinkle with fresh chopped basil or parsley.
    — with garlic bread/rolls, etc.

Serves ~4. 

(Adapted from Smitten Kitchen)