Easy Broccoli Chicken Rice Casserole

September 11, 2020

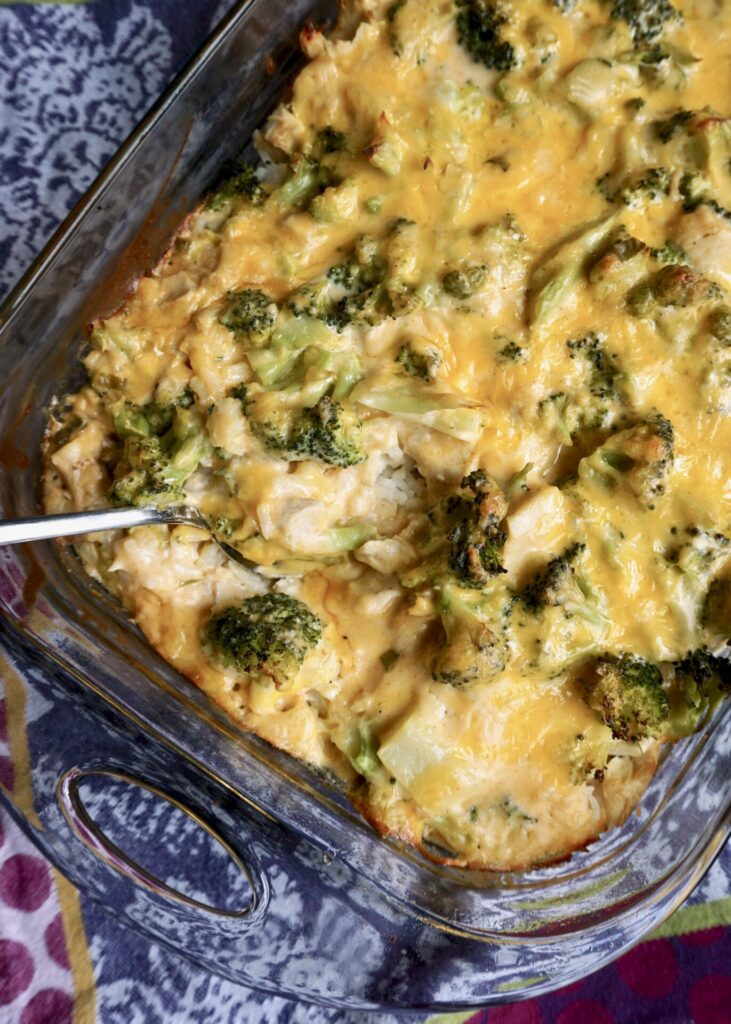
I grew up on chicken broccoli casserole but it was made with a can of cream of something and loads of mayo. I wanted a more natural and bit healthier approach, and found success with this recipe! (I also have a version with wild rice and broccoli in the archives.) I did increase the ingredient amounts from the original recipe linked to fill a 9×13 pan and it worked out just right. The creamy cheese sauce starts with some onion and garlic cooked in a roux and then a few spices and cream cheese and Cheddar are stirred in. Then the sauce is layered with cooked chicken (rotisserie makes it easy), just-tender broccoli and steamed rice, more cheese is sprinkled on top, and then the whole casserole bakes until browned and bubbling. These flavors familiar to my childhood are once again a family favorite!

Easy Broccoli Chicken Rice Casserole

INGREDIENTS

3 Tbsp. Butter
3 Tbsp. flour
3/4 cup diced yellow, white, or green onion
1/2 tsp. garlic powder (or 1-2 cloves fresh garlic, minced)
1 tsp. kosher salt (adjust to taste)
1/4 tsp. black pepper (adjust to taste)
3 cups milk
3/4 tsp. dry mustard powder
3/4 tsp. paprika
pinch cayenne pepper or crushed red pepper flakes (to taste)
4 Tbsp. cream cheese
3 cups sharp cheddar, divided
3 cups cooked rice
4-5 cups broccoli
2-3 cups cooked chicken, shredded or cubed (rotisserie chicken works great)

DIRECTIONS

  1. Preheat oven to 350 F.
  2. Cook onion and butter on medium-low heat until softened and translucent. Stir in flour, garlic powder (or garlic), salt and pepper. Cook an additional 2 minutes.
    Gradually pour in milk while whisking. Continue whisking over medium heat until thick and bubbly. Remove from heat and add dry mustard, paprika, a pinch of cayenne or red pepper flakes, cream cheese and 2 cups cheddar cheese. Stir until melted. Taste and adjust seasonings to taste.
  3. Steam or boil broccoli for several minutes, until tender-crisp. You still want it slightly crisp as it cooks more in the oven.
  4. In a 9×13 casserole dish, layer the rice, broccoli, chicken and cheese sauce. Top with remaining 1 cup cheese and bake 30-40 minutes or until bubbly and cheese is lightly browned on top.

Makes a 9×13 casserole.

(Adapted from Spend with Pennies)

Mixed Green Salad with Balsamic Vinaigrette

September 10, 2020

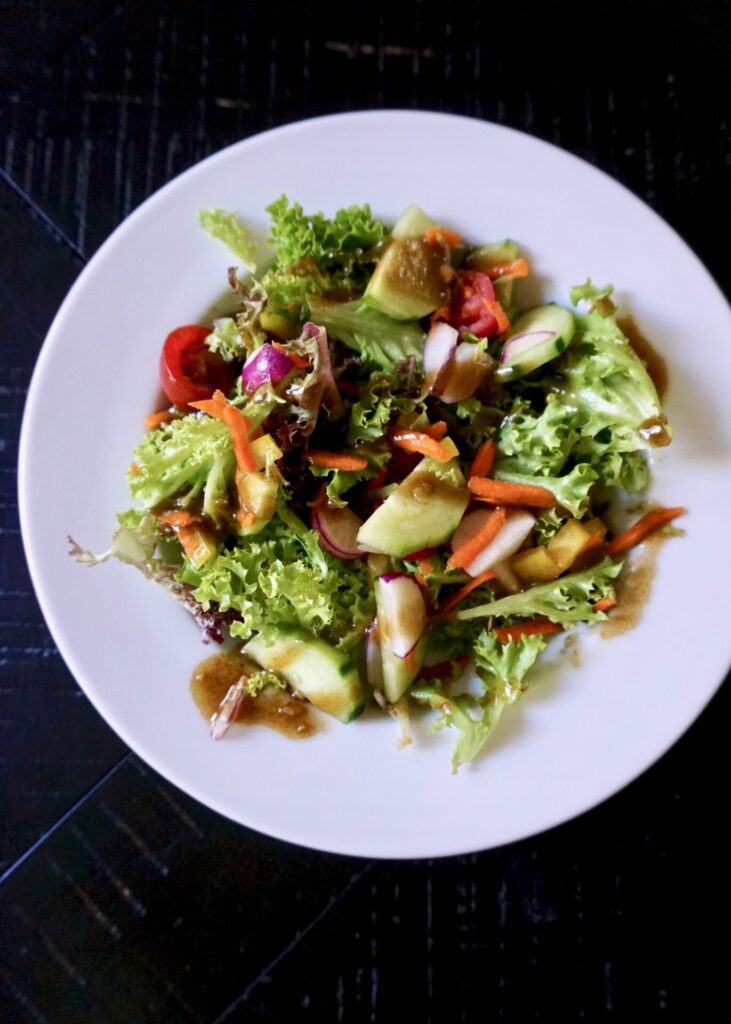
I’m always making mixed green salads to go alongside pizza or pasta or soups and sandwiches, etc. This is my go-to combination of vegetables and lettuce- I don’t always include everything but a bit of what I have on hand. And then I serve it with our favorite store-bought salad dressing or make my own vinaigrette. This has become my favorite balsamic vinaigrette recipe lately. It’s simple to make- just whisk everything together in a bowl. And it’s got just the right balance of oil and vinegar, tangy and sweet. Use high quality balsamic and olive oil for the best flavor.

Mixed Green Salad with Balsamic Vinaigrette

INGREDIENTS

mixed green lettuces
grape or cherry tomatoes, halved
cucumber, sliced
carrot, peeled and grated
red onion, thinly sliced
red bell pepper, diced
radish, thinly sliced

Balsamic Vinaigrette:
2 Tbsp. honey
1 Tbsp. dijon mustard
1/2 tsp. sea salt
1/2 tsp. freshly ground black pepper
1 large garlic clove, minced
1/4 cup balsamic vinegar
3/4 cup extra virgin olive oil

DIRECTIONS

  1. In a small mixing bowl, whisk together the honey, balsamic, mustard, salt, pepper and garlic. Add the oil and whisk thoroughly to combine. Continue whisking until the dressing is fully emulsified. Store in a jar with a lid and refrigerate. Shake well before serving.
  2. Place mixed greens in a serving bowl and add vegetables. Drizzle with balsamic vinaigrette, toss, and serve.

(Adapted from Barefeet in the Kitchen)

Pesto Turkey (Or Chicken) Sandwich

September 7, 2020

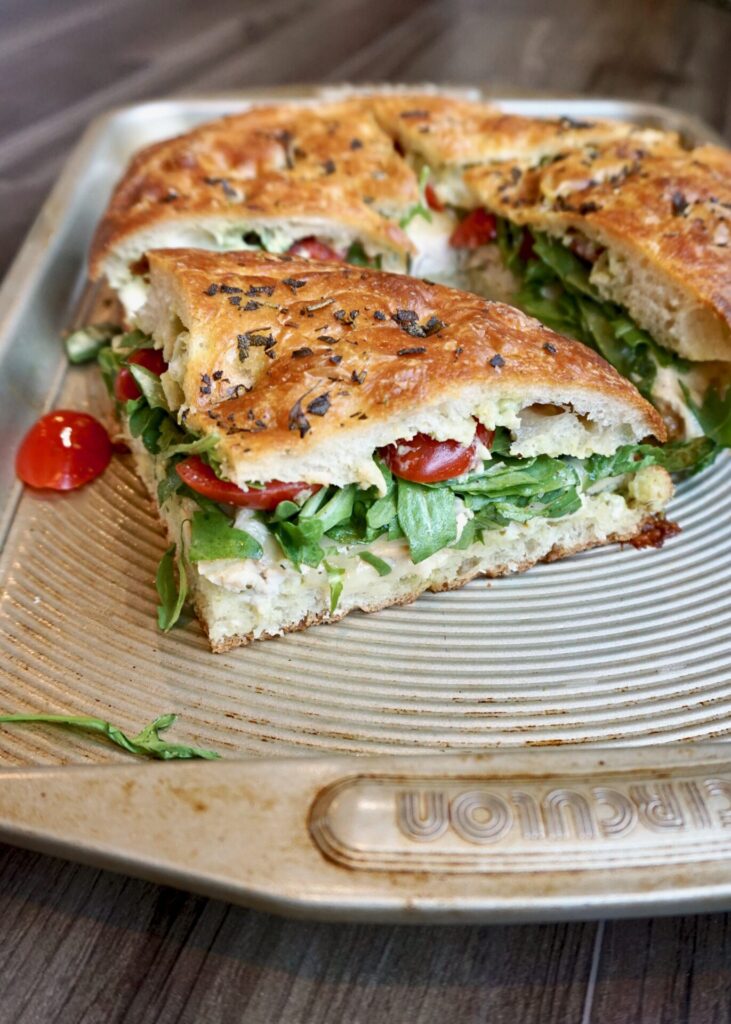
I’ve been making this sandwich combination of turkey/chicken with a creamy pesto mayo for years and it’s about time it made it to the site! There are lots of options for how to prepare it- crusty sliced sourdough, ciabatta, and herb focaccia (as pictured) are all favorite bread choices. You can add arugula and tomatoes as I’ve done. Sliced red onion and bacon are also a good idea. And pick a cheese that melts well as this sandwich is best served hot! You can make your own pesto (I linked to a recipe below) or I often buy it prepared (Costco has great pesto) and what I don’t use right away I stash in the freezer for later.

Pesto Turkey (Or Chicken) Sandwich

INGREDIENTS

thinly sliced or shredded turkey or chicken (here I used a rotisserie chicken)
crusty bread or rolls, sliced (here I used an herb Focaccia)
basil pesto
mayonnaise (can use half mayo and half plain Greek yogurt)
sliced cheese, such as Provolone (smoked Provolone is especially delicious), Fontina, Havarti, etc. 

optional add-ons:
thinly sliced red onion
arugula or baby spinach
sliced tomato or roasted red pepper
bacon

DIRECTIONS

  1. In a small bowl, miix equal parts mayo (can use half Greek yogurt) and basil pesto until well combined.
  2. Spread the pesto-mayo on one side of the top and bottom slices of bread/roll. Top with sliced cheese, turkey/chicken, and any optional add-ons (red onion, arugula, tomato/roasted red pepper, and/or bacon). Top with the second slice of bread (spread side down). Repeat to make as many sandwiches as needed. 
  3. To bake*, preheat oven to 350 F.  Place sandwiches on a baking sheet and cover with aluminum foil. Bake for 10-15 minutes, until the cheese has started to melt. Uncover and bake for 5 more minutes until the top is crisp and the sandwich is warmed throughout. Slice and serve. 

*Or sandwiches can be grilled on a pan/panini press or placed open-faced under the broiler (watch closely- they’ll go quick!) until the cheese is melted and the bread is toasted.


Mini Key Lime Pies

September 4, 2020

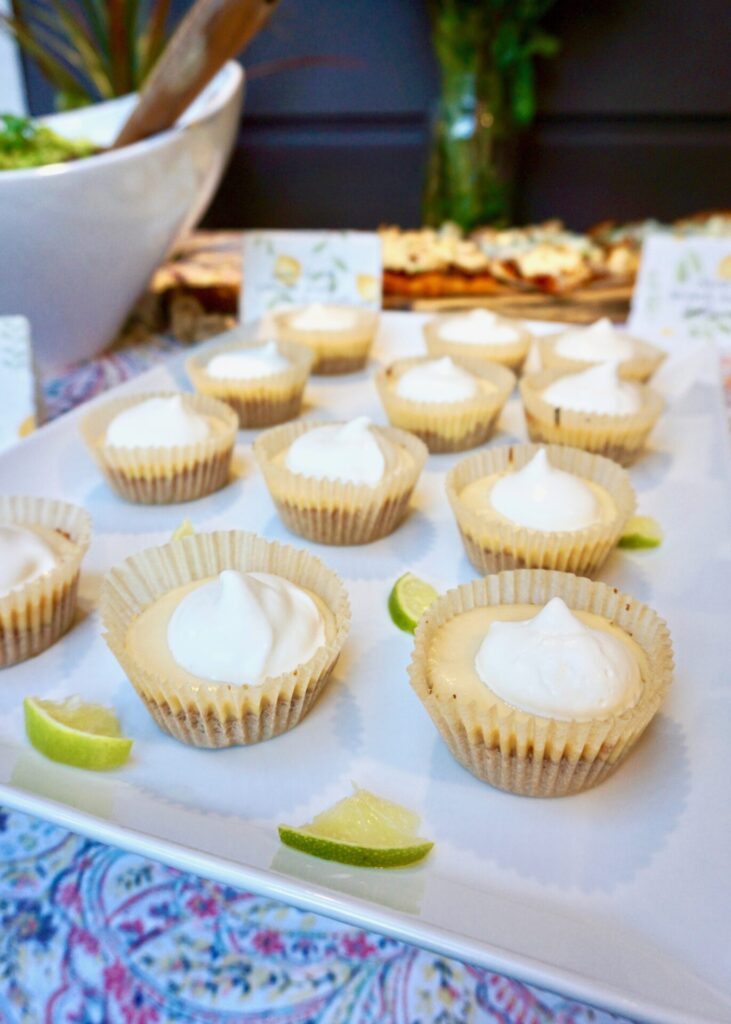
I’m loving mini desserts lately! Like these mini cheesecakes, these tiny key lime pies are quick to bake with my 3 small helpers and just the right size for one or two a piece. They’re tart yet sweet and perfect with a dollop of homemade whipped cream. (If you’d rather bake a full size pie, there are instructions included below the recipe.)

Mini Key Lime Pies

INGREDIENTS

1 1/2 cups graham cracker crumbs (about 10 full sheet graham crackers)
6 Tbsp. unsalted butter, melted
1/3 cup sugar

4 oz. full-fat cream cheese, softened to room temperature
4 large egg yolks
14 oz. can full-fat sweetened condensed milk
1/2 cup (120ml) key lime juice*
lime slices and whipped cream, for garnish (optional)

DIRECTIONS

  1. Preheat the oven to 350 F. Line a 12-count muffin pan with liners and a second 12-count muffin pan with only 4 (since this recipe makes only around 16). Set pans aside.
  2. Make the crust: Before you begin, here are all of my tips for a perfect graham cracker crust. If you’re starting out with full-sheet graham crackers, you can use a food processor or blender to grind them up. Or crush them in a zipped top bag with a rolling pin. Mix the graham cracker crumbs, melted butter, and granulated sugar together with a rubber spatula in a medium bowl until combined. The mixture will be thick, coarse, and sandy. Press a heaping tablespoon of mixture down into each liner, making sure the crust is tight and compact. You might have a little crust leftover. If so, press a little more into each liner—if desired! Pre-bake the crusts for 5 minutes. Remove from the oven.
  3. Make the filling: In a large bowl using a handheld or stand mixer fitted with a whisk attachment, beat the cream cheese on high speed until smooth, about 1 minute. On medium-high speed, beat in the egg yolks, scraping down the sides as needed. On high speed, beat in the sweetened condensed milk and lime juice until combined.
  4. Pour the filling evenly into each crust. Bake for 15-16 minutes or until the centers of the pies only slightly jiggle (I check this by wiggling the muffin pan—with an oven mitt on– while it’s still in the oven). Allow the pies to cool at room temperature in the pan set on a wire rack. Once completely cool, place the pan in the refrigerator for at least 2 hours and up to 1 day.
  5. Once chilled, serve the key lime pies cold with whipped cream and a lime slice if desired. Store leftover pies in the refrigerator (covered) for up to 1 week. If they last that long!

NOTES:

*Key Lime Juice: For the best flavor, make sure you use key lime juice. You can juice your own key limes or buy it from the store. It is usually with the regular lime and lemon juice in the juice aisle. I buy Nellie & Joe’s brand. In a pinch, you can use regular lime juice.

For a Full-Size Key Lime Pie: This is the same exact recipe I use for classic key lime pie (and sometimes I add the zest of 1 lime to the filling, which you can add to these mini pies as well). To make the pie, simply use this crust and filling recipe. Press crust into a 9-inch pie dish. Pre-bake for 12 minutes at 350 F. Pour in filling. Bake for 18 minutes, then allow to cool at room temperature before chilling in the refrigerator for 4 hours – overnight.

Makes ~16 mini key lime pies.

(Adapted from Sally’s Baking Addiction)

Zucchini Cheddar Frittata

September 2, 2020

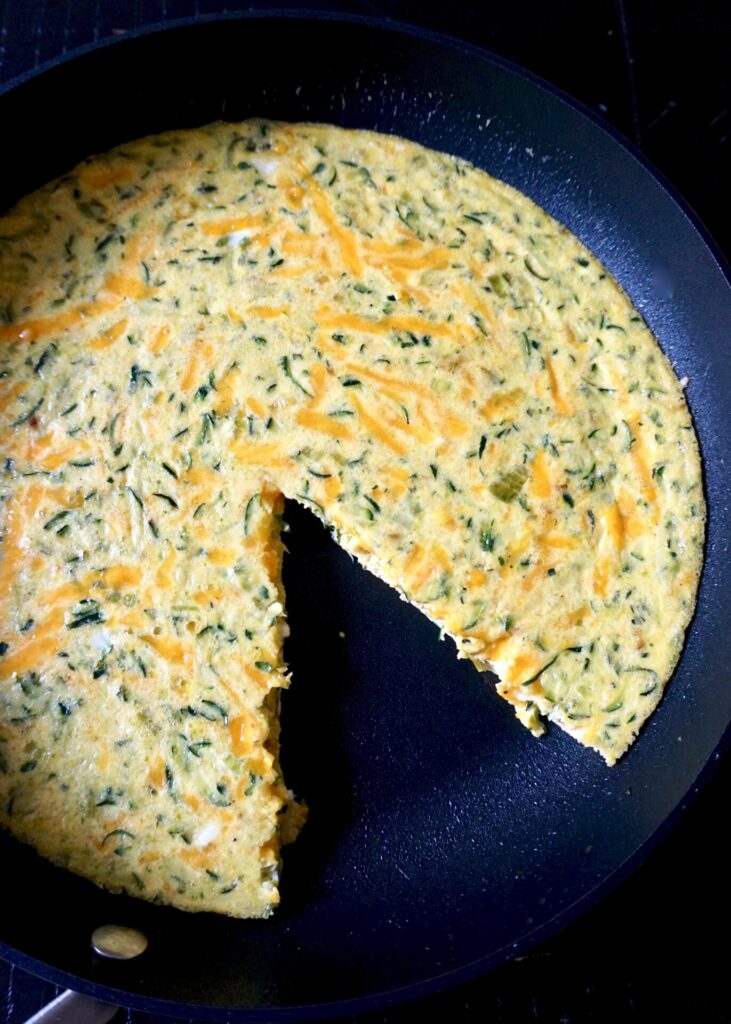
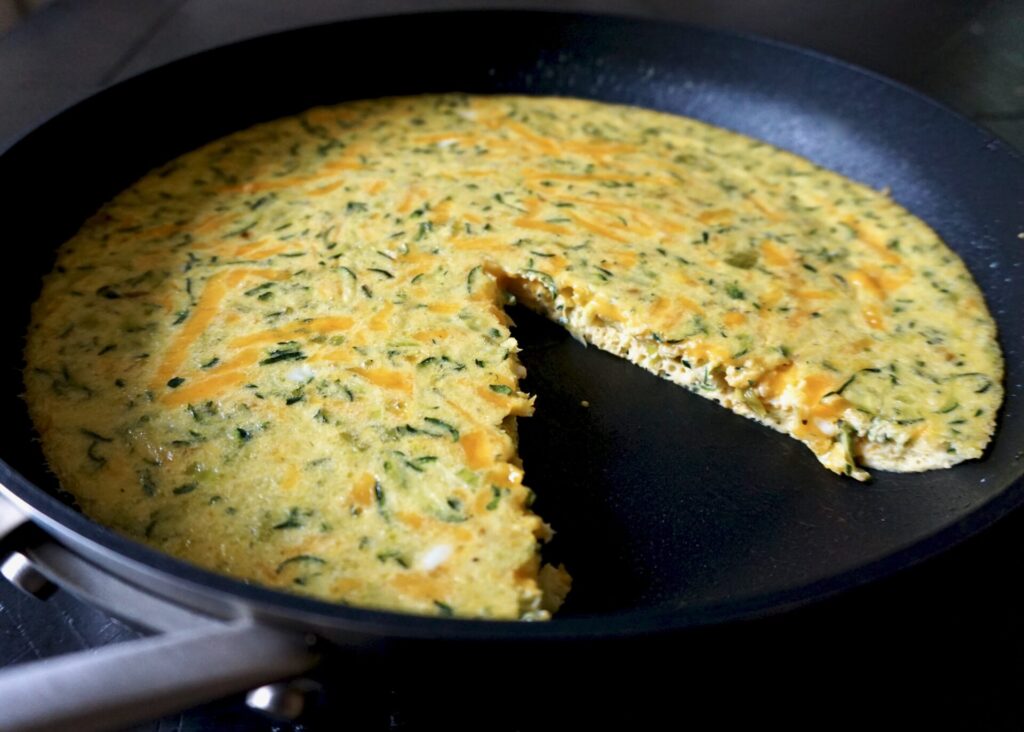
I have a hard time convincing anyone else around here to eat zucchini. (Unless it’s disguised in a baked good or this delicious cornbread.) So I didn’t have high hopes for this zucchini frittata, and was so surprised when all my kids and husband ate it without complaining! Consider it both zucchini-lover and zucchini-suspicious approved.

I think the secret to the success of this frittata is shredding the zucchini. It almost blends into the texture of the eggs and cheese. I used a sharp Cheddar and lightened it slightly by using half and half instead of cream (it was still plenty rich). This recipe is quick and flavorful and full of veggies- everything I like!

Zucchini Cheddar Frittata

INGREDIENTS

12 oz. zucchini (about 2 small zucchini)
2 Tbsp. unsalted butter
1/4 cup finely chopped shallots (or green onion)
3/4 tsp. salt, divided
6 large eggs
1/4 cup heavy cream (I used half and half)
1/4 tsp. freshly ground black pepper
3 oz. (about 1 cup) grated sharp Cheddar cheese

DIRECTIONS

  1. Preheat the oven to 325 F.
  2. Using a food processor or box grater, grate the zucchini. Place the grated zucchini on top of several layers of paper towels or inside a kitchen towel and wring dry. If necessary, repeat 1-2 times to remove any excess moisture.
  3. In an 8 or 10-inch ovenproof, nonstick sauté pan, melt the butter over medium heat. Add the shallot (or green onion), zucchini and 1/2 teaspoon salt and cook, stirring occasionally, until the moisture evaporates and the zucchini is tender, 6-7 minutes.
  4. Meanwhile, in a medium bowl, whisk together the eggs, heavy cream (or half and half), remaining 1/4 teaspoon salt and pepper.
  5. Add the cooked zucchini and grated cheese to the egg mixture and stir to combine. Pour the frittata mixture into the pan (no need to wash it), then place in the oven and bake until set, 20-23 minutes (I used a 10-inch pan and it cooked in 20 minutes). Carefully (remember the handle will be HOT!) remove the frittata from the oven and let sit several minutes before slicing to serve.

Serves 2-4.

(Adapted from Once Upon a Chef)