Fresh Strawberry Gelato

June 26, 2020

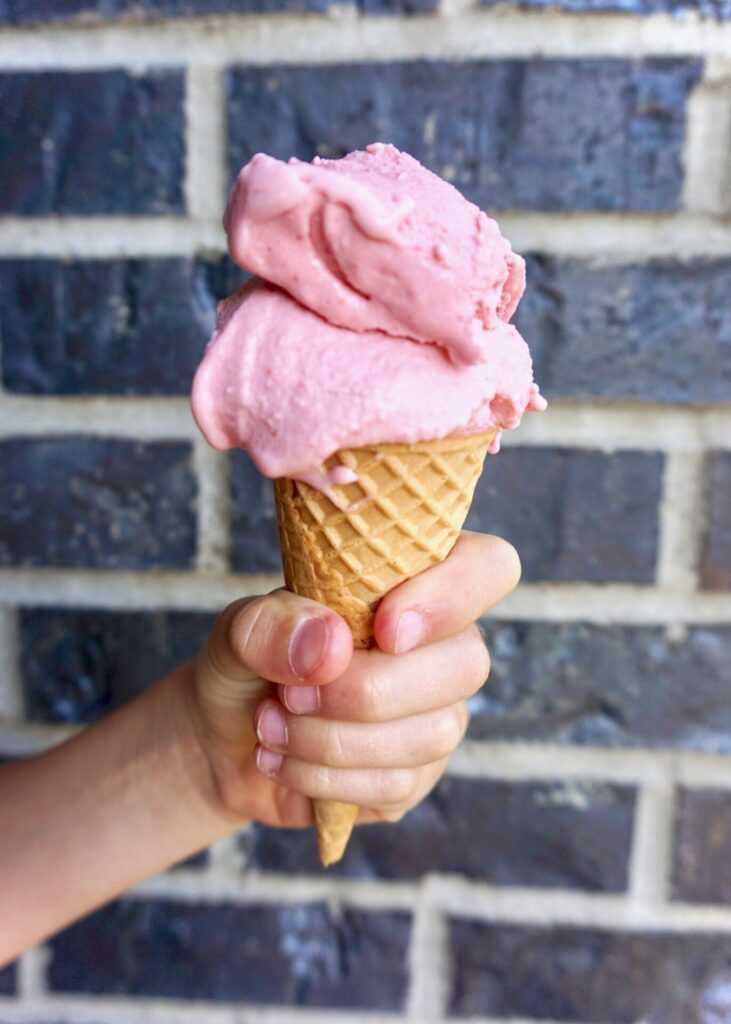
It’s strawberry season here now! The first thing we made with our piles of fresh berries was this strawberry gelato, which has become a summer tradition. I’m not sure what makes this recipe gelato (vs regular ice cream), but I know it’s absolutely delicious. It’s also one of the easier ice cream recipes I’ve made.
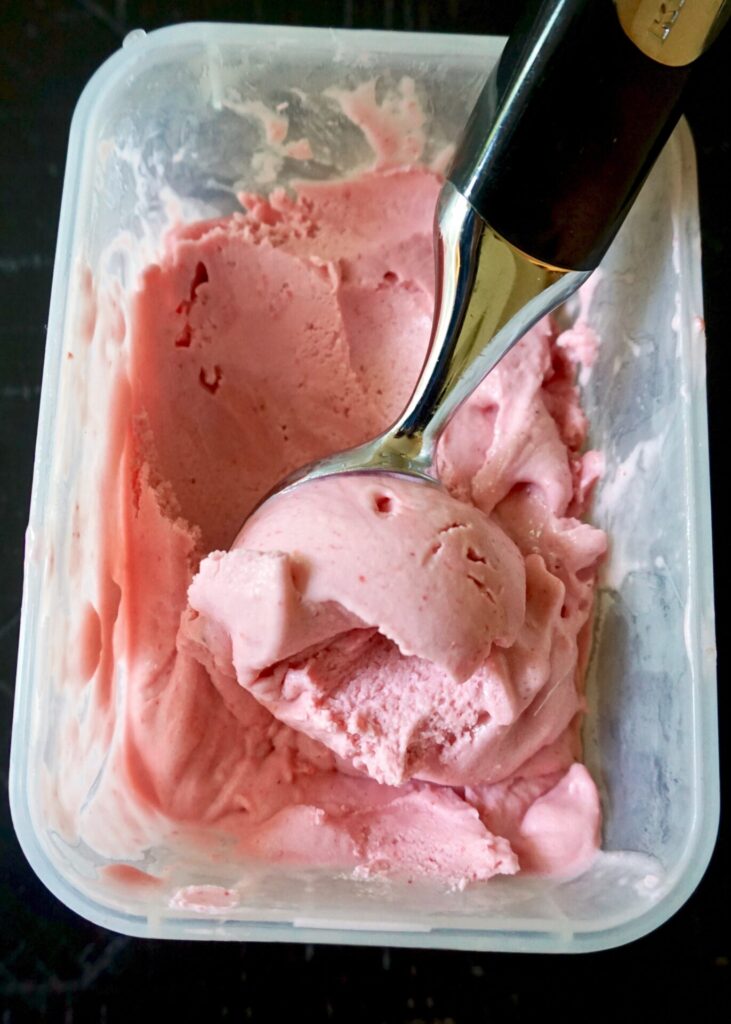
Don’t skip the step of straining the strawberries to get all the seeds out, it makes it much creamier/smoother. I’ve used both fresh picked strawberries and ones that we’ve frozen first. Just make sure whatever you use is really ripe for the best flavor.

Fresh Strawberry Gelato

INGREDIENTS

3/4 cup sugar
1 Tbsp. cornstarch
1 cup whole milk
3/4 cup heavy whipping cream
1/2 tsp. pure vanilla extract
2 1/2 cups sliced very ripe, fresh strawberries

DIRECTIONS

  1. In a medium saucepan, whisk together the sugar and cornstarch. Gradually whisk in the milk and whipping cream.
  2. Place the pan over medium heat and cook, whisking constantly, until the mixture begins to bubble and thickens, 5-10 minutes. Remove from the heat and stir in the vanilla.
  3. Pour the mixture into a bowl and cool completely (either by pressing plastic wrap directly on the surface and refrigerating or nesting the bowl in a larger bowl filled with ice and stirring until it is cool to the touch).
  4. Puree the strawberries in a blender until the mixture is very smooth.
  5. Once the gelato base has cooled completely, strain the strawberry mixture through a fine mesh strainer into the creamy mixture. Use a rubber spatula or the back of a large spoon to press the strawberry puree through the strainer so all the pretty strawberry liquid gets strained into the gelato but the seeds are left behind. Stir well.
  6. Cover the gelato by pressing plastic wrap directly on the surface. Refrigerate 3 hours or up 24 hours.
  7. Process the gelato in your ice cream maker following the manufacturer’s instructions. Scrape the ice cream into a container, cover and freeze for at least two hours or longer before serving.

Adapted from Epicurious via Mel’s Kitchen Cafe

Stovetop Mac and Cheese

June 24, 2020

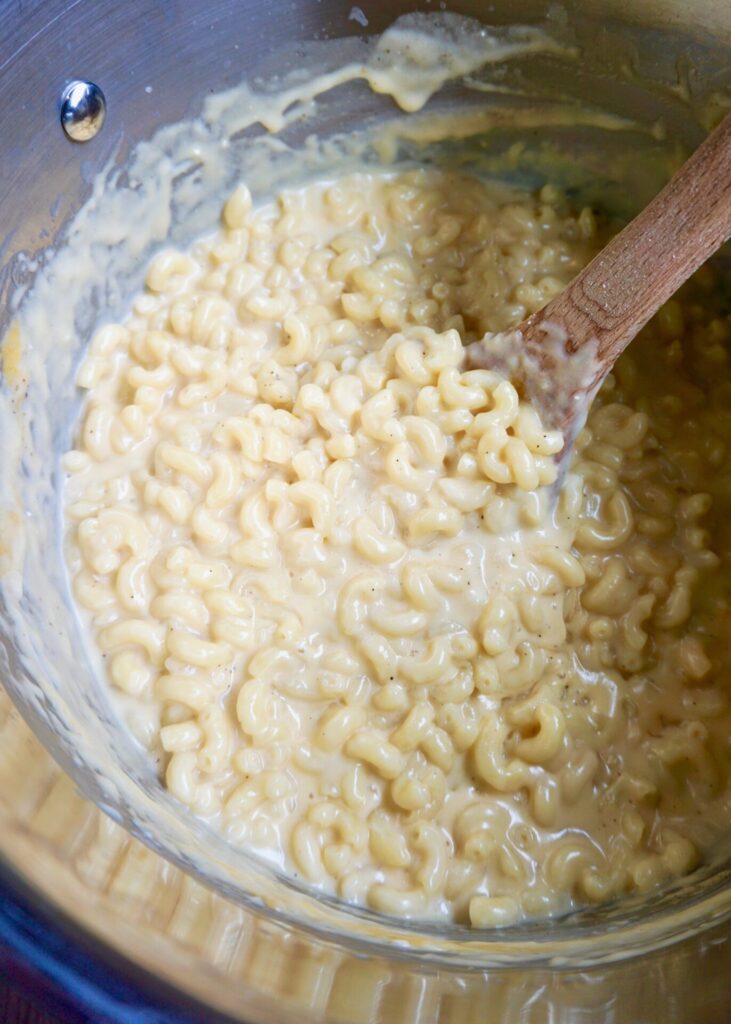
I made my kids boxed mac and cheese last night (while Dustin and I had bahn mi and vermicelli bowls from a Vietnamese food truck visiting the neighborhood) so I’m not one to judge. The fact that my kids (and husband!) like the boxed variety of mac and cheese sooo much made me want to try my own stovetop version. Homemade is more work, and more money, but it does taste great. There’s A LOT of cheese going into this dish. (I recommend you take the time to shred it yourself. If you buy it pre-shredded it doesn’t melt as smoothly.) So this isn’t healthy or low-calorie by any means. But it’s comfort in a dish.

Stovetop Mac and Cheese

INGREDIENTS

2 Tbsp. butter
2 Tbsp. flour
2 cups water
4 cups milk
1 lb. uncooked pasta (I used macaroni)
~1 tsp. kosher salt
1/2 tsp. garlic powder
1/4 tsp. ground mustard
freshly ground black pepper, to taste
4 cups (16 oz.) freshly-shredded sharp cheddar cheese (I used a combo of Beecher’s original and sharp Cheddar)
1/2 cup freshly-shredded Parmesan cheese

DIRECTIONS

  1. Melt butter in a large stockpot over medium-high heat.  Add flour, and stir until combined.  Cook for 1 minute, stirring occasionally.  Then pour in 1 cup of the water, and stir (or whisk) until the mixture is completely smooth and begins to thicken.  Gradually pour in the remaining water and milk, stirring until evenly combined.
  2. Stir in the pasta, salt, garlic powder, and mustard until combined.  Then continue cooking, stirring occasionally, until the mixture just reaches a simmer. Reduce heat to medium-low to maintain the low simmer.  Continue cooking, stirring occasionally, for about 9-10 minutes, or until the pasta is al dente. 
  3. Remove from heat, and stir in the cheeses until melted. Taste, and season with additional salt and black pepper as needed.

Adapted from Gimme Some Oven

Spinach, Apple, and Smoked Gouda Salad

June 22, 2020

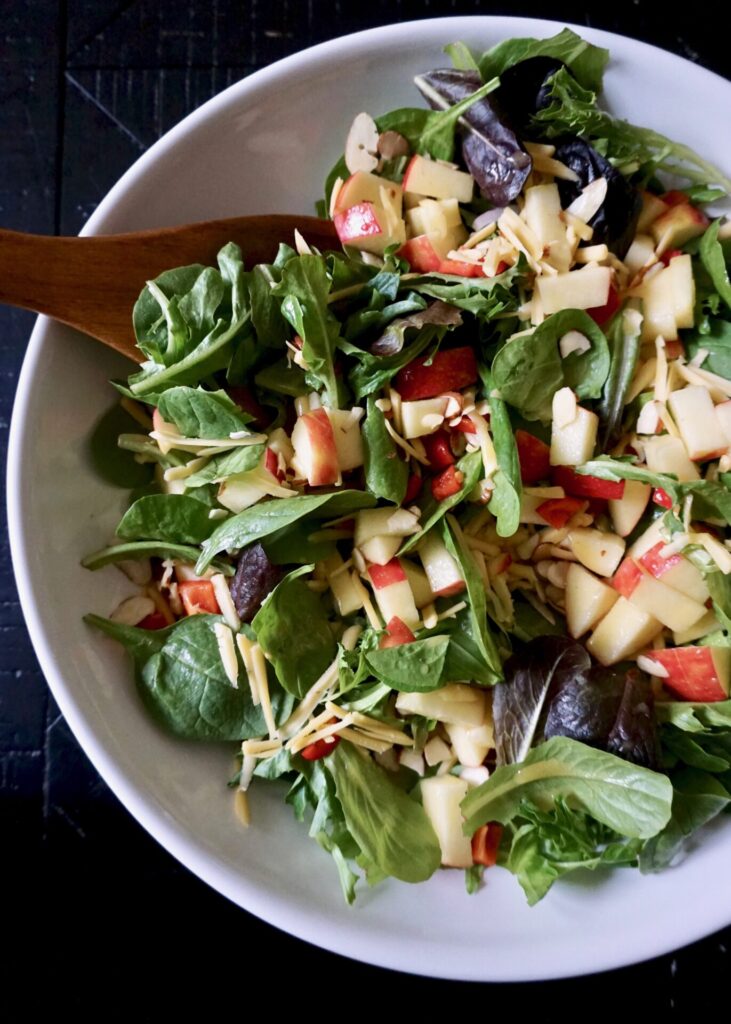
This has become my go-to salad for BBQ’s, potlucks, and guests. It’s got sweet crunchy apples and red pepper bits, creamy smoked gouda (don’t skip it! regular gouda isn’t as good here), toasted sliced almonds, red onion if you’re into it (I am when I’m not pregnant), and a tangy honey-mustard dressing. It’s just really delicious. The original recipe didn’t use oil in the dressing. I find the flavor is better with some olive oil to mellow out all that Dijon mustard. That being said, the dressing is still potent so a little goes a long way! Feel free to double/triple/etc. the dressing to serve a crowd.

Spinach Apple and Smoked Gouda Salad

INGREDIENTS

baby spinach and/or mixed greens
sweet, crisp apple (such as a honey-crisp), cored and diced
sliced shallot/red onion, to taste (optional)
red bell pepper, diced
smoked Gouda cheese, cubed or grated
sliced almonds, toasted

Honey Mustard Dressing:
1 Tbsp. Dijon mustard
2 Tbsp. honey
1 Tbsp. unseasoned rice vinegar
1 Tbsp. extra virgin olive oil
salt and freshly ground black pepper, to taste

DIRECTIONS

  1. For the dressing, combine all the ingredients in a blender (or you can whisk by hand) and process until smooth. Refrigerate until ready to serve.
  2. For the salad, toss all the salad ingredients together. Add the dressing, to taste, and toss to combine or serve individual servings with the dressing alongside.

Dressing makes enough to serve ~4.

(Adapted from Mel’s Kitchen Cafe)

Panang Curry

June 19, 2020

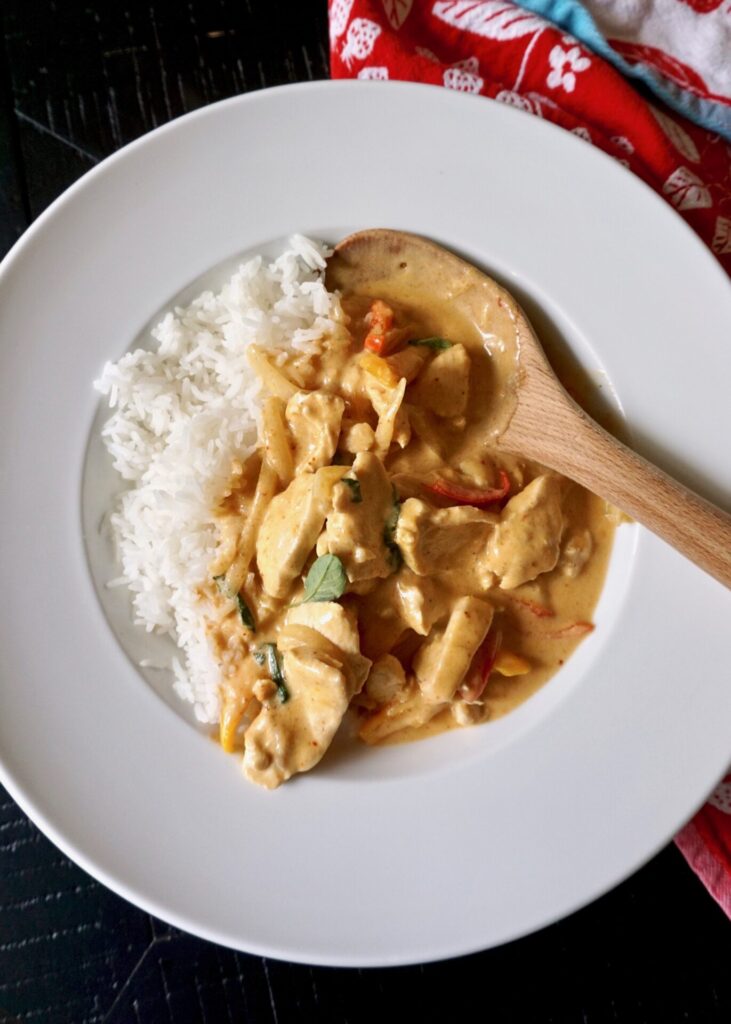
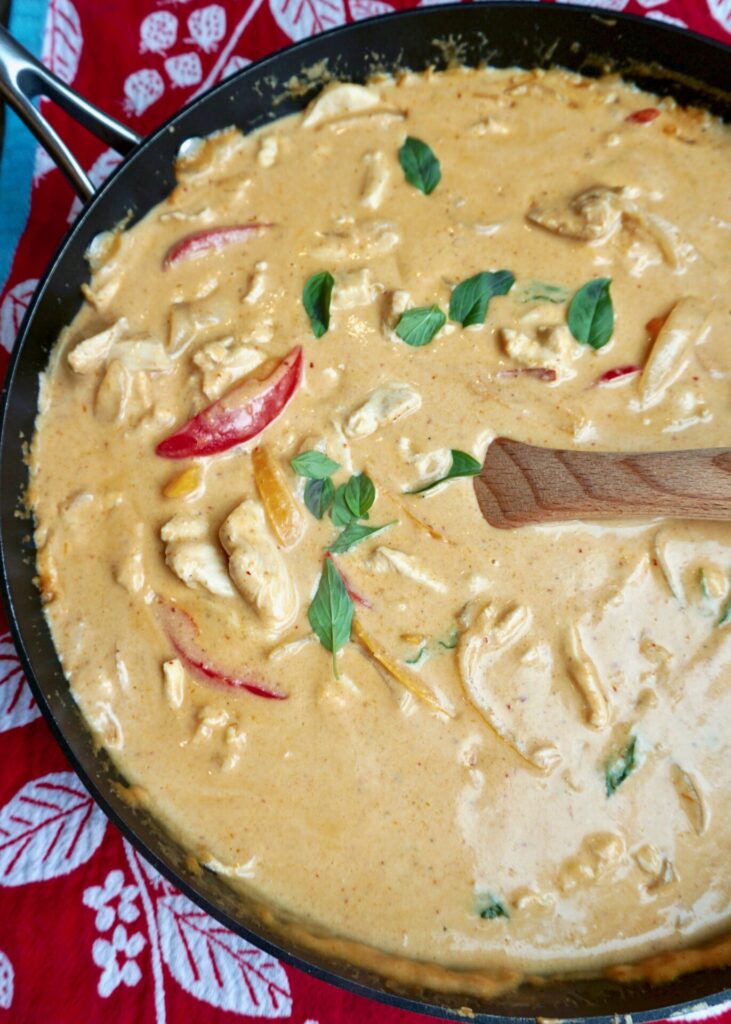
Thai curry isn’t something I thought I’d ever make myself, but since we left our favorite Thai restaurant behind and miss their Panang curry most of all, I found myself wondering if I could make it at home…! I found this recipe from Tastes Better than Scratch and figured it was worth a try. I ordered the curry paste from Amazon (it’s essential for the authentic flavor), found the Thai basil at my local grocery store, and everything else I had on hand. As you might guess since I’m sharing it here, this recipe was a success! It’s a truly delicious Panang curry.

I used thinly sliced chicken breast but you could try it with shrimp (or another meat like pork or beef). Full-fat coconut milk is best for the richest flavor, but I’m guessing it would still be great with one can of light coconut milk (though I wouldn’t go for two). The full amount of curry paste listed make a medium spicy dish. It was just right for my husband and I, but almost too hot for my kids. Reduce the curry paste if you want it mild. And this curry could be made a day or two ahead and refrigerated until ready to heat and serve. I would cook the rice just before eating though because reheated rice is never as good.

Panang Curry

INGREDIENTS

1 Tbsp. oil
2 Tbsp. Panang curry paste
1 Tbsp. peanut butter
2 lbs. chicken breast, cut into thin slices
1 small onion, sliced
2 bell peppers, thinly sliced (I used red and yellow)
2 tsp. freshly grated ginger
4 garlic cloves , minced
2 14-oz. cans full-fat coconut milk
2 tsp. cornstarch
1/4 cup light brown sugar, packed
1 Tbsp. fish sauce
1 Tbsp. lime juice + pinch lime zest
salt and freshly ground black pepper, to taste
handful Thai basil leaves, roughly chopped
hot cooked jasmine rice

DIRECTIONS

  1. Heat oil over medium-high heat in a (very) large non-stick skillet. Saute onions for 2 minutes, then add bell peppers, garlic and ginger and saute for 2 minutes more.
  2. Add curry paste and peanut butter and saute for 1 minute. Add 1 ½ cans of coconut milk. Whisk cornstarch into remaining 1/2 can coconut milk then add to the pan. Stir well.
  3. Add chicken, stirring to coat. Simmer for 10-15 minutes or just until chicken is no longer pink and sauce begins to thicken.
  4. Stir in sugar, fish sauce, lime juice/zest, and basil. Simmer for 5 minutes. Season with salt and pepper, to taste.
  5. Serve over hot cooked rice.

Adapted from Tastes Better from Scratch

Grilled Chicken Cobb Salad

June 15, 2020

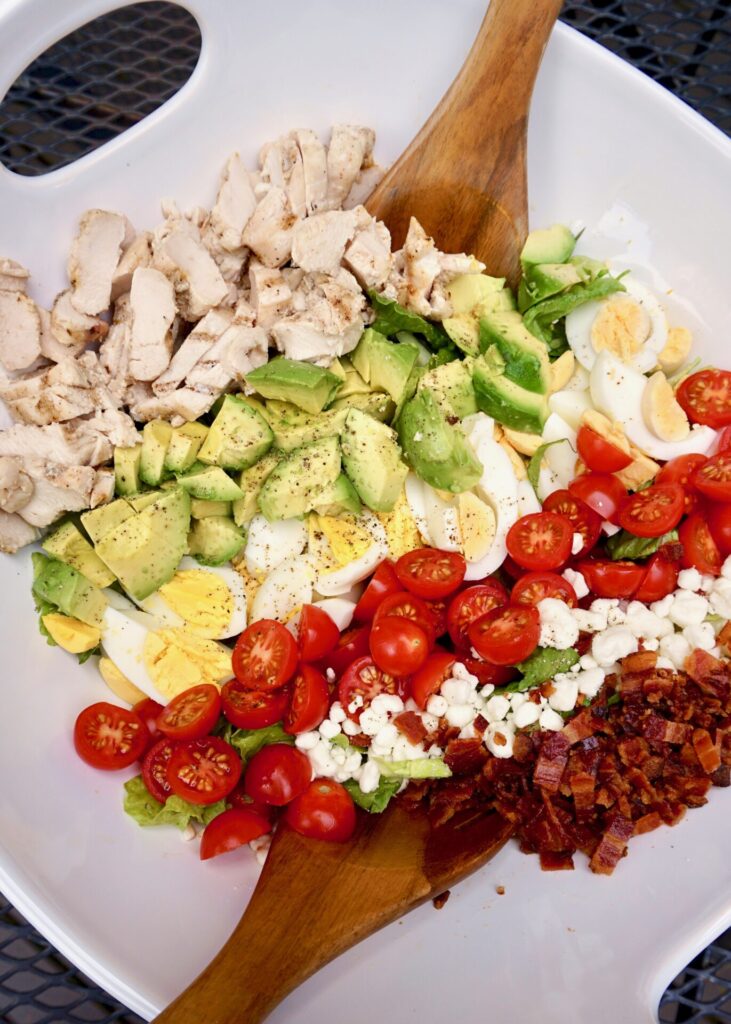
I’ve shared a Cobb salad before – with a spiced chicken rub and honey mustard ranch dressing- and I still LOVE that one. Today’s Cobb Salad is a classic, simpler version. The buttermilk marinade is the secret to super juicy grilled chicken. You can add extra spices to the marinade but it’s great with just the garlic and a pinch of cayenne. I’m not big on blue cheese so I use goat cheese crumbles instead. Avocado is a must. And grilled corn off the cob is a great addition… you’re already heating up the grill so why not throw some fresh corn on with the chicken?! My husband usually complains if I serve a salad as a main dish, but not this one! It’s so protein-packed, it’ll satisfy anyone.

Grilled Chicken Cobb Salad

INGREDIENTS

Grilled Chicken:
2 lbs. boneless, skinless chicken breasts (I slice them in half for easy grilling)
1 cup buttermilk
1/2 tsp. kosher salt 
pinch of freshly ground black pepper
pinch cayenne pepper (optional)
2 cloves garlic, finely minced

Salad:
3 medium hearts romaine lettuce, chopped (sometimes I use a combo of romaine and spring mix)
6 slices bacon, cooked and crumbled
6 hard-boiled eggs, chopped 
1 cup cherry or regular tomatoes, halved
2 avocados, pitted and chopped
1/2 cup crumbled goat cheese (or blue cheese, feta, cheddar etc.)

Dressing:
1/4 cup red wine vinegar 
1/4 cup neutral-flavored oil like grape-seed or canola 
1/4 cup mayonnaise (I use half mayonnaise and half plain Greek yogurt)
1/2 Tbsp. Dijon mustard
1 tsp. sugar
salt and freshly ground black pepper, to taste

DIRECTIONS

  1. Place the chicken in a shallow dish or gallon-size resealable bag. Whisk together the buttermilk, salt, pepper, cayenne (if using), and garlic. Pour the mixture over the chicken, coat well. Cover the dish or seal the bag and refrigerate for at least 30 minutes or up to 8 hours.
  2. Preheat a grill to medium or medium-high and grill the chicken (discard remaining marinade) for 3-4 minutes per side, until cooked through and an instant-read thermometer registers 165 degrees.
  3. Remove the chicken from the grill and tent with foil for 5-10 minutes before serving.
  4. In a large bowl add the chopped lettuce. Top with bacon, chopped hard-boiled eggs, tomatoes, avocados and cheese.
  5. For the dressing, combine all the ingredients in a blender or food processor and process until combined (or whisk together in a small bowl).
  6. Drizzle the salad with about 2/3 of the dressing and toss lightly. Add more dressing to taste, if desired.
  7. Serve the grilled chicken topped with the salad (or serve it alongside). You can also chop up the chicken and toss with the other salad ingredients.

Salad adapted from Mel’s Kitchen Cafe, Marinade adapted from Fine Cooking