Since its debut at a bridal shower my mother and I hosted last February (edit: now over 8 YEARS ago!) , I couldn’t wait to re-make this cake! Carrot cake is my favorite dessert. This one has a dense moist center- full of crushed pineapple, chopped nuts, flaked coconut, and chewy raisins. But the frosting is what really sets it apart- real whipped cream and whipped cream cheese- not a speck of butter in site (in the entire cake actually). This is my all-time favorite frosting, on one of my favorite cakes. Enough said.
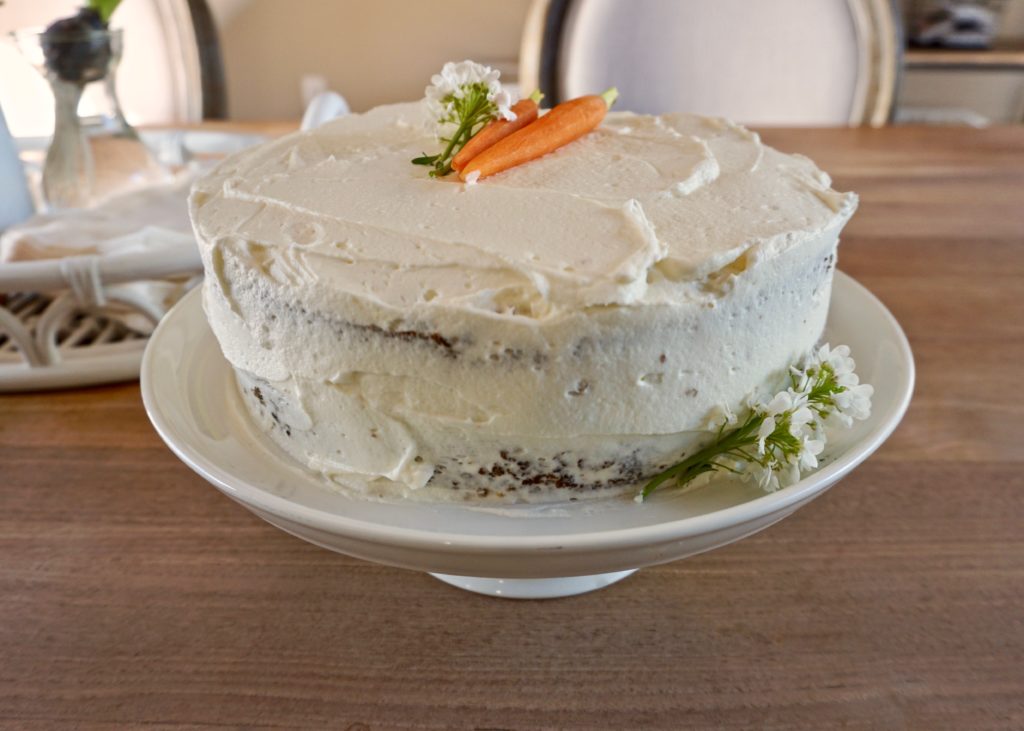
Carrot Cake with Whipped Cream Cream Cheese Frosting
INGREDIENTS
3 large eggs
3/4 cup buttermilk
3/4 cup canola oil
1 1/2 cups white sugar
2 tsp. pure vanilla extract
2 tsp. ground cinnamon
1/4 tsp. salt
2 cups all-purpose flour
2 tsp. baking soda
2 cups shredded carrots
1 cup flaked coconut
1 cup chopped walnuts or pecans (I used 1/2 cup pecans)
1 8 oz. can crushed pineapple with juice
1 cup raisins (optional- I use 1/2 cup)
DIRECTIONS
1. Preheat oven to 350 F. Grease and flour a 9×13 inch pan. (Or 2 9-inch rounds.)
2. In a medium bowl, sift together flour, baking soda, salt and cinnamon. Set aside.
3. In a large bowl, combine eggs, buttermilk, oil, sugar and vanilla. Mix well. Add flour mixture and mix well.
4. In a medium bowl, combine shredded carrots, coconut, walnuts, pineapple and raisins.
5. Using a large wooden spoon or spatula, add carrot mixture to batter and fold in well.
6. Pour into prepared 9×13 inch pan (or two 9-inch rounds), and bake in preheated oven for about 45 minutes (or about 25-30 minutes for two 9-inch rounds), or until a toothpick inserted into the center comes out clean. Allow to cool for at least 20 minutes before serving or to cool completely before frosting.
Whipped Cream Cream Cheese Frosting
INGREDIENTS
1 8 oz. package cream cheese, slightly softened
1 cup white sugar
1/8 tsp. salt
1 tsp. pure vanilla extract
1 1/2 cups heavy whipping cream
DIRECTIONS
1. In a small bowl (keep cold) beat whipping cream until stiff peaks form. Set aside.


/ 1 COMMENT / Share