Healthy Homemade Granola

May 6, 2014

IMG_5470

My sister, a former employee of Great Harvest Bread Co. and accomplice in my consumptions of many many loaves of their goodness, inspired this recipe. She shared with me a granola recipe that she acquired while working there and I lightened it up. Less sugar, less oil- that sort of thing. But still full of flavor and addicting (-which is good or bad? You decide.)!
IMG_5443

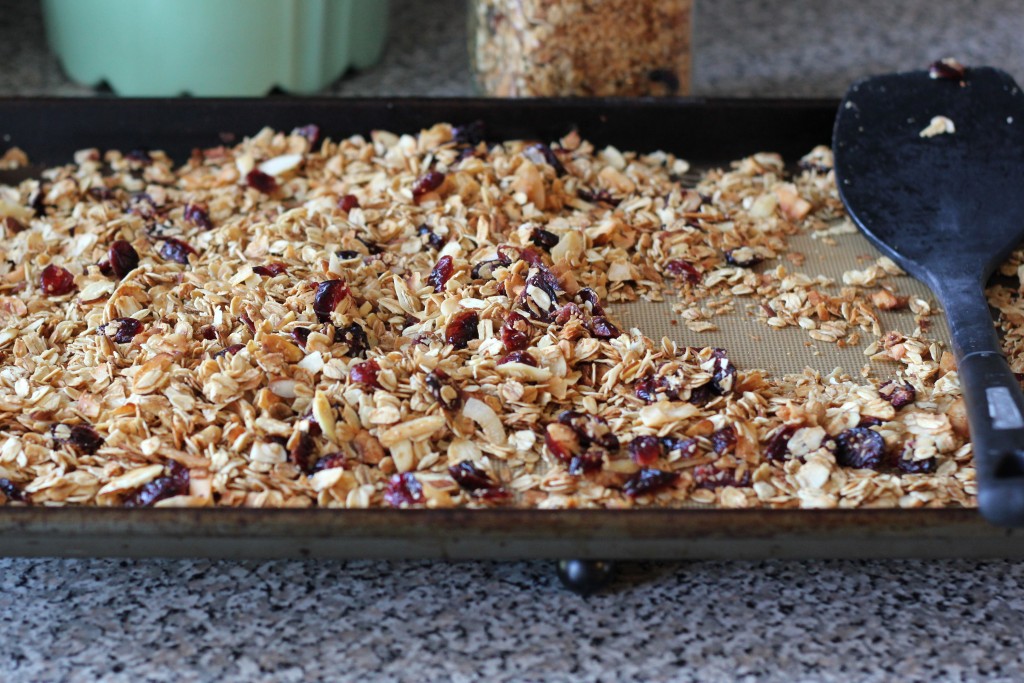
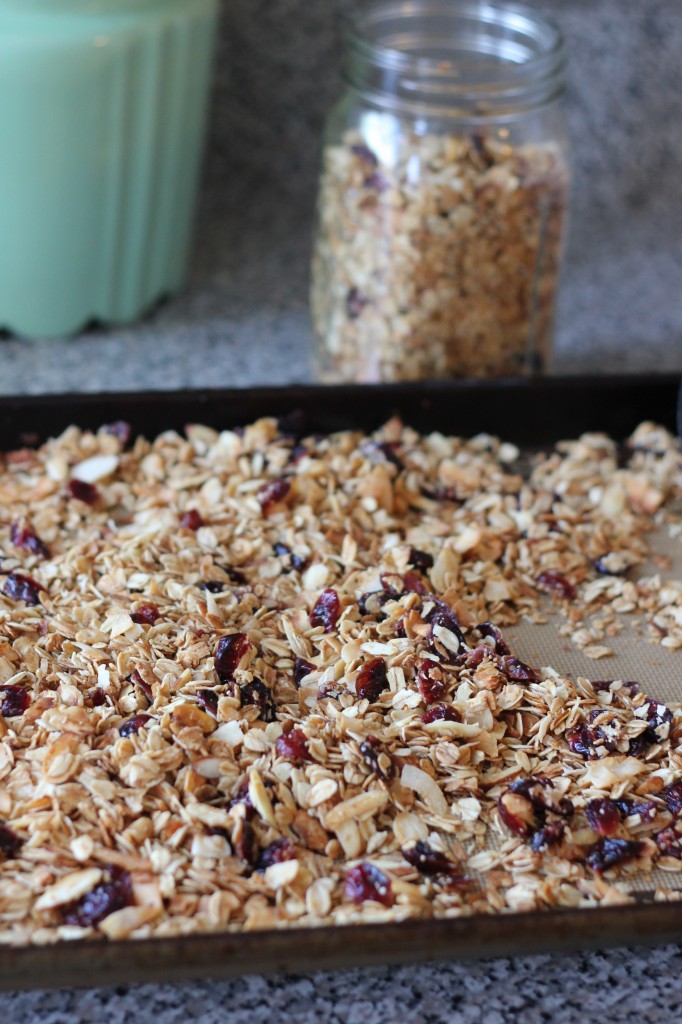
Unsweetened coconut flakes are the way to go. Much better texture than that sticky shredded stuff. To complement the coconut flakes, I used coconut oil (and it doesn’t need a whole lot, you’ll notice). Canola or sunflower or grapeseed would also work. I went with honey as the sweetener, but maple would be amazing (or just use brown sugar if you have neither). And I added sliced almonds and dried cranberries. Any assortment of nuts/seeds/dried fruits can be used. (p.s. You don’t have to include the coconut. Just aim for approximately 2 1/2 – 3 cups fruit/seeds/nuts and it should work out.) Also, don’t over-bake (it will crisp further as it cools) and stir often for evenly golden granola.

Healthy Homemade Granola

INGREDIENTS

4 cups raw oats (not quick or instant)
3/4 cup unsweetened coconut flakes
1/2 – 3/4 cup chopped nuts/seeds (I used 1/2 cup sliced almonds, will add flax seeds next time)
1 cup dried fruit (I used sweetened dried cranberries)
1/4 tsp. salt
1/2 tsp. almond or vanilla extract
1/3 cup honey (or maple syrup or brown sugar)
3 Tbsp. coconut oil (or another neutral oil such as )
**next time I plan on adding some cinnamon**

DIRECTIONS

1. Preheat oven to 325 F.

2. In a large mixing bowl, combine the oats, coconut, nuts/seeds, dried fruit, and salt. Warm the honey and coconut oil together in a small microwavable bowl until pourable. Add the extract and pour over top of the oatmeal mixture. Stir until well coated.

3. Spread onto a large baking sheet and bake in the preheated oven for 15-20 minutes, turning frequently for even cooking, until lightly toasted and golden. Let cool to room temperature before storing in an airtight container. Keeps for about a week at room temperature, longer if frozen.

Makes about 6 cups.

(Adapted from The Daring Gourmet and Great Harvest Bread, co.)

Mexican Tomato Rice and Beans

May 1, 2014

IMG_4450

Today is Clara’s 2nd birthday! I know it’s her day, but I feel a big sense of accomplishment myself. I’ve been a mama for 2 whole years. My baby is practically grown, my job is almost done, right?! Hah.

Dustin is in Colorado interviewing with two more dentists and missed her big day. So we’re saving most of the celebrating for this weekend. But I did serve her pizza- which I made– followed by frozen custard- which I bought– for dinner tonight and mid-meal she declared, “pizza and ice cream are my favorites!”. And she requested I re-sing her the birthday song about five times before bed. So a birthday success, I’d say.

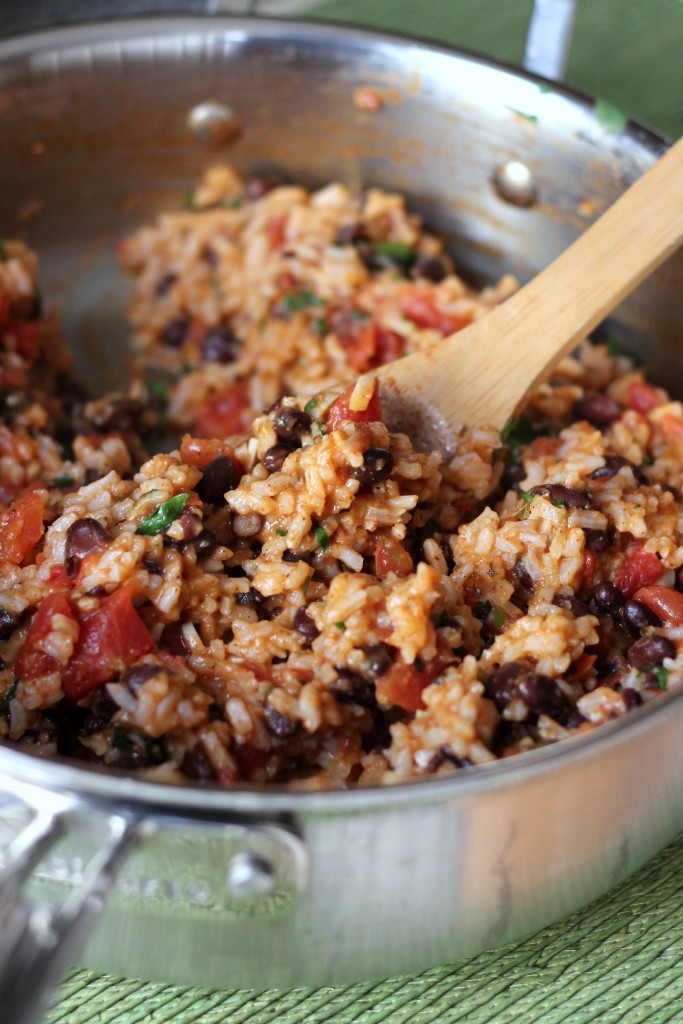
Because it’s almost Cinco de Mayo and we sure love Mexican food around here, we’re having a fiesta for her on Saturday. Every party I plan revolves around the food. Decorations, games, etc. are all an afterthought. So I’ve been working on her party menu for some time and tested a few new dishes that didn’t make the menu, but are definitely worth repeating. This is one of them. It’s traditional Mexican/Spanish rice kicked up a notch. The rice is cooked beforehand and then simmered for a short time with tomatoes, garlic, black beans, cumin, and chili powder and finished with fresh herbs. You can add a jalapeno and made it as spicy as you wish. This Mexican rice is vibrant and fresh. Serve it with enchiladas or stuff it in a burrito or top it with grilled chicken or fish and devour a bowlful.

Mexican Tomato Rice and Beans

INGREDIENTS

1 cup uncooked medium grain white or brown rice
14.5 oz can diced tomatoes
2 Tbsp. extra virgin olive oil
6 cloves garlic, minced
1 medium jalapeno, ribs and seeds removed (or not if you like it extra spicy) and minced (optional)
15 oz. can black beans, drained and rinsed
1 1/2 tsp. kosher salt
2 tsp. ground cumin
1 tsp. chili powder
1/4 cup fresh oregano, chopped (or 1 tsp. dried)
1/4 cup fresh cilantro, chopped

DIRECTIONS

1. In a medium saucepan, combine the rice with 2 cups cold water. Bring to a boil over medium-high heat, cover, reduce the heat to low, and cook for 20 min (if you are using brown rice increase the cooking time according to the package directions). Remove from the heat and let the pan stand, covered, for another 5 min.

2. While the rice steams, set a fine sieve in a bowl and drain the can of tomatoes. Pour the tomato juices into a 1-cup liquid measure. Add enough water to the tomato juices to equal 1 cup.

3. Heat a large skillet over medium-high heat. Pour in the oil and stir-fry the garlic and jalapeño until the garlic browns and the jalapeño smells pungent, about 1 minute. Add the black beans, salt, cumin, and chili powder; stir two to three times to incorporate the mixture and cook the spices, about 30 seconds. Stir in the tomato juice and water mixture and bring to a boil. Adjust the heat to maintain a gentle boil and cook, stirring occasionally, until the beans absorb much of the liquid, 5-7 minutes. Add the tomatoes, oregano, cilantro, and cooked rice and cook, stirring occasionally, until the rice is warm, 1 to 2 minutes. Serve immediately.

Serves 6-8.

(Adapted from Fine Cooking)

Greek Couscous Salad with Chicken

April 24, 2014

IMG_4497

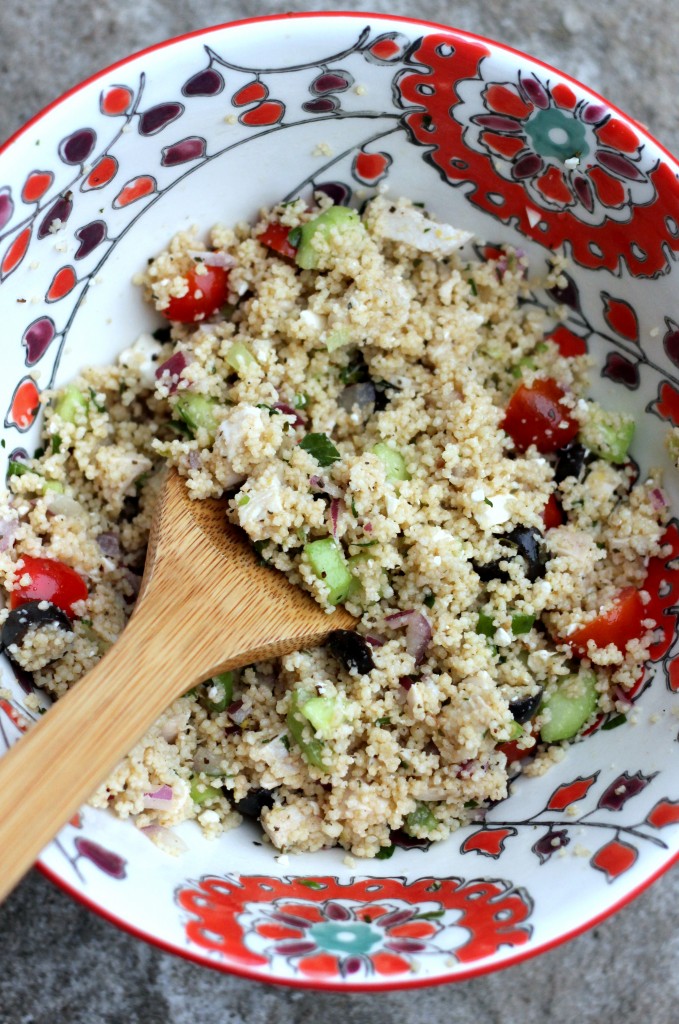
I like to snoop through friends’ cookbooks. So if you ever have me over and I spot a cookbook on your shelf, I’m likely to help myself to a peek. That’s how I found those orange creamsicle cookies I posted last. My next door neighbor/friend/babysitter has the Our Best Bites cookbook and I was perusing it one afternoon as our little ones played fought and scattered toys around her apartment. The cookies sounded amazing- and they were. Well, this salad comes from that same cookbook. Nicole (the friend I just mentioned) loves it and makes it often and passed along the recipe. We loved it too.

It makes a mountain of salad. Especially if you add the chicken, which I did, to make it a heartier meal. It takes some time to prep all the ingredients, but it makes for a great weeknight dinner and leftovers for lunch the next day (or few).

Greek Couscous Salad with Chicken

INGREDIENTS

14.5 oz. can chicken broth + enough water to make 2 cups (I used 2 cups homemade chicken broth)
1/2 tsp. dried oregano
1 tsp. dried basil
1/4 tsp. crushed dried rosemary
10 oz. couscous (whole wheat if available)
2 cups diced tomatoes or 1 pint cherry or grape tomatoes, halved
1 medium cucumber, diced
1/2 red onion, finely diced (I used a combination of red and green onion)
1/2 cup kalamata or black olives, pitted and halved or sliced
1/2 cup crumbled feta cheese + a bit extra for serving
1/2 cup chopped fresh parsley
1 lb. chicken breast, cooked and cubed (optional)
1/2 cup extra virgin olive oil
1/4 cup freshly squeezed lemon juice
1 tsp. lemon zest
1 Tbsp. red wine vinegar
2 cloves garlic, grated or minced
1/2 tsp. kosher salt
1/4 tsp. freshly ground black pepper

DIRECTIONS

1. Place the chicken broth/water and dried herbs in a small pot on the stove top and bring to a boil. Add the couscous, cover the pot with a lid, and remove from the heat. Let sit for 5 minutes then fluff with a fork. Cool to room temperature.

2. In a large bowl, combine the cooled couscous, tomato, cucumber, onion, olives, cheese, parsley, and chicken.

3. In a small bowl, whisk together the olive oil, lemon juice, lemon zest, vinegar, garlic, salt and pepper. Pour over the salad and toss to coat. Season to taste with additional salt and pepper. Garnish with additional feta and serve immediately or refrigerate several hours before serving.

Serves 6-8.

(Adapted from Our Best Bites Cookbook)

Orange Creamsicle Cookies

April 15, 2014

IMG_4640

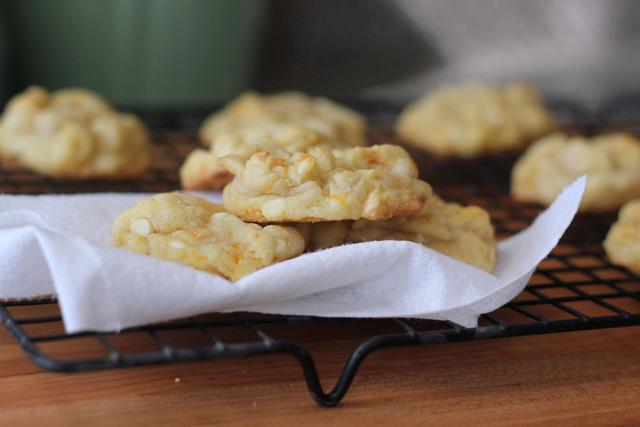
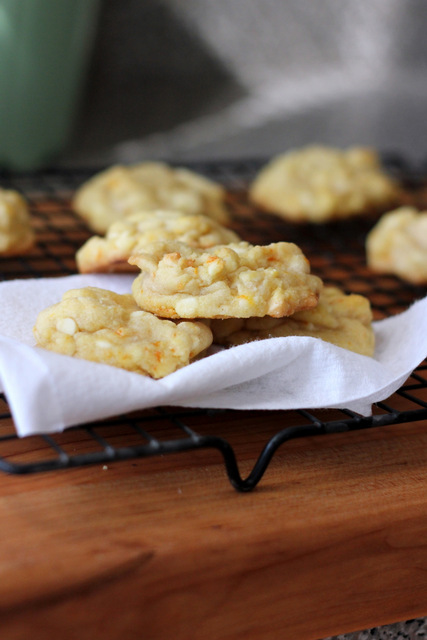
I’ve shared these cookies with a few friends now and it’s unanimous: they’re awesome. They really do capture that orange-vanilla “creamsicle” flavor. Just as I was writing this I began wondering why I haven’t made a creamsicle flavored ice cream and then I found this recipe which I will for sure be trying shortly. Once it stops snowing.

IMG_4641-001

Orange Creamsicle Cookies

INGREDIENTS

2 1/2 cups all-purpose flour
3/4 tsp. baking soda
1/2 tsp. salt
1 cup (2 sticks) butter, softened
1/2 cup sugar
1/2 cup brown sugar
1 large egg
1 tsp. pure vanilla extract
2 Tbsp. orange zest (approx. zest of 2 large oranges)
2 cups white chocolate chips

DIRECTIONS

1. Preheat oven to 375 F.

2. In a small bowl, combine flour, baking soda, and salt. In a large bowl, cream butter and sugars until light and fluffy. Beat in egg and vanilla until smooth. Gradually add the flour mixture until well combined. Stir in the orange zest and white chocolate chips.

3. Drop rounded spoonfuls onto cookie sheets (do not flatten cookies) and bake in preheated oven for 6-10 minutes (mine took 7 minutes) until golden brown around the edges. Remove from the cookie sheets to a wire rack to cool.

Makes 2-3 dozen cookies.

(Adapted from The Girl Who Ate Everything)

Sizzling Chicken Fajitas

April 3, 2014

IMG_4242

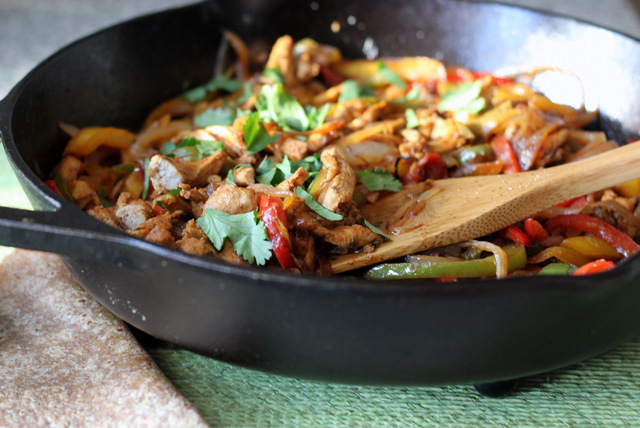
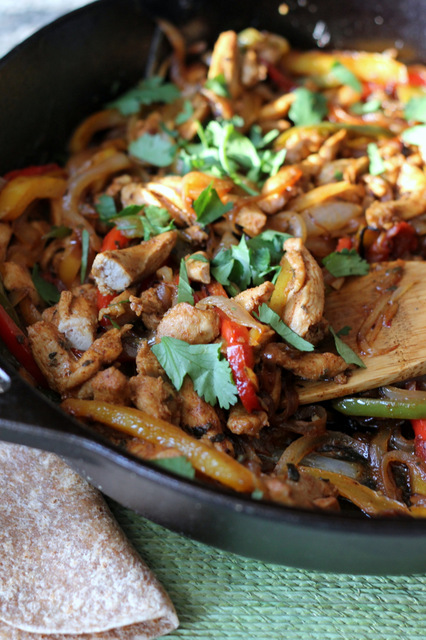
I have my go-to shrimp fajitas and my go-all-out grilled adobo chicken/beef fajitas, but this is the recipe I needed for quick anytime chicken fajitas. Just because they’re simple doesn’t mean they’re any less flavorful. No, these are BIG on flavor and they’re just as good better than any I’ve ordered at a Mexican restaurant. If you haven’t noticed we never get sick of Mexican food. We eat tacos, burritos, quesadillas, or enchiladas every week and I never get complaints. We’re always in the mood, so I hope you are too!

IMG_4243

If you have a cast iron skillet, this is the perfect time to use it. Letting the veggies and meat sit undisturbed in a hot pan for a few minutes is the key to getting a charred exterior. The chicken only marinates for half an hour (minimum, if it’s easier to make it ahead of time it can sit in the fridge for up to a day or so) so you can prep your peppers and onion and fixings during that time. Your chicken will be ready when you are.

Unrelated toddler story: (Actually, somewhat related because I was at the meat counter buying chorizo sausage for another Mexican recipe I’ll be sharing shorty.) The butcher had just handed me my package of chorizo when Clara looked up at him from the cart and clear as day said, “I want a pound of turkey!”. Hah. She’s almost 2 (on May 1st) and she talks and talks and sings all day long. Sometimes very well and other times still gibberish. But apparently she’s ready to take over the grocery shopping around here!

Sizzling Chicken Fajitas

INGREDIENTS

for the chicken:
1 1/2 lbs. boneless skinless chicken thighs
2 Tbsp. lime juice
1 1/2 tsp. kosher salt
1 1/2 tsp. dried oregano
2 tsp. ground cumin
1 clove garlic, minced
1 tsp. chili powder
1/2 tsp. smoked paprika
few dashes hot sauce or pinch of cayenne pepper, optional

~ 2 Tbsp. canola, vegetable, or olive oil
2 large bell peppers (red, green, yellow, etc.), cut into thin strips
1 large white or yellow onion, halved and thinly sliced
salt and freshly ground black pepper

for serving:
8-12 flour or corn tortillas, warmed
salsa or pico de gallo
sour cream
avocado or guacamole
chopped fresh cilantro
lime wedges

DIRECTIONS

1. To prepare the chicken, slice the chicken thighs into thin strips (1/4- to 1/2-inch wide). Place in bowl or freezer bag. Add lime juice and spices and mix together. Let marinate for 30 minutes or up to 2 days in the fridge.

2. To cook peppers, onions and chicken, heat your largest skillet (I use a 12-inch cast iron) on the highest heat. When very hot, drizzle in some oil to lightly coat the bottom of the pan (I used about 1 Tbsp.). When this is nearly smoking hot, add the peppers in a single layer. Wait. (This will be a theme.) Try to get them a little charred underneath before you move them around. Once they’ve begun to brown, add the onions, plus some salt. Wait again for some color to develop before you move them. When peppers are nicely charred in spots and onions have softened and sweetened, scrape mixture onto a plate or bowl to clear the skillet. Heat skillet again on a very high heat with a thin slick of oil (I used about 1 Tbsp.). Spread chicken strips in as much of a single layer as you can. Wait until they brown underneath to move them. Saute strips, regularly pausing so that they can get some color, until cooked through, about 4 to 5 minutes. Return peppers and onions to skillet. Heat again until everything is sizzling and bring to the table. Serve with warmed tortillas, salsa/pico de gallo, sour cream, avocado/guacamole, fresh chopped cilantro, and/or lime wedges.

Serves 4-5.

(Adapted from Smitten Kitchen)