Crunchy Folded Taco Wrap

January 22, 2021

This “crunchwrap” recipe is a lot of fun and also really delicious! I can’t speak for the original Taco Bell version as I’ve never had one, but my husband has consumed way too many of them and he was impressed with this homemade attempt as well. (And we all know it’s much healthier!)
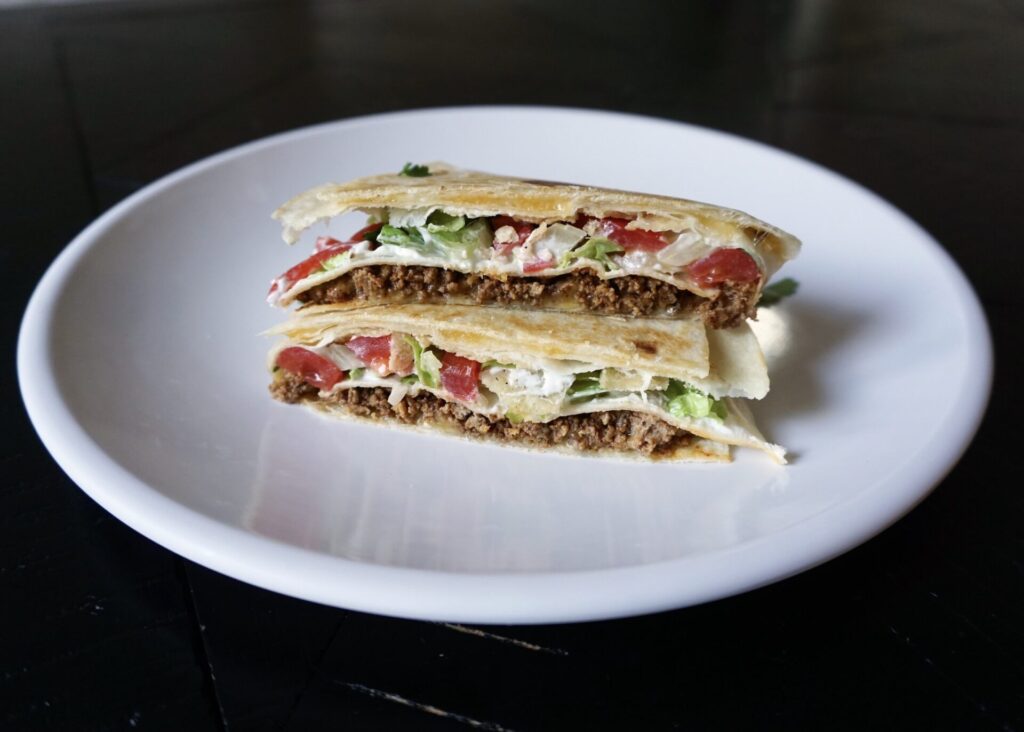
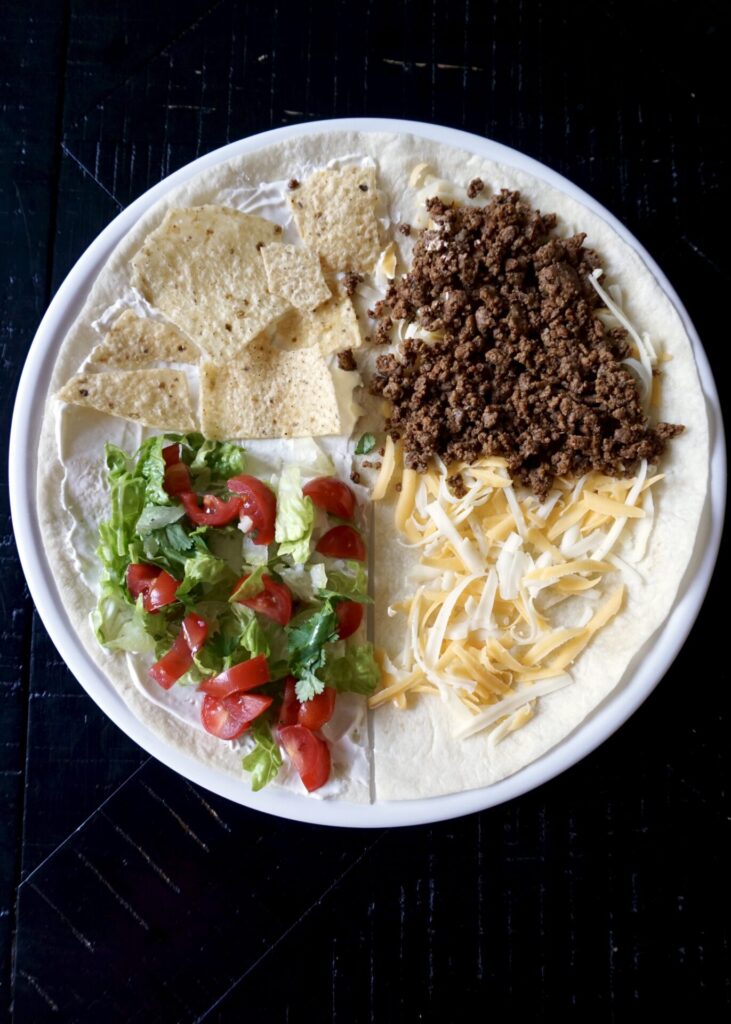
This folded wrap “hack” has been all over Tik-tok and Instagram lately and it takes a few minutes to get the hang of, but then you’ll want to make it on repeat! I didn’t photograph or film a step-by-step of the folding process so head on over to I am a Food Blog for detailed photo/video if you’re confused. It does matter what ingredients you place in each quadrant of the wrap and which direction you fold (clock-wise, please) so that the cheese layers end up on the outside and get melted when grilled. The sour cream/lettuce/tomato layer stays safe inside so we don’t end up with soggy lettuce.
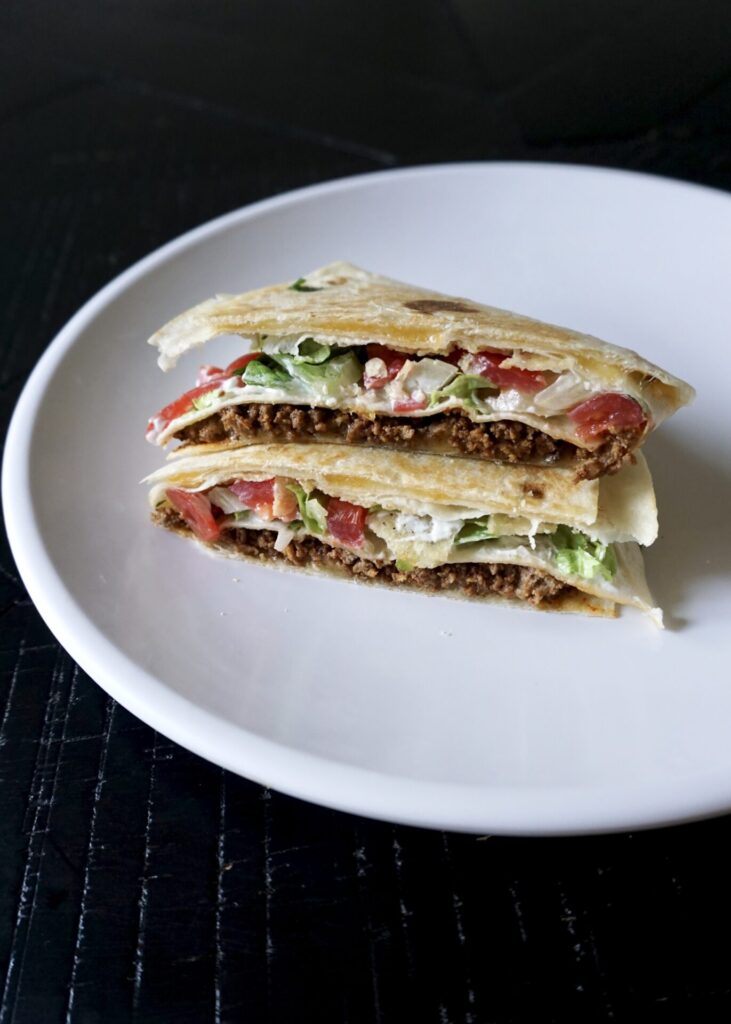
I used my go-to homemade ground beef taco seasoning. It’s fast and easy and packed with flavor. Any shredded Mexican cheese will work here- just use lots of it for a nice cheesy layer. You can get creative and add diced onion and cilantro to the salad layer. Even throw in some avocado. If you’re not a big fan of tortilla chips, replace them with a crunchy veggie like raw onion, radish, or bell pepper. I served our crunch wraps with salsa and guacamole on the side.

Crunchy Folded Taco Wrap

INGREDIENTS

Taco Meat:
1 lb. ground beef (I use 85% lean)
1/4 cup water
1 Tbsp. chili powder
1 1/2 tsp. cumin
1/2 tsp. paprika (or smoked paprika)
1/4 tsp. garlic powder
1/4 tsp. onion powder
1/4 tsp. dried Mexican oregano (or regular oregano)
1/4 tsp. crushed red pepper flakes (or 1/8 tsp. cayenne)
1 tsp. sea salt (use less if using table salt)
1/2 tsp. black pepper

~6 large (10 inch) flour tortillas
sour cream
shredded lettuce (iceberg or romaine)
diced tomato
tortilla chips
shredded cheese (Cheddar, Pepper Jack, Mexican Cheese blend, etc.)
salsa and/or guacamole, for serving

DIRECTIONS

  1. To make the taco meat, combine the seasonings in a small bowl. Set aside. Preheat large skillet over medium heat and cook beef until browned. Drain the fat. Stir in the seasoning mix to coat. Pour in the water, bring to a simmer, reduce heat, and cook several minutes until thickened and most of the water has evaporated.
  2. To make the wraps, lay the tortilla down on a cutting board. Take a knife and cut a line from the center of the tortilla to the bottom edge.
  3. Spread a thin layer of sour cream over the left half of the tortilla. Sprinkle grated cheese over the right half of the tortilla. To the bottom left quarter, add shredded lettuce and tomato. On the top left quarter, top with tortilla chips. On the top right quarter, add some ground beef.
  4. Starting with the bottom left corner, fold it up over the top left. Then fold it over to the top right. Finally, fold it down to the bottom right. (See detailed photos/video here.)
  5. Grill in a pan over medium heat (I sprayed it with a bit of oil cooking spray) until the tortilla is crispy and the cheese melts, flipping once, about 3-4 minutes per side.

Makes ~6 crunchy wraps.

(wrap adapted from I Am a Food Blog, taco meat from this post)

Sheet-Pan Roasted Breakfast Potatoes (Home Fries)

January 16, 2021

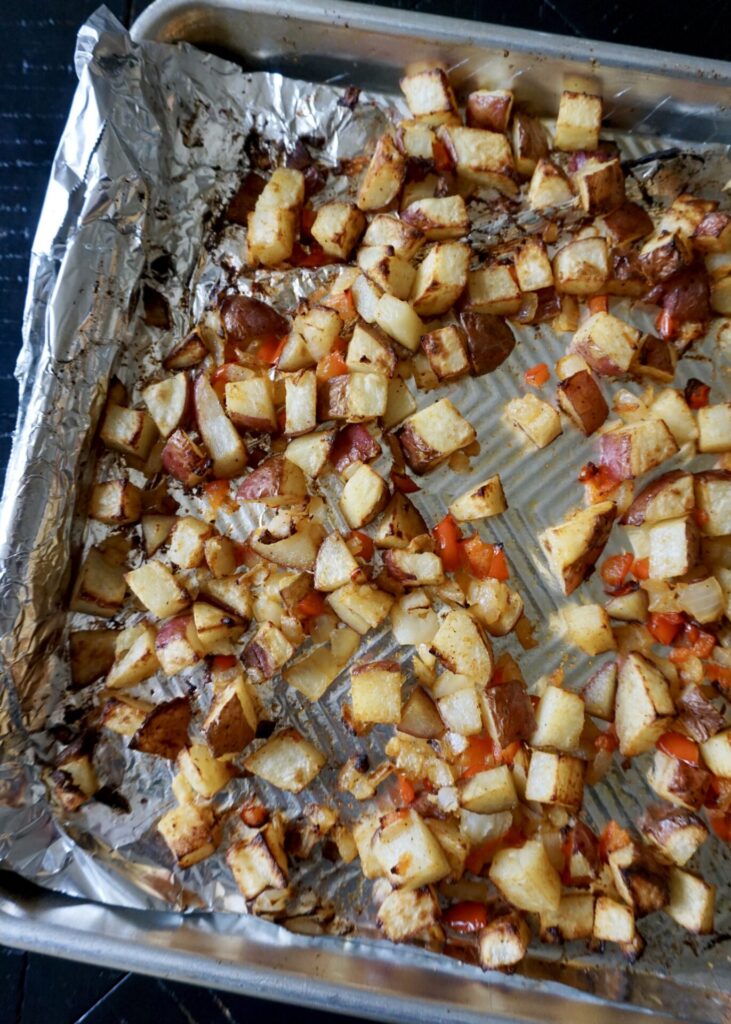
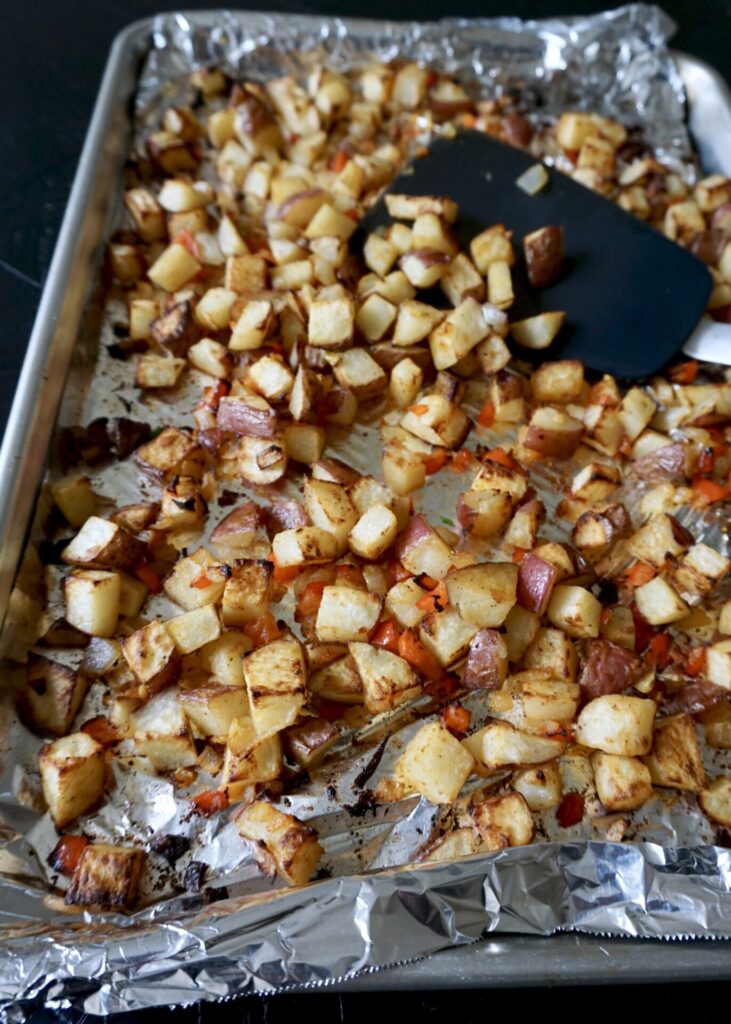
These crispy sheet-pan roasted potatoes (and peppers and onions) make for an easy breakfast/brunch or dinner side dish. I served them with scrambled eggs, bacon, and toast, ketchup on the side. They’d also make a great base for a breakfast burrito (with scrambled eggs, cheese, salsa, etc. wrapped in a tortilla) or a hash (add meat/herbs/veggies and top with a fried egg).

Our current home has a convection oven and I’ve began using it nonstop lately for roasting veggies. You have to be careful because it cooks things hotter and faster (so I usually reduce the temp by 25 degrees) but it’s awesome because it results in extra crispy edges! Perfect for any potatoes (especially sweet potato fries). So if your oven has convection capabilities, I recommend using it here.

Sheet-Pan Roasted Breakfast Potatoes (Home Fries)

INGREDIENTS

2 lbs. red potatoes, diced (or another potato such as Yukon or Russet)
1/2 yellow or red onion, diced
1/2 large red bell pepper, diced (or yellow/orange/green bell pepper)
2 Tbsp. olive oil
1 tsp. garlic powder
1 tsp. kosher salt
1/2 tsp. paprika
freshly ground black pepper, to taste

DIRECTIONS

  1. Preheat oven to 425 F. (I baked mine on convection at 400 F which I recommend for getting them extra crisp!)
  2. Place the potatoes, onion, and red pepper on a large baking sheet. (I line mine with parchment or foil for less mess.) Drizzle with olive oil and sprinkle with seasonings (garlic powder, salt, and paprika) and toss until vegetables are well coated. Season with freshly ground black pepper, to taste.
  3. Place the pan in the preheated oven and roast until potatoes are crispy, 30- 45 minutes. (Mine only took about 25-30 minutes with the oven on convection.) Serve warm.

Serves 4.

(Adapted from Two Peas and Their Pod)

Cornmeal Biscuits

January 11, 2021

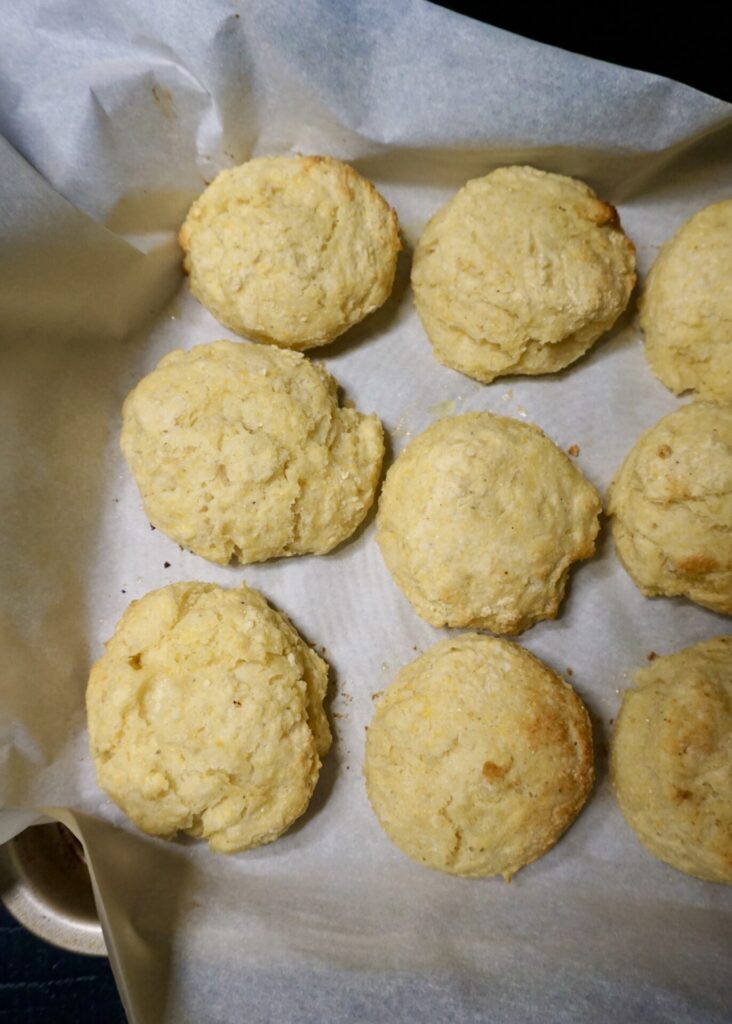
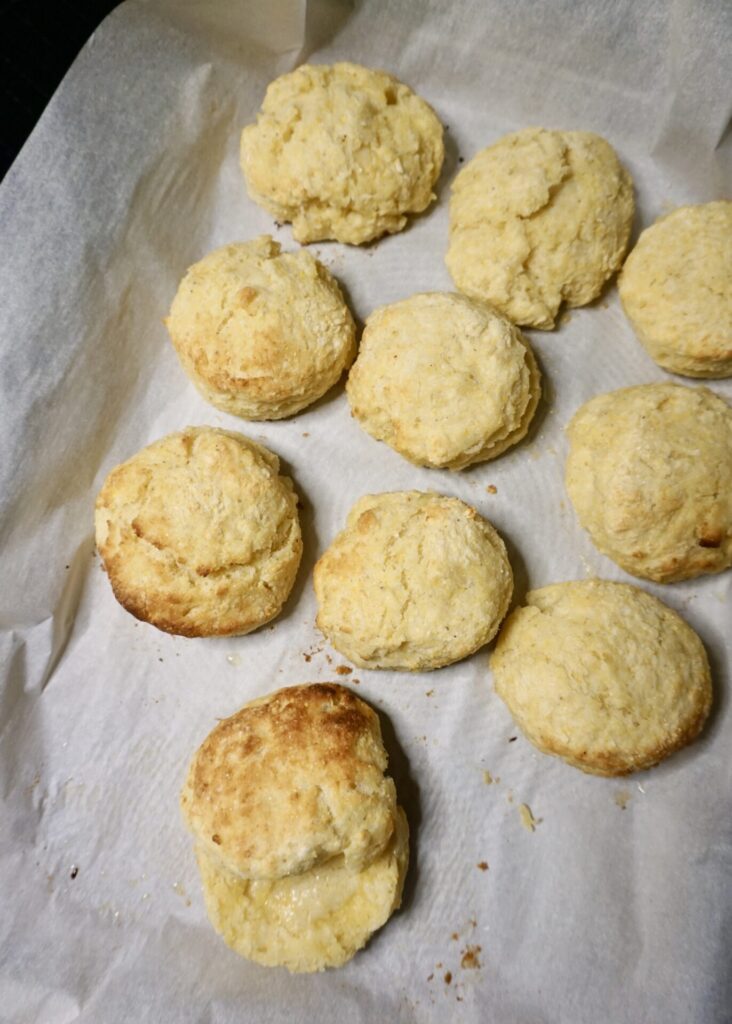
Cornbread and biscuits are two of my favorite comfort foods. Much like the cornmeal dinner rolls we love, this recipe is a hybrid of the two. A buttery biscuit base with the addition of cornmeal makes for a fluffy moist biscuit in the middle with a crunchy nutty crust. With a pat of butter and drizzle of honey, it’s carb heaven!

These biscuits can be dropped with a spoon right onto the pan for a rustic look, sliced into triangles or squares like a scone, or gently kneaded and cut into rounds for a more traditional biscuit look. Any way you do it, they’re quick and easy and if your family loves them as much as mine, they’ll be devoured in no time.

Cornmeal Biscuits

INGREDIENTS

1 3/4 cups all-purpose flour
2/3 cup cornmeal
2 Tbsp. granulated sugar (can use 1 Tbsp. for a more savory biscuit)
1 Tbsp. baking powder
1/2 tsp. salt
1/2 cup cold butter, cubed
1 cup cold buttermilk

DIRECTIONS

  1. Heat oven to 450 F. (I baked mine on convection at 425 F because I was roasting vegetables at the same time.)
  2. Stir flour, cornmeal, sugar, baking powder, and salt in the bottom of a large bowl with a fork or whisk. Add butter and toss to coat cubes in dry mixture. Use your finger or a pastry blender to break the butter into smaller and smaller bits, until the largest is pea-sized. Add buttermilk and stir once or twice, until a dough comes together.
  3. Press the dough gently into the bottom of your mixing bowl into roughly a circle. Cut into 8 or 12 wedges and drop onto a baking sheet. (I kneaded the dough once or twice into a round and used a biscuit cutter to cut out circles. Leftover scraps I pressed together to make one last biscuit.)
  4. Bake for 10-15 minutes, depending on size, until golden and crisp around the edges. Remove from oven and serve warm.

Makes 8-12 biscuits, depending on size.

(Adapted from Smitten Kitchen)

Stovetop Shells and Parmesan

January 7, 2021

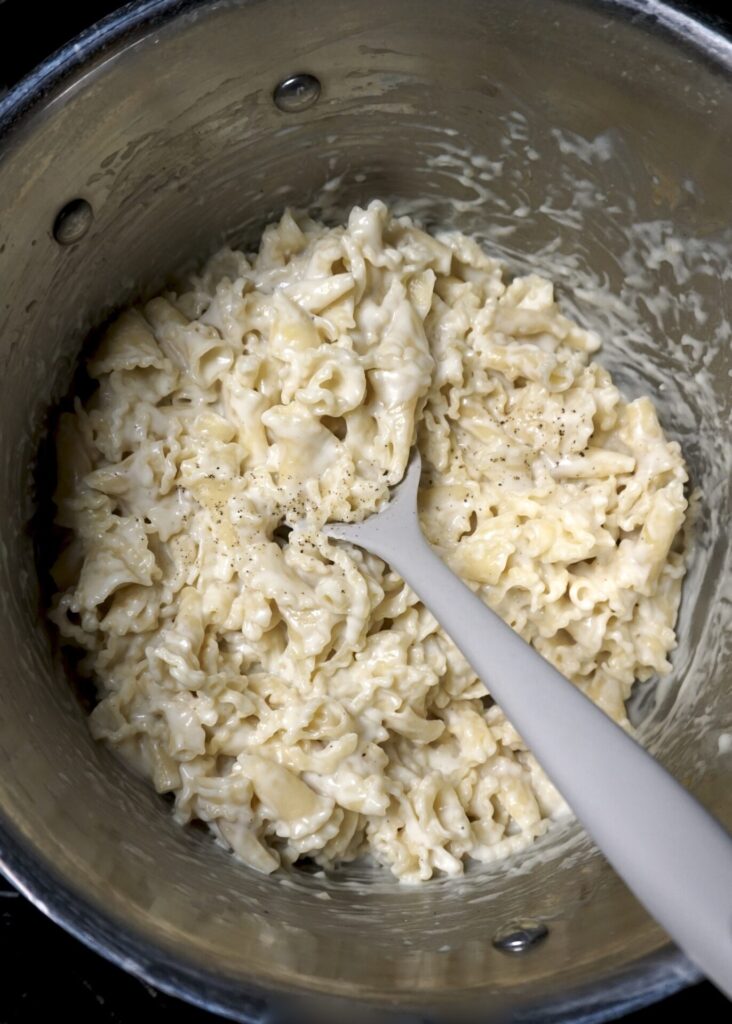
I’m not a huge fan of boxed mac and cheese but I have 3 kids and a husband who get really excited about it. They especially love Annie’s brand white shells and I’ve been determined to make my own without all that cheese powder. This is Smitten Kitchen‘s version and it’s just perfect! I used a fun twisty pasta I found at Trader Joes but shells or macaroni are totally great here. And I went with a combination of Parmesan and Pecorino but white cheddar would also be delicious and classic. I’ve included ingredient amounts for a single serving (which can be easily doubled, tripled, etc.) and also the quadrupled version to feed a family (as pictured above).

Stovetop Shells and Parmesan

INGREDIENTS

to serve 1-2:
kosher salt
4 oz. dried pasta, such as shells or macaroni or another small twisty shape
2 tsp. salted or unsalted butter
2 tsp. all-purpose flour
1/2 cup low-fat or whole milk
freshly ground black pepper
1/2 cup (1-oz.) finely grated parmesan or pecorino cheese (I used half of each, white cheddar would also be delicious)

to serve 4-6:
kosher salt
1 lb. (16-oz.) dried pasta, such as shells or macaroni or another small twisty shape
2 Tbsp. + 2 tsp. salted or unsalted butter
2 Tbsp. + 2 tsp. all-purpose flour (you’ll be fine with 2 Tbsp. if you don’t feel like measuring exactly)
2 cups low-fat or whole milk
freshly ground black pepper
2 cups (1-oz.) finely grated parmesan or pecorino cheese (I used half of each, white cheddar would also be delicious)

DIRECTIONS

  1. Bring a small-to-medium (or large, if you making the quadrupled recipe) pot of very well-salted water to a boil and add your dried pasta. Cook it until firm tender, then drain.
  2. Return pot to stove and melt butter in the bottom. Using a spoon or whisk, add flour and mix until it disappears. Add milk, a tiny splash at a time, stirring constantly so no lumps form. Season with 1/4 teaspoon kosher salt and many grinds of black pepper. Bring sauce to a simmer. Cook, stirring, for 1 to 2 minutes.
  3. Remove from heat and stir in grated cheese until combined. Add drained pasta, stir to evenly coat. Scoop into a bowl (okay, I won’t tell anyone if you don’t) and finish it with more black pepper and salt, to taste.

(Adapted from Smitten Kitchen)

Skillet-Roasted Broccoli

January 2, 2021

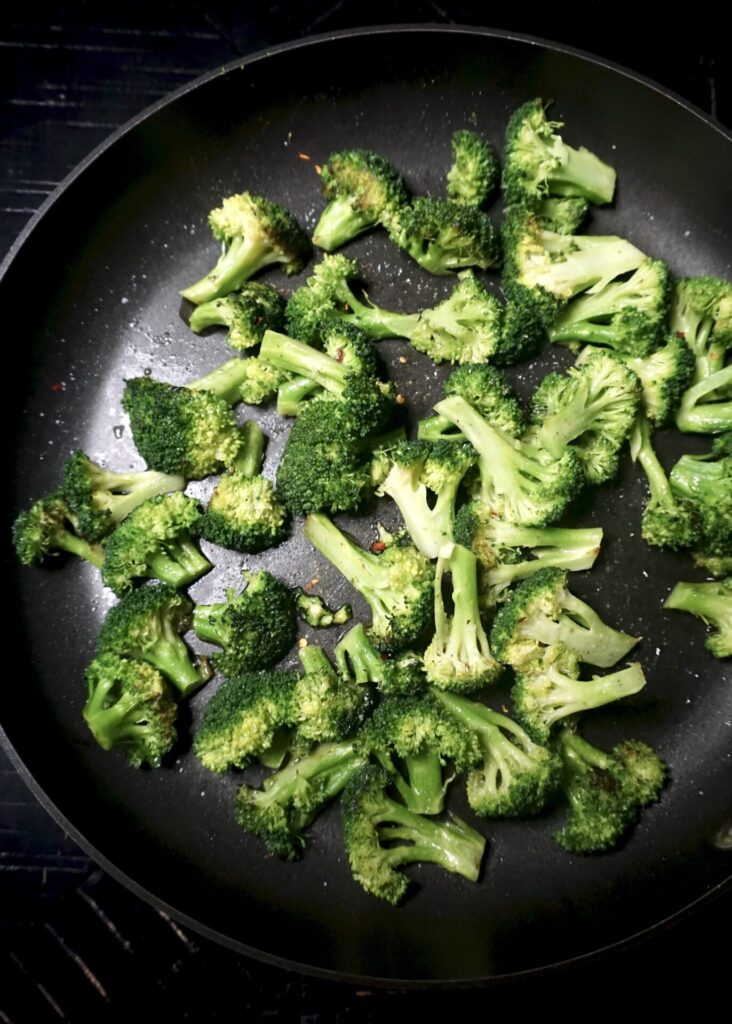
How about a fresh healthy veggie dish to start the new year? This skillet-roasted version is my favorite new way to eat broccoli! I often roast broccoli in the oven but it usually ends up extra charred and steaming it is just a bit boring, so this recipe is a happy middle ground. Plus, it’s FAST! You’ll heat a bit of oil in a skillet, add the broccoli and crisp it for about a minute. Then you pour in some water (or chicken/vegetable broth if you wish), cover it with a lid, reduce the heat, and continue cooking it for just a few more minutes. Salt and pepper (and crushed red pepper for some heat) to taste and you’re done! It’s tender yet crisp and just delicious!

Skillet-Roasted Broccoli

INGREDIENTS

1- 2 Tbsp. olive oil or other cooking oil
~1 lb. (about 6 cups) broccoli florets
kosher salt and freshly ground black pepper, to taste
crushed red pepper flakes (optional- to taste)
1/2 cup water (or chicken or vegetable broth)

DIRECTIONS

  1. Heat the oil in a 12-inch nonstick skillet over medium-high heat until the oil is rippling and hot. Add the broccoli in a mostly single layer and sprinkle with a pinch of salt. Let the broccoli “roast” in the hot skillet for 30 seconds or so and then give it a good stir. You can let it keep browning for a minute for more flavor or move on to the next step. (I cooked mine or a little over a minute during the first step.)
  2. Pour in the water/broth, immediately cover the skillet with a lid (or foil), and reduce the heat to medium-low. Let the broccoli simmer for 2-3 minutes until bright green and crisp-tender. Add additional time if you want the broccoli more tender. (I found 3 minutes to be pretty crisp, 4 minutes to be a bit more tender.)
  3. Remove from the heat, add seasonings (salt/pepper/crushed red pepper) to taste and serve.

Serves 4.

(Adapted from Mel’s Kitchen Cafe)