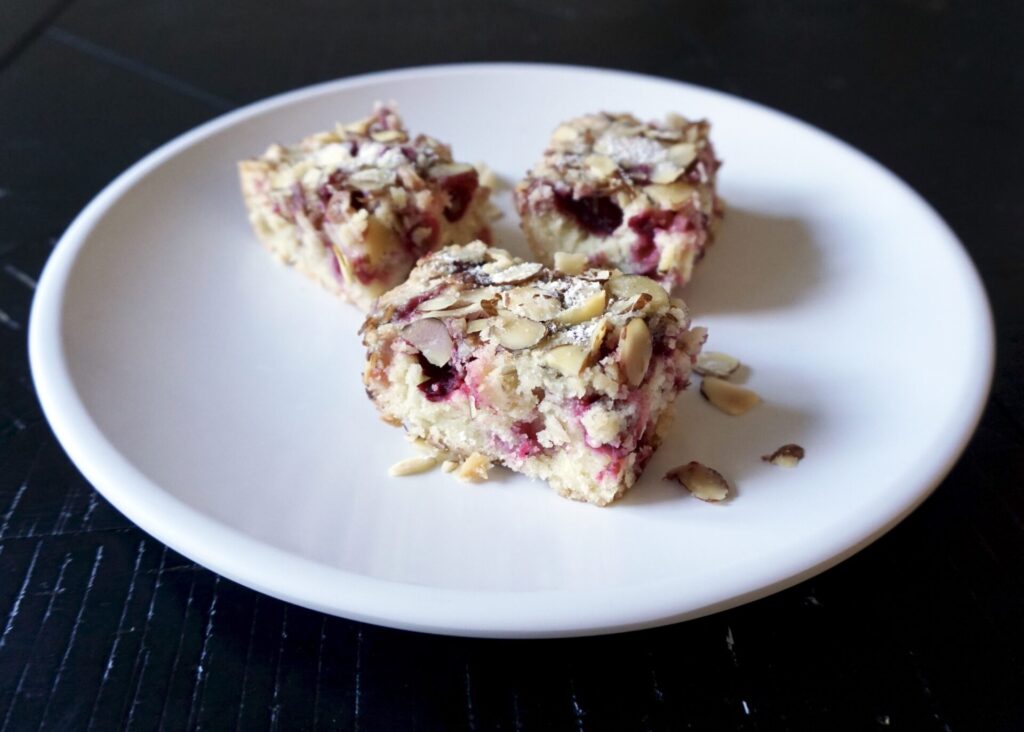
Cranberry Almond Christmas Cake

December 29, 2020

I discovered this recipe last Christmas (we actually served it after cheese fondue for our kid-friendly New Year’s Eve party… I miss parties!) and have been patiently waiting all year to make it again. Just because it’s called Christmas cake doesn’t mean you have to make it during the holidays, but it’s perfectly festive bursting with red cranberries and dusted with a flurry of powdered sugar.
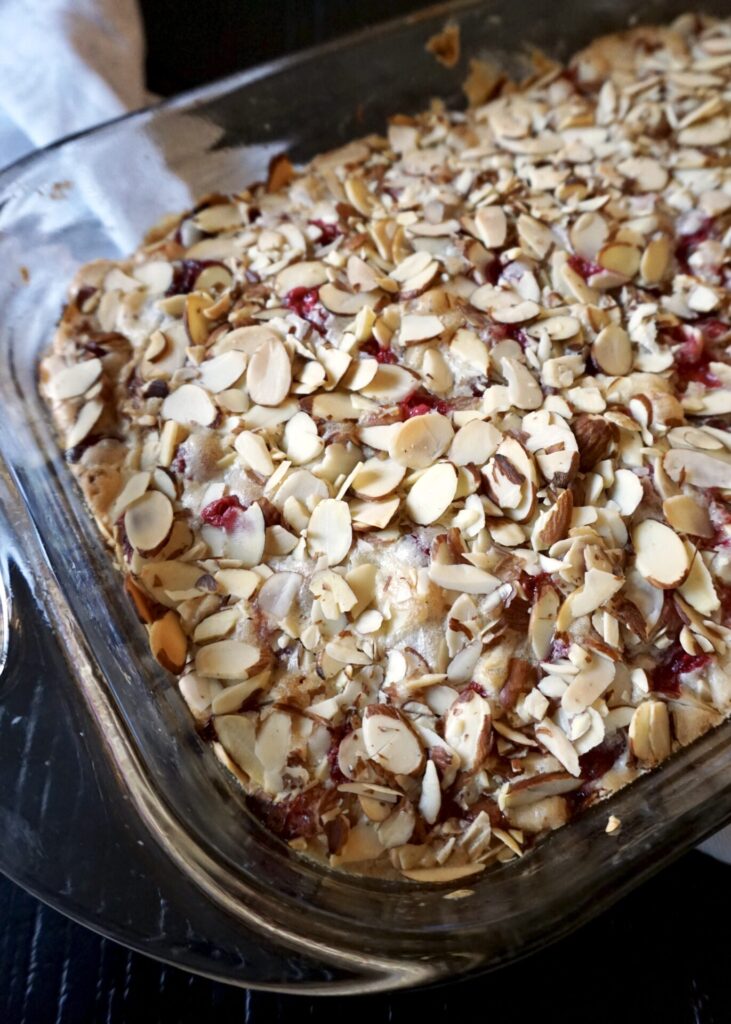
I love this cake for many reasons: First, it’s not too sweet. It’s full of sugar, but the tart berries cut the sweetness. Second, the almonds. The batter is flavored with vanilla as well as almond extract (one of the best scents on earth!) and the top is covered with crunchy toasted almonds. So much flavor! Last, (sorry, this is like 3 things…) it’s tender and moist and totally addictive.

Best of all, this cake is really simple to make. Though I was having an off day this weekend when I baked it (I blame the sinus infection/headaches I’ve been battling) and accidentally started creaming the butter and sugar together. (Which is typical for cookies but won’t work here because you need to beat the eggs first because they provide the leavening.) So I started over but misread the recipe again and started creaming the butter and eggs. After several minutes of trying to figure out why they wouldn’t combine, I realized my mistake and had to start over yet again. Third time was the charm. Don’t be silly like me and please start by creaming your sugar and eggs and all will go well…!

Cranberry Almond Christmas Cake

INGREDIENTS

2 cups sugar
3 large eggs, room temperature
3/4 cup butter, room temperature (salted or unsalted- I used unsalted butter and added 1/4 tsp. sea salt, but salt is optional)
1 tsp. pure almond extract
2 tsp. pure vanilla extract
2 cups all-purpose flour
1 (12-oz.) bag fresh cranberries (or frozen and thawed cranberries, also works with a 10-oz. bag cranberries and will be slightly sweeter)
1 cup sliced almonds
powdered sugar, for dusting (optional)

DIRECTIONS

  1. Preheat oven to 350 F. Butter a 9×13 baking pan (or coat with nonstick cooking spray). Set aside.
  2. In a large mixing bowl, beat sugar and eggs for 5 minutes with an electric mixer on medium. The volume of the mixture will increase by almost half and will be thickened. Do not skip this step. The eggs will work as the leavening the cake needs to rise.
  3. Add butter and extracts (and salt, if using) and beat for 2 more minutes. Slowly add flour and beat until combined. Fold in cranberries.
  4. Using a spatula, pour and smooth into prepared pan. Sprinkle almonds over top.
    Bake for ~45 minutes until a toothpick inserted into the center comes out clean. Let cool completely and dust with powdered sugar (optional) before cutting.

Makes a 9×13 cake.

(Adapted from The Slow Roasted Italian)

Lasagne alla Boscaiola (White Lasagna with Mushrooms, Sausage, and Peas)

December 22, 2020

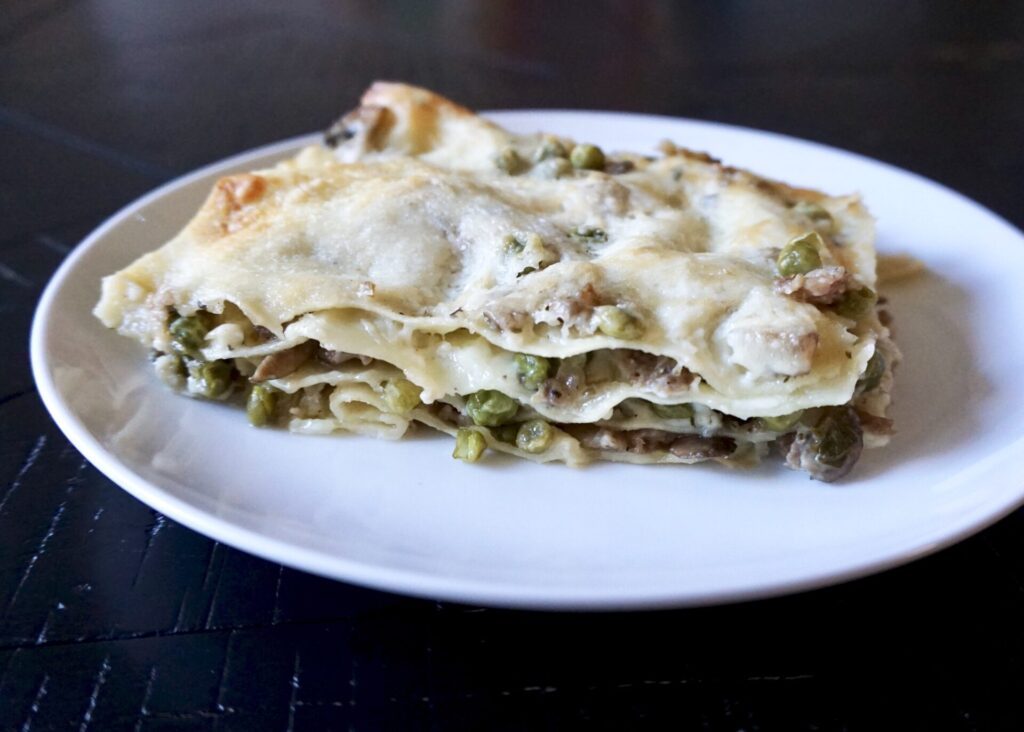
There is the most delicious little Italian Pasta Shop in Pike’s Place Market called Pasta Casalinga. The 4/5ths of our family that is pasta obsessed has tried many of their dishes, and especially loves their house lasagna. And this is their signature recipe! Or rather I should say, my attempt at recreating their incredible white lasagna. The chef actually shared her recipe on a local news station here and so I had a very reliable source for this one.

“Alla Boscaiola” translates to something like “the woods” so this hearty lasagna is stuffed with mushrooms (any variety will work but I chose cremini), fennel pork sausage, and green peas (don’t skip them! they add just the right amount of sweetness to this dish). Because it’s a white lasagna the noodles and filling are layered with a creamy white sauce called besciamella (made with a butter and flour roux, milk, and a pinch of nutmeg). And there’s no mozzarella or ricotta, just generous amount of Parmesan and/or Pecorino (I recommend using both).

I will always be true to our favorite red sauce lasagna (and thankful to our friends for sharing their amazing recipe). But this one is a little less work (no ragu!) and nothing like it as far as flavors go. This will be the other lasagna our family makes on repeat!

Lasagne alla Boscaiola (White Lasagna with Mushrooms, Sausage, and Peas)

INGREDIENTS

Besciamella:
1/4 cup butter
1/4 cup all-purpose flour
3 1/2 cups whole milk, warmed
1/4 tsp. sea salt
pinch ground nutmeg

1 lb. fennel pork sausage (I used Whole Food’s ground Italian pork sausage that has fennel as an ingredient)
2 Tbsp. olive oil
1/2 white onion, diced
8 oz. cremini or mixed mushrooms, cleaned and sliced
2 Tbsp. chopped fresh flat-leaf parsley
1/4 tsp. dried oregano
pinch crushed red pepper flakes (optional)
1 Tbsp. white wine vinegar
1/4 cup water
1 1/2 cups frozen peas (I prefer petite peas)
~1/2 tsp. sea salt
~1/4 tsp. freshly ground black pepper
Barilla no-baked lasagna noodles (~1 box- I used 12 sheets total, 3 for each layer)
1 1/4 cups freshly grated Parmigiano Reggiano (or a combination of Parmigiano and Pecorino Romano)

DIRECTIONS

  1. To make the besciamella, melt the butter in a large pan over medium heat (being careful not to brown it). Add the flour and cook for 1 minute, whisking constantly. Slowly pour in the milk, a little bit at a time, while whisking constantly to prevent lumps. Once all of the milk is added, add the nutmeg and salt and bring the mixture to a simmer and cook, still whisking frequently, until thickened. (The besciamella will be thick enough to coat the back of a spoon.) Remove from the heat and set aside. (It can be prepared up to several days ahead of time and refrigerated until ready to use.)
  2. Brown the sausage in a large saute pan over medium heat, breaking it up into small pieces as it cooks. Once it is just cooked through, drain the grease and set the sausage aside on a plate.
  3. Return the pan to the heat and add the olive oil, onion, and mushrooms. Cook, stirring occasionally, for about 5 minutes until tender. Stir in the parsley, oregano, vinegar, water, and peas. Return the sausage to the pan and bring the mixture to a simmer, then cook for about 5 minutes to warm the peas. Season with the salt and freshly ground black pepper to taste.
  4. To assemble the lasagna, spread a thin layer of besciamella on the bottom of a lightly greased 9×13 baking dish. Then place a single layer of noodles over the sauce. Top with another thin layer of besciamella, 1/4 of the filling, and 1/4 of the cheese. Repeat for the remaining 3 layers (you will have 4 layers in all) adding noodles, sauce, filling, and cheese. The top layer will end with any remaining besciamella and cheese. NOTE: Lasagna can be assembled 1-2 days ahead and refrigerated until ready to bake or frozen and baked at a later time.
  5. Preheat oven to 350 F and bake for approx. 45 minutes (possibly shorter if your lasagna is already warm, or longer if your lasagna has been refrigerated/frozen before baking) until golden brown and bubbling. Let rest 15 minutes before serving.

Makes a 9×13 pan lasagna.

(Adapted from Pasta Casalinga and An Italian in my Kitchen)

Teriyaki Salmon (with Easy Teriyaki Sauce)

December 18, 2020

There’s a teriyaki place around every corner here and we’ve become fans of chicken or salmon teriyaki as a quick take-out option. I’ve attempted making it at home before and tried a few bottled teriyaki sauces but never been super impressed (Trader Joe’s Island Soyaki- with pineapple!- is the best I’ve found). But after trying this recipe I won’t be going back to bottled! This quick and easy homemade teriyaki sauce is just so good- and paired with salmon (chicken would work as well), steamed rice, and veggies, it’s a win.

Have I shared my secret to keeping fresh ginger on hand? Freeze it! Whenever I buy ginger root I throw it in a ziplock bag (I don’t even bother peeling it first) and keep it in the freezer until needed. I just chop/grate off the amount I need for a recipe and then it goes back into the freezer until next time. It should stay good frozen for up to about 6 months!

Teriyaki Salmon

INGREDIENTS

1 Tbsp. vegetable oil
~1 lb. salmon filets (skinless)
1 clove garlic, minced
1/2 tsp. fresh ginger, grated or minced
1/4 cup low-sodium soy sauce
2 Tbsp. water
2-3 Tbsp. brown sugar (3 Tbsp. for a sweeter Teriyaki sauce)
1 Tbsp. unseasoned rice vinegar
1 tsp. sesame oil
1 tsp. cornstarch
1 Tbsp. water
sliced green onions, for garnish
toasted sesame seeds, for garnish
steamed rice, for serving

DIRECTIONS

  1. Add garlic, ginger, soy sauce, water, brown sugar, rice vinegar and sesame oil to a medium bowl. Add half of the marinade to a ziplock bag and the other half to a small saucepan and set aside. Place salmon filets in the ziplock bag and marinate for 30 minutes.
  2. Heat oil in a large skillet. Add salmon filets making sure not to overcrowd pan. Cook 3-4 minutes on each side until desired doneness. (OR salmon can be grilled over medium-high heat OR baked in the oven at 400 F for approx. 10-15 min until just cooked through/flakes easily with a fork.)
  3. Meanwhile, heat the reserved marinade in the saucepan over medium heat and bring to a simmer. Add cornstarch and water to a small bowl and whisk to combine.
    Slowly whisk in the cornstarch mixture to the marinade and simmer until thickened.
  4. Serve immediately over steamed rice with the teriyaki sauce drizzled on top and garnish with green onions and sesame seeds.

(Adapted from Chef Savvy)

Chicken Enchilada Skillet

December 16, 2020

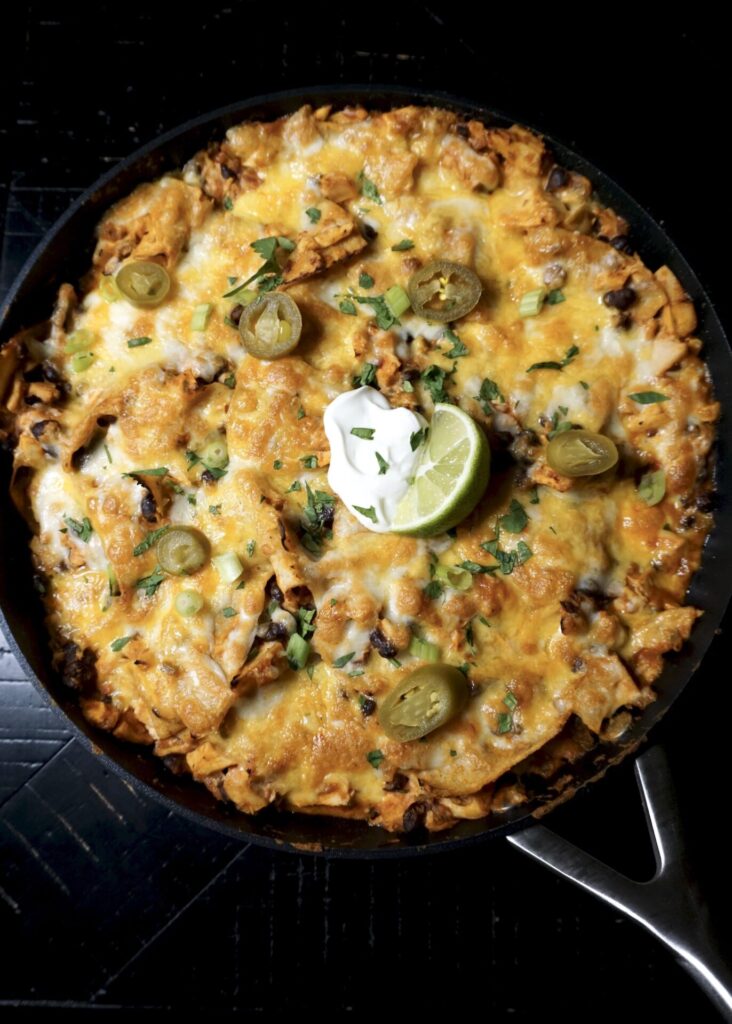
I’m always on the hunt for great Mexican food and enchiladas are my favorite of all. I’ve tried a lot of enchilada recipes (many of which never make it to the blog, some I’m loyal to and make on repeat) but this is the first time I’ve made enchiladas in a skillet and they were EASY and delicious! Shredded rotisserie chicken gets tossed with torn corn torillas, black beans (or pinto), salsa (red or green- Trader Joe’s salsa verde is our favorite- mild, medium or hot- your choice!), sour cream, and a quick saute of garlic + onion + cumin. It all goes back into the skillet, topped with a generous amount of cheese (of course!), and baked for ONLY 5!! minutes and dinner is served. Add some pickled jalapeno, cilantro, and avocado… um yum.

Chicken Enchilada Skillet

INGREDIENTS

1 Tbsp. vegetable oil
1/2 onion, chopped
2 cloves garlic, finely chopped
1 tsp. ground cumin
1 tsp. kosher salt
1 (16-oz.) jar salsa (or mild, medium, or hot, salsa verde is so delicious, or this favorite red enchilada sauce)
1/2 cup sour cream
4 corn tortillas, torn into quarters (I used our favorite Tortillaland uncooked corn tortillas and cooked them on the griddle first)
4 cups shredded cooked chicken (from 1 rotisserie chicken)
1 (15.5-ounce) can black beans (or pinto beans), drained and rinsed
1 1/2 cups shredded Mexican cheese blend (or cheddar, Colby Jack, pepper Jack, etc.)

optional for serving:
pickled jalapeños
fresh chopped cilantro
sliced green onion or chives
sour cream
sliced avocado

DIRECTIONS

  1. Preheat oven to 500°F. Heat oil in a 10″ heatproof (oven-safe) skillet over medium. Add onion, garlic, cumin, and salt and cook, stirring, until softened, about 5 minutes.
  2. Transfer onion mixture to a large bowl; reserve hot skillet. Add salsa, 1/2 cup sour cream, and 1/4 cup water (I omitted the water- didn’t think it was necessary) to onion mixture and stir to combine. Fold in tortillas, chicken, and beans until thoroughly coated. Return mixture to reserved skillet and cook over medium heat until warmed through, about 3 minutes. Sprinkle cheese over.
  3. Transfer skillet to oven and bake until cheese is melted and bubbling, about 5 minutes. Top with sour cream, jalapeños, cilantro, green onion/chives, and sliced avocado if desired.

Serves 4-6.

(Adapted from Epicurious)

Honey Cashew Chicken with Vegetables and Rice

December 10, 2020

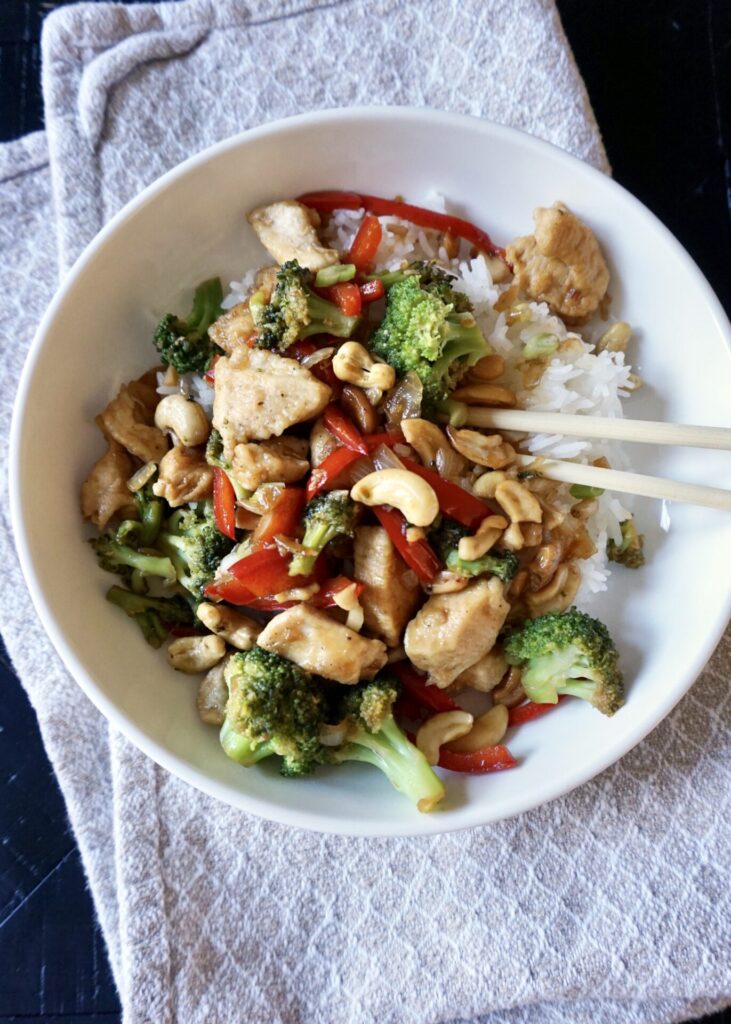
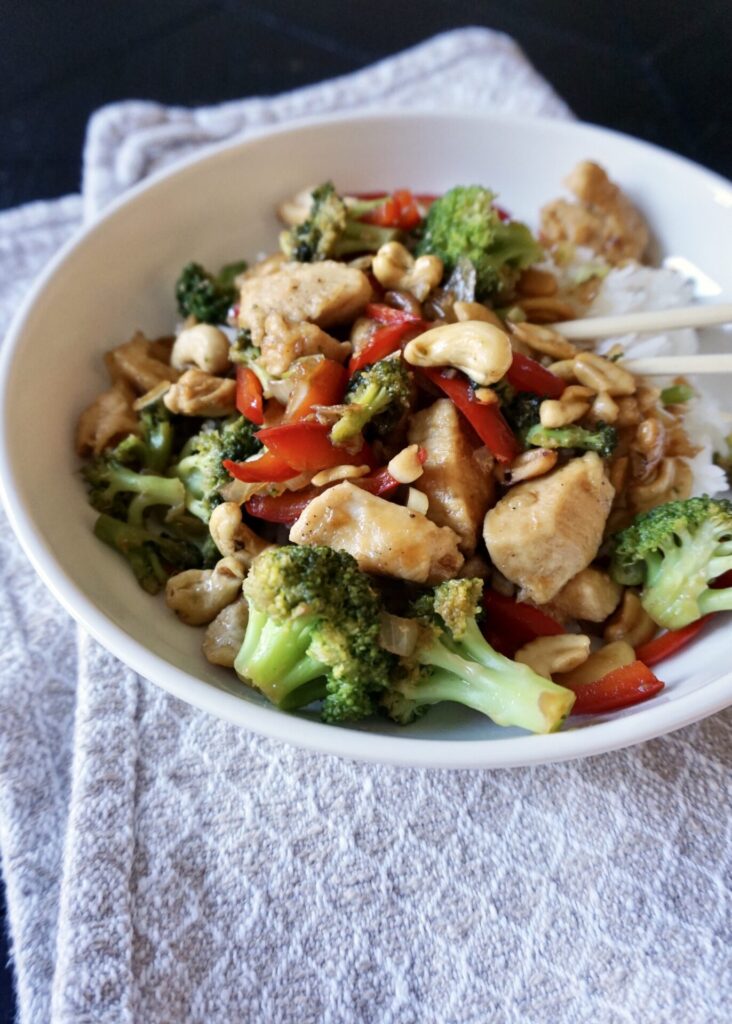
I love this easy honey cashew chicken stir fry! It’s packed with veggies and has a tangy sweet sauce that you’ll want to scrape every last bit of from the pan to pour over rice. As for the kids- one really liked the chicken, one devoured her broccoli first, and the smallest one preferred the cashews and rice. But there’s something here for everyone!

Honey Cashew Chicken with Vegetables and Rice

INGREDIENTS

1 lb. boneless skinless chicken breast, cut into 1-inch cubes
2 Tbsp. cornstarch
1/2 tsp. salt
1/2 tsp. freshly ground black pepper
1 Tbsp. canola oil
1 Tbsp. sesame oil
2 cups broccoli florets (I lightly steam mine first so it’s not too crisp)
1 cup frozen shelled edamame (I used another cup of broccoli instead)
2 cloves garlic, minced
1/2 yellow onion, finely chopped
1 red bell pepper, sliced
1/2 cup dry-roasted cashews, unsalted (or use salted and decrease the salt in the recipe slightly)
1 Tbsp. rice vinegar
2 1/2 Tbsp. honey
2 Tbsp. low-sodium soy sauce
up to 1 Tbsp. Sriracha or another hot chile pasta (I used 1 tsp. Sambal Oelek for a medium kick, use 1/2 tsp. for mild)

steamed jasmine rice, for serving
green onions, sliced for serving (optional)

DIRECTIONS

  1. Combine chicken, cornstarch, and salt and pepper in a bowl; toss to coat.
  2. Heat a large skillet over medium-high heat. Add canola and sesame oils. Add chicken mixture, and sauté until just cooked through. Remove chicken from the skillet to a plate. Increase heat to high, and add broccoli and the next 4 ingredients (through red bell pepper). Cook 5 minutes or until vegetables are crisp-tender, stirring frequently. Stir in cashews and cooked chicken.
  3. Combine vinegar and remaining ingredients in a small bowl; stir with a whisk. Add vinegar mixture to chicken mixture; toss to coat. Bring to simmer and cook several minutes until sauce thickens. Sprinkle with green onions (optional) and serve with rice.

Serves 3 – 4.

(Adapted from Cooking Light)