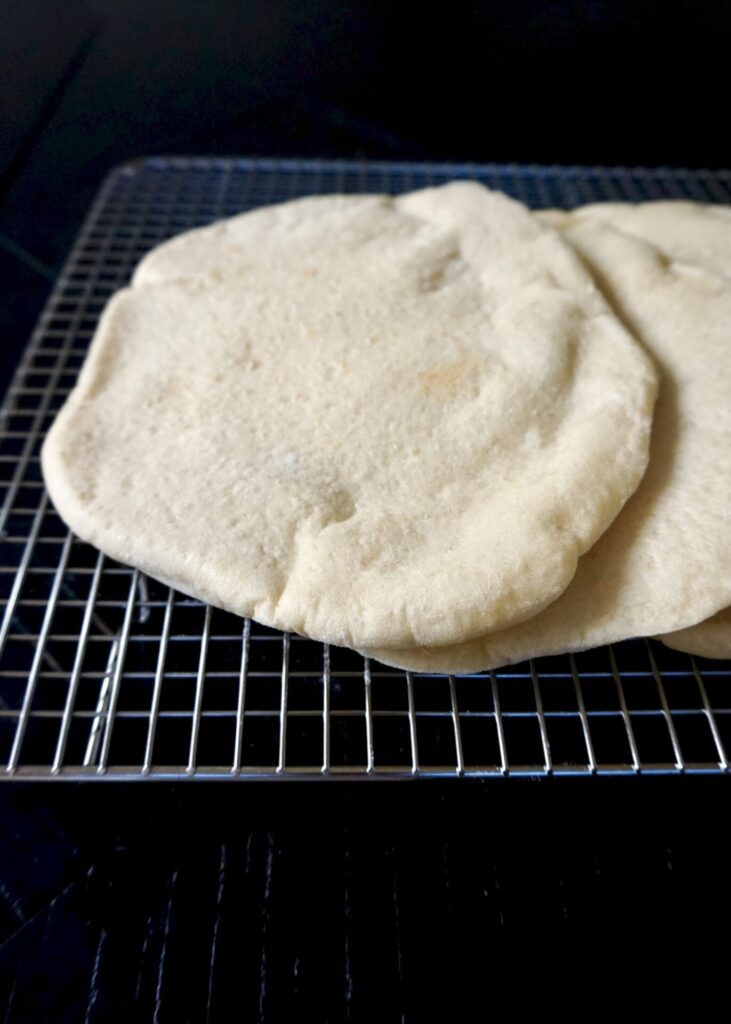
Homemade Pita Bread

October 27, 2020

Here is that promised pita bread recipe! We eat a lot of pita with hummus/tzatziki or as a quick pizza crust and I have trouble keeping enough pita on hand. While this recipe isn’t exactly quick if you factor in the rise, rolling out, and baking time, it’s definitely not hard and so delicious! Nothing beats fresh, homemade bread.
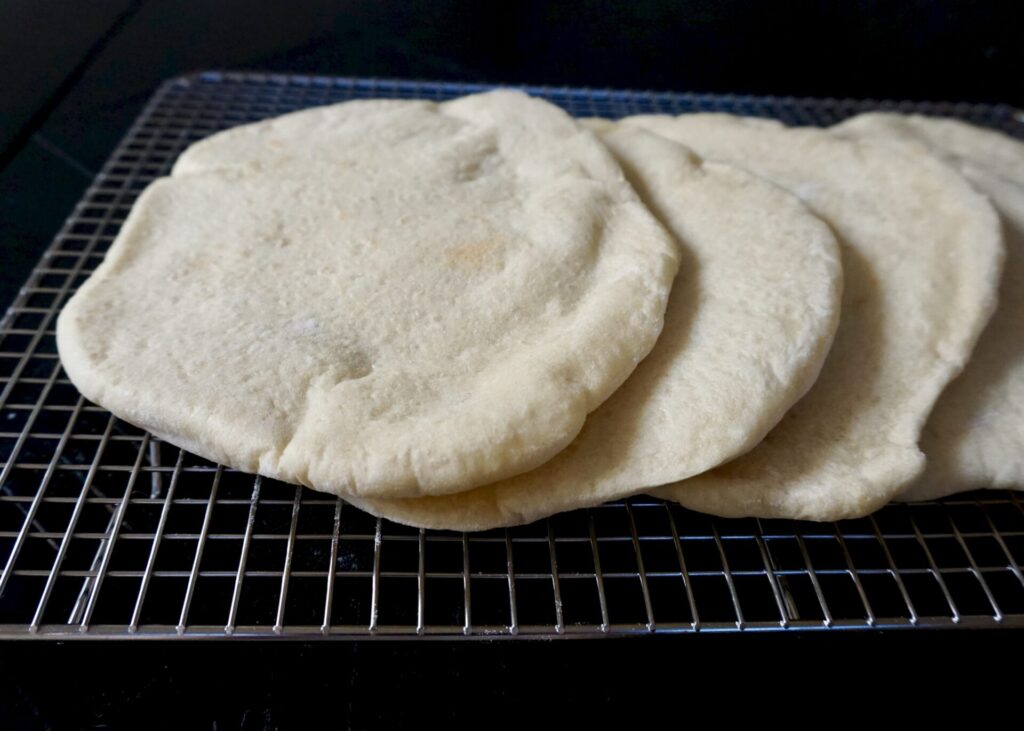
I haven’t tried this pita recipe with whole wheat flour, but do have one from years ago that is whole wheat in the archives. I did have a few pita leftover the night I made them and popped them in the freezer (in a freezer bag) for later. They can be rewarmed in the microwave as needed.

Homemade Pita Bread

INGREDIENTS

1 package (2 1/4 tsp.) active dry yeast
1 tsp. sugar
1 1/2 cups warm water
1 tsp. salt
31/2 cups bread flour + more for dusting
1 tsp. olive oil

DIRECTIONS

  1. In the bowl of a heavy-duty electric mixer fitted with a dough hook, combine the yeast, sugar, and warm water; stir to blend. Let the yeast stand until foamy, about 5 to 10 minutes. (I did this in a large bowl.)
  2. Stir in the salt. Add the flour, a little at a time, mixing at the lowest speed until all the flour has been incorporated and the dough gathers into a ball; this should take about 4 minutes. (I mixed by hand with a spatula.)
  3. Turn the dough onto a lightly floured surface and knead until it’s smooth and elastic. Transfer the dough to a lightly oiled bowl, turn it over to coat, and cover with plastic wrap. Allow to rise until double in size, about 1 1/2 hours.
  4. Place a large pizza stone on the lower oven rack, preheat the oven (and stone) to 500 degrees F.
  5. Punch the dough down, divide it into 8 pieces, and gather each piece into a ball; keeping all of them lightly floured and covered while you work. Allow the balls of dough to rest, covered, for 15 minutes so they will be easier to roll out.
  6. Using a rolling pin, roll each dough ball into a circle that is about 8-inches in diameter and 1/4-inch thick. Make sure the circle is totally smooth, with no creases or seams in the dough, which can prevent the pitas from puffing up properly. Cover the disks as you roll them out, but do not stack them up. Put 2 pita rounds at a time on the hot pizza stone and bake for 3 to 4 minutes, or until the bread puffs up like a balloon and is pale golden. Watch closely; they bake fast. Remove the bread from the oven and place on a rack to cool for 5 minutes; they will naturally deflate, leaving a pocket in the center. Wrap the pitas in a large kitchen towel to keep them soft.

Makes 8 pita.

(Adapted from Food Network)

Spicy Dill Yogurt Dip

October 23, 2020

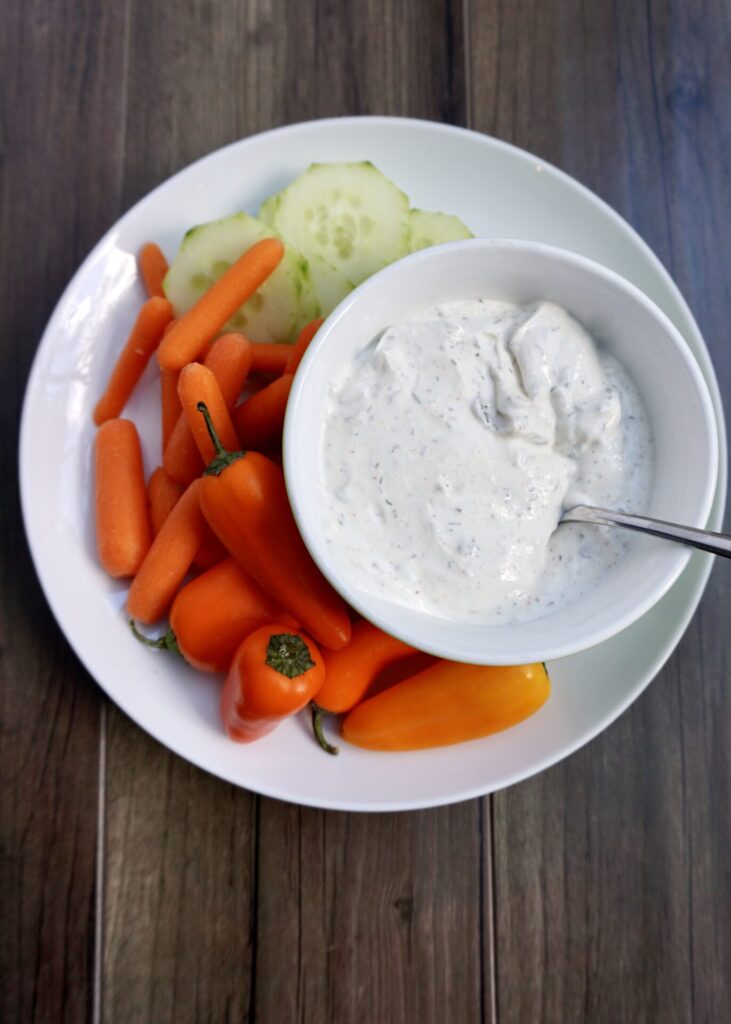
Alongside the homemade ranch, this spicy dill dip has become my go-to for veggies lately. It’s made with a combo of Greek yogurt and sour cream (NO mayo!) so it’s lighter than most dips. But still full of flavor from a squeeze of lemon, herbs (parsley, dill, and chives) plus garlic and onion and can be made with a fresh jalapeno or cayenne pepper (which I usually choose since it’s always in my pantry). The level of spice/heat is easily adjusted to taste- I keep it on the mild/medium side so my kids can enjoy it too. Grab a plate of veggies/crackers and dip in!

Spicy Dill Yogurt Dip

INGREDIENTS

1 cup plain Greek Yogurt (I used 2% Fage)
1 cup sour cream
1 tsp. lemon juice
1 jalapeño (or cayenne pepper, to taste)
1 1/2 tsp. dried dill
1 1/2 tsp. dried parsley
1 tsp. sea salt
1 tsp. onion powder
1 tsp. garlic powder
1- 2 tsp. chopped fresh chives (or 1/2- 1 tsp. dried chives)
freshly ground black pepper, to taste

DIRECTIONS

  1. In a medium bowl combine the greek yogurt, sour cream and lemon juice.
  2. Mince jalapeno, removing the stem. Include all of the seeds for a spicy dip, half for a lightly zesty dip, and no seeds at all for a mild fresh dill dip. (Or instead of using a jalapeno you can season it with cayenne pepper, to taste, which I add in last.)
  3. Stir in dried herbs (dill and parsley), salt, onion powder, garlic powder, and chives. Season with some freshly ground black pepper, to taste.
  4. Cover and refrigerate until ready to serve. It can be eaten right away, but will taste best if refrigerated 1+ hours before serving. Serve with all of your favorite dippers.

Makes ~2 cups dip.

Adapted from Spend with Pennies

Grilled Pork Tenderloin with Smoked Paprika Rub

October 20, 2020

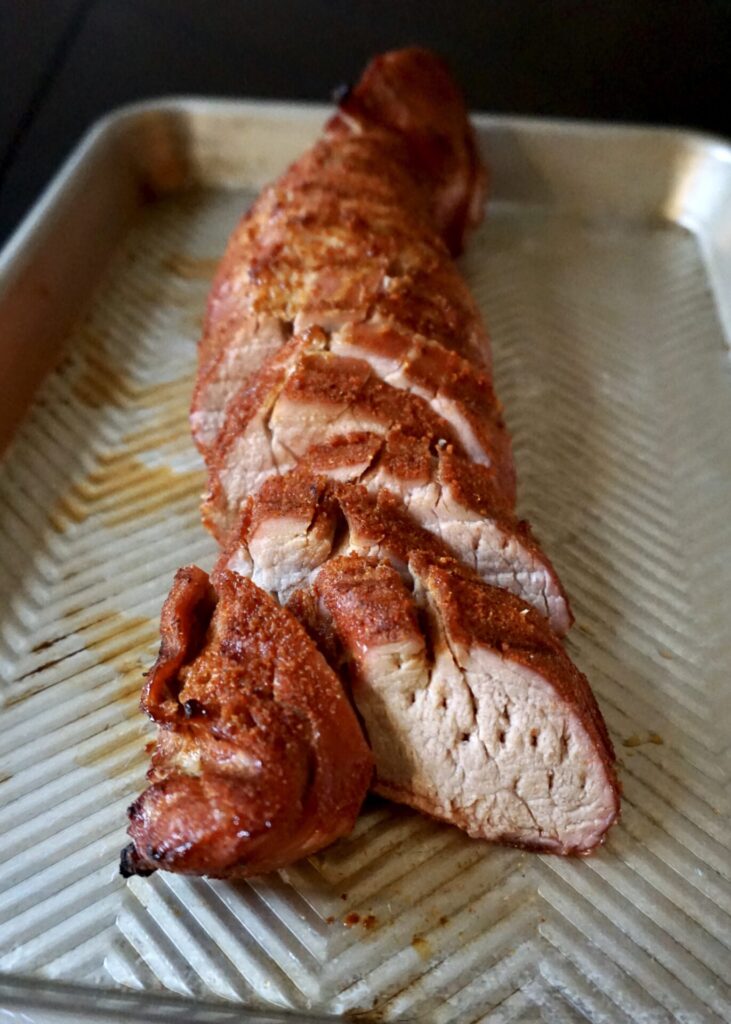
We are still learning how to use our Traeger grill and have had a few big fails (like a rubbery half raw whole chicken). Tip: don’t run out of pellets halfway through! But we’ve had a few successes too and this pork tenderloin is one of them. I’ve made it quite a few times now because it’s simple, big on flavor with a sweet and smoky rub, and turns out perfectly juicy and tender. We love it so much we made it for Christmas dinner last year!

Below are detailed instructions for cooking it on a gas or charcoal or Traeger grill (thought I’ve only tested it on the Traeger). If you don’t have a grill, it could be seared on the stove and then baked in the oven, as directed in this recipe.

Grilled Pork Tenderloin with Smoked Paprika Rub

INGREDIENTS

1 pork tenderloin (1- 1 1/2 lbs.)
1 Tbsp. brown sugar
3/4 tsp. kosher salt
1/4 tsp. fresh black pepper
1 tsp. smoked paprika
1/2 tsp. onion powder
1/2 tsp. garlic powder

bbq sauce, for serving (optional)

DIRECTIONS

  1. Trim the pork tenderloin. Using a thin, sharp knife, remove any connective tissue (silver skin) and fat from the surface of the tenderloin.
  2. Make the rub. Combine the sugar, salt, paprika, onion powder, and garlic powder in a small bowl.
  3. Rub the tenderloin. Pat the spice rub onto the surface of the tenderloin and set aside while you prepare the grill. You can also tightly wrap the tenderloin in plastic wrap and refrigerate the rubbed pork for 1 hour or up to overnight.
  4. Prepare the grill for zone cooking. For a gas grill, heat one side to high or medium-high heat and leave the other side unlit. For a charcoal grill, light a chimney of coals, pile the coals on one side of the grill, and leave the other side empty. (*We cook ours on a Traeger grill and preheat to 430 F.)
  5. Grill the tenderloin for 12 to 15 minutes. Place the tenderloin over direct heat. Cover and cook, flipping the tenderloin only once, until the internal temperature reaches 140 F to 145 F, 5 to 7 minutes per side. Move to indirect heat if the tenderloin starts to char too much, and continue to cook until it reaches the correct internal temperature, about 18 minutes total cook time. (*To cook on the Traeger, place the tenderloin on the preheated grill and cook until an internal probe/meat thermometer registers 145 F, about 15-20 minutes. Flipping halfway through is optional but not necessary.)
  6. Wrap and rest the tenderloin. Remove the tenderloin from the grill to a clean cutting board and tent loosely with aluminum foil. Rest for 10 minutes; the meat will finish cooking from the residual heat and the juices will redistribute for optimal flavor.
  7. Slice and serve. Slice crosswise into thin pieces before serving.

Serves 4. 

(Adapted from The Kitchen)

Blueberry Buttermilk Sheet Pan Pancakes

October 12, 2020

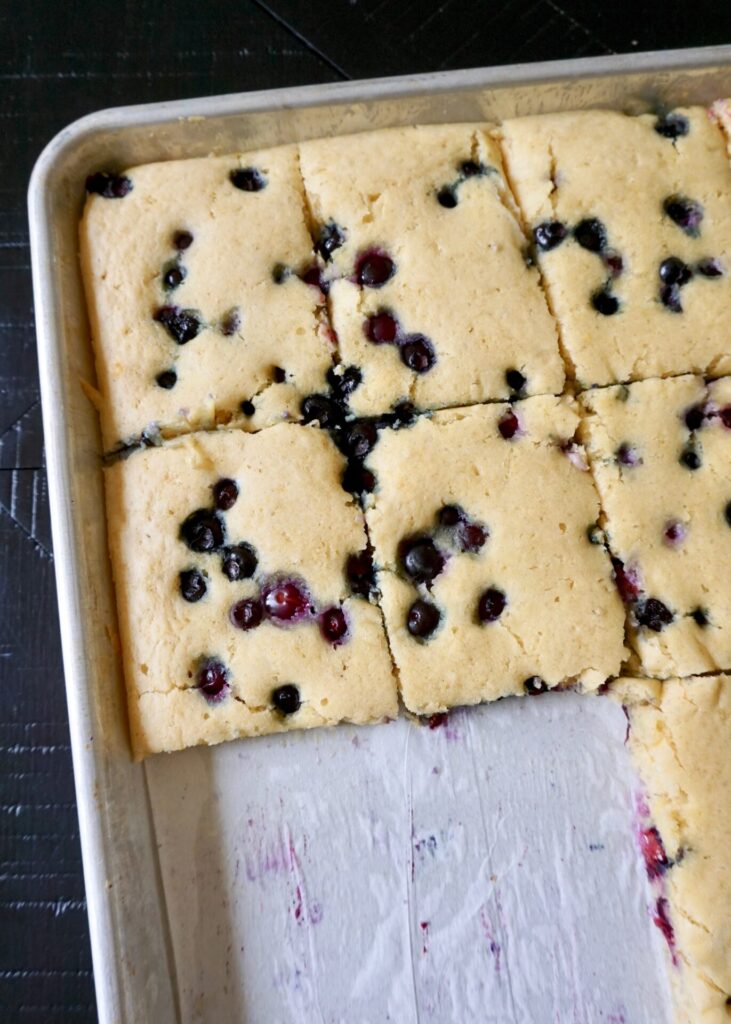
Besides bowls of cereal or peanut/almond butter on toast, blueberry pancakes (+ eggs scrambled with veggies) are the most frequently made breakfast foods around here. And this pancake mix is my go-to recipe. It makes part whole wheat, perfect fluffy pancakes that are best stuffed with blueberries. But it requires standing over the stove flipping pancakes one by one. So I was intrigued by the idea of cooking an entire batch of pancakes all at once in the oven! I thought for sure they would be inferior, but I was totally wrong! These sheet pan pancakes are very similar and just as delicious as the stove-top version.

I think you could increase the whole wheat flour to half with no problem (maybe add 1-2 Tbsp. more buttermilk if the batter seems too dry). Just about any berry would be delicious here. And I didn’t use nearly as much lemon as the recipe called for. I just wanted a hint of lemon flavor, so I stuck with about 1/4 of the zest and juice and it was just right.

Blueberry Buttermilk Sheet Pan Pancakes

INGREDIENTS

1 1/2 cups all-purpose flour
1/2 cup white whole wheat flour
2 Tbsp. sugar
2 tsp. baking powder
1 tsp. baking soda
1 tsp. kosher salt
2 Tbsp. unsalted butter, melted and cooled slightly
2 cups buttermilk (or 1 cup Greek yogurt + 1 1/4 cups milk)
2 large eggs
juice and zest of 1 medium lemon (optional, I only used about 1/4 of the lemon juice and zest because I didn’t want a strong lemon flavor)
1 1/2 tsp. vanilla extract
1 1/2- 2 cups blueberries (fresh or frozen, I used 2 cups frozen blueberries and I sprinkled them on top of the batter so they wouldn’t turn the batter blue, I’ve also used a mixture of blackberries, raspberries, and blueberries)

DIRECTIONS

  1. Preheat the oven to 400 F. Spray a rimmed 13 × 18-inch sheet pan with cooking spray (this will keep the parchment in place). Cut a piece of parchment paper to cover the bottom completely. Place on the sheet pan and spray more oil on the parchment and around the sides of the sheet pan.
  2. In a medium bowl, whisk together the flours, sugar, baking powder, baking soda, and salt. In another medium bowl, whisk together the butter, buttermilk (or yogurt and milk), eggs, lemon juice and zest, and vanilla.
  3. Add the wet ingredients to the dry ingredients and whisk until just combined.
    Do not overmix (or worry if there are some lumps). Gently fold in the blueberries with a spatula (or wait and sprinkle them on top once the batter is in the pan).
  4. Pour the batter into the prepared sheet pan. Spread evenly with a spatula, then tap the sheet pan on the counter a few times to settle the batter.
  5. Bake, until golden and set, about 12-15 minutes. Slice and serve with toppings of choice (with butter, syrup, yogurt, powdered sugar, fresh fruit, etc.!).

Makes a 13×18-inch sheet pan of pancakes.

(Adapted from Skinnytaste)

Chipotle Chicken Quesadillas

October 7, 2020

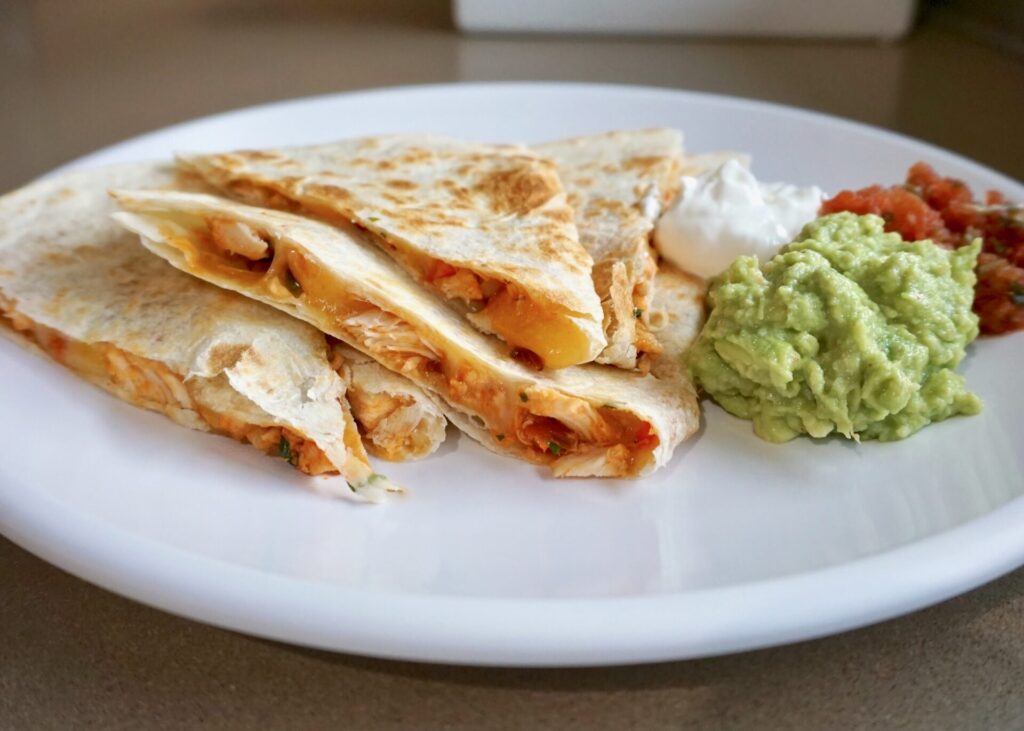
We eat a lot of quesadillas. Usually we don’t get too fancy and just melt some cheese (with veggies, beans, and/or leftover chicken) between two tortillas, top it with some salsa and guacamole and call it a meal. But the idea of Chipotle (delicious smoked jalapeno peppers canned in adobo sauce) flavored chicken stuffed in a cheesy quesadilla enticed me. And turns out this quesadilla filling is worth the bit of extra work!

I didn’t want to make it too spicy so that my kids couldn’t complain. So I settled on 1 1/2 chipotle peppers and if you taste the filling by itself it’s decently spicy (yes, I was sneaking licks from the pan…yum!) but combined with all that cheese and tortilla it tones down to somewhere between mild-medium. (It also depends how much filling you use on each quesadilla.) If you want more heat, use more peppers! I used canned crushed tomatoes because that’s what I always have on hand, but fresh diced/pureed tomatoes could work- they’ll just take longer to cook and reduce down. Rotisserie chicken makes this meal quick, but any cooked chicken will do- you’ll just need to add more salt and pepper if the chicken is not already seasoned.

**Click here for a delicious nacho version of this recipe!**

Chipotle Chicken Quesadillas

INGREDIENTS
drizzle olive oil
1/4 cup diced red bell pepper (and/or onion)
1 clove garlic, minced
1+ chipotle peppers in adobo sauce, minced (1 for mild, more to make it spicier- 1 1/2 peppers was just right for us)
1/2 cup crushed tomatoes (could use fresh tomatoes or tomato puree/sauce)
1 tsp. honey
1 green onion, thinly sliced
2 cups rotisserie chicken, chopped or shredded
2 Tbsp. chopped fresh cilantro
salt and freshly ground black pepper, to taste

corn or flour tortillas
Mexican cheese, grated (I like the Tillamook Mexican cheese blend, also good with Cheddar or Colby jack)

optional for serving:
sour cream
salsa
guacamole
lime wedges

DIRECTIONS

  1. In a large sauté pan, heat a drizzle of olive oil over medium heat. Add the bell pepper (and/or onion) and sauté until tender, several minutes. Add the garlic and cook 1 minute more. Stir in the chipotle peppers and tomatoes. Cook until most of the liquid from the tomatoes has evaporated and the mixture is thickened, stirring often, about 5 minutes (if you’re using fresh tomatoes it will take longer). Stir in the honey, green onions, chicken, and cilantro. Season to taste with salt and pepper. Keep warm.
  2. Heat a sauté pan over medium heat and spray lightly with nonstick cooking spray (optional- I don’t grease the pan if it’s nonstick). Lay a tortilla in the pan and sprinkle cheese evenly overtop. Spread some of the chicken mixture over half of the tortilla. When the cheese is mostly melted, fold the tortilla over to cover the filling and form a half-moon shape. Cook until the tortilla is crisp and golden and the cheese is melted, adjusting the heat as necessary, a minute or so per side. Repeat with the remaining tortillas. Cut quesadillas into wedges and serve with sour cream, salsa, guacamole, and lime wedges, if desired.

Makes enough filling for ~6 quesadillas.

(Adapted from Once Upon a Chef)